Next week I’ll publish the second half to my workbench build, but I thought it might be nice to have somewhere to send people who have questions or who want to know a little bit more about it. If I miss anything, just leave a comment below and I’ll get back to you.
I’ll just comment on the processes I used in building the bench to the level seen in part one of the build video, if you haven’t seen it yet, check it out here.
Design:
I spent a long time designing this in sketchup before I made any sawdust. I wanted it to be super efficient on wood, and therefore on my budget. The design is my own, but really it is just a bench, I don’t think there is anything very ground breaking about my design.
The only step I did differently from most, is that I used Fit It to work out the cheapest way of purchasing the wood. I imported the model from sketchup to Fit It (a new feature which is a little too buggy to release just yet.) and then tried different lengths of wood to see if it was cheaper to buy 3.6m lengths and cut them in half, or 5 meter lengths chopped up, and so on.
Surprisingly in this case the cheapest method was the easiest, I bought a bunch of 2m long lengths which worked out far cheaper than any other type. I could fit them in the car without having to have them cut down in the store. I haven’t seen those lengths for sale again which makes me think they were offcuts or trimmed from warped wood. They were straight and fairly knot free so I feel I got a bargain. It cost me around $170 aud for the entire bench plus a couple of spares for mistakes.
I was never going to build this from hardwood, the cost in Australia is way out of my league, I just could never justify it. I decided to use small chunks of hardwood as embellishments instead.
I thought I’d break down my actions from part one of the build to talk about what I did, and what I would do differently if I was to do it again.
Gluing up the Slab and Legs
On what I did:
|
|
|
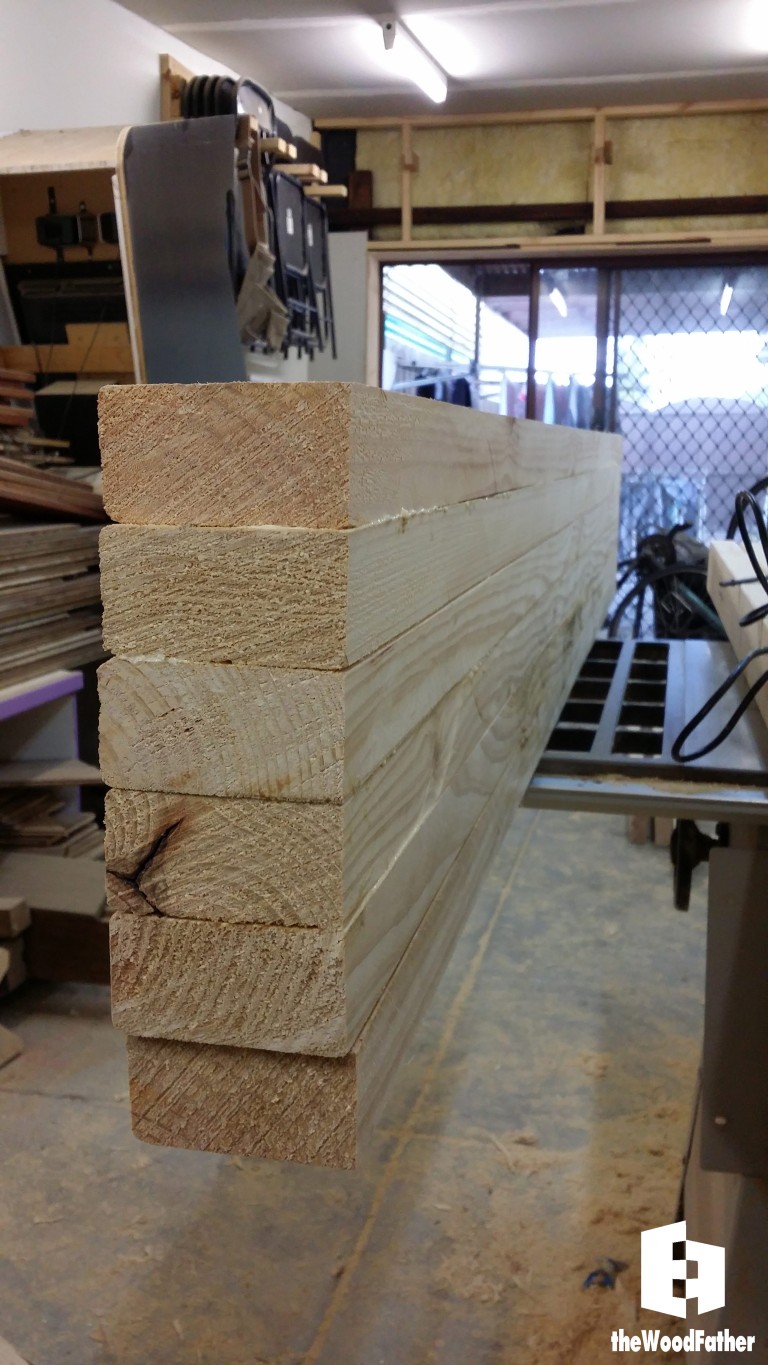
I knew the hardest part of the build would be the slab. In fact the main reason I kept putting this build off is because I don’t have the generally required tools; a planer and pipe clamps. Of course there are many ways to skin a cat, and once I thought up this method I managed to convince myself that it would be successful.
It would have turned out perfectly had I had dryer wood I think. The wet wood was very hard to cut, even when I was just trimming a small amount off. The blade would be forced to the side in some cases, resulting in a not exact 90 degree face. The few gaps I have in the slab are because of the wood not being cut at a perfect 90 degrees.
If I was to do it over:
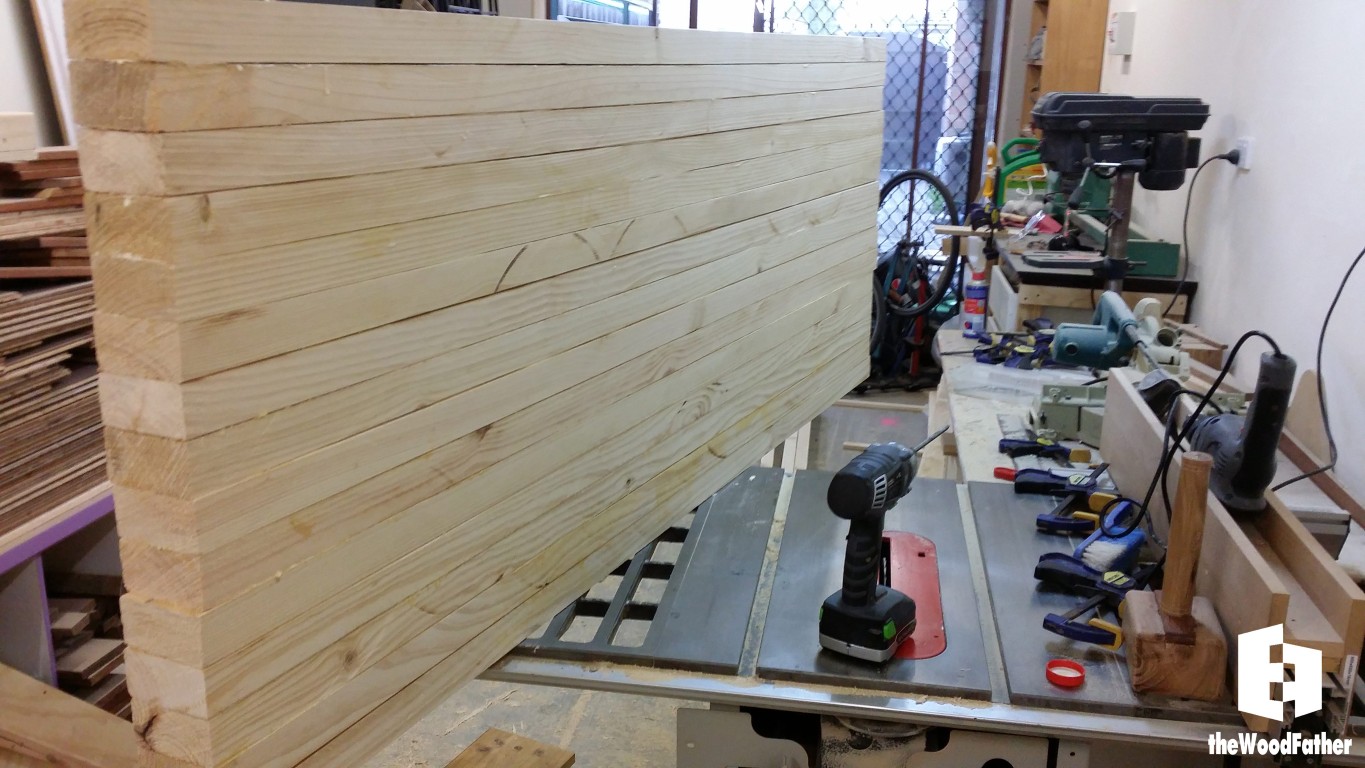
I would use the same method, but refine it. I would use more than 3 screws per length for a start, though 5 would certainly be enough. I would just go slower, and really ensure that each length was fully bedded down against it’s neighbour before screwing. A planer would be better than using the table saw to flatten one side, but the table saw method did work. I would probably try to find dryer stock, the wood I used was quite wet and hard to cut.
Chopping the Mortises + Tenons
On what I did:

|
|
|
|
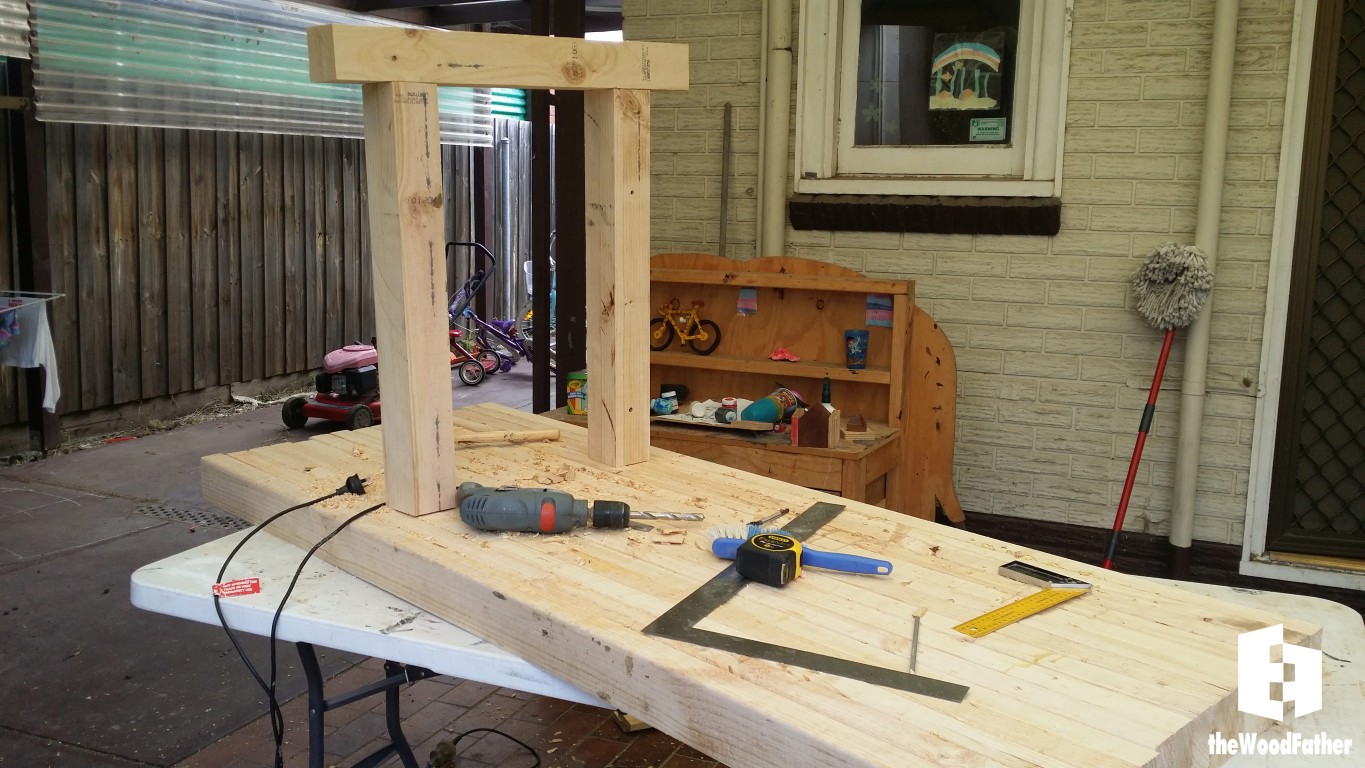
I really wanted to make my own bench with big beautiful tenons popping through the slab. When using standard structural timber like this, that is probably an unrealistic expectation. The soft pine does not ‘work’ nicely like a hard grain would do. And of course, I am not highly skilled in building like this, many people would be able to do a better job than I did even with pine.
As I’ve mentioned, the wood was quite wet, and even though the faces looked clear, fairly knotty when cutting into them. Hand chopping was a poor idea for someone of my skill level. While the jigsaw worked, I feel it was a poor choice for the job. I really should have spent time sharpening my chisels as well, but I am learning from my mistakes now.
If I was to do it over:
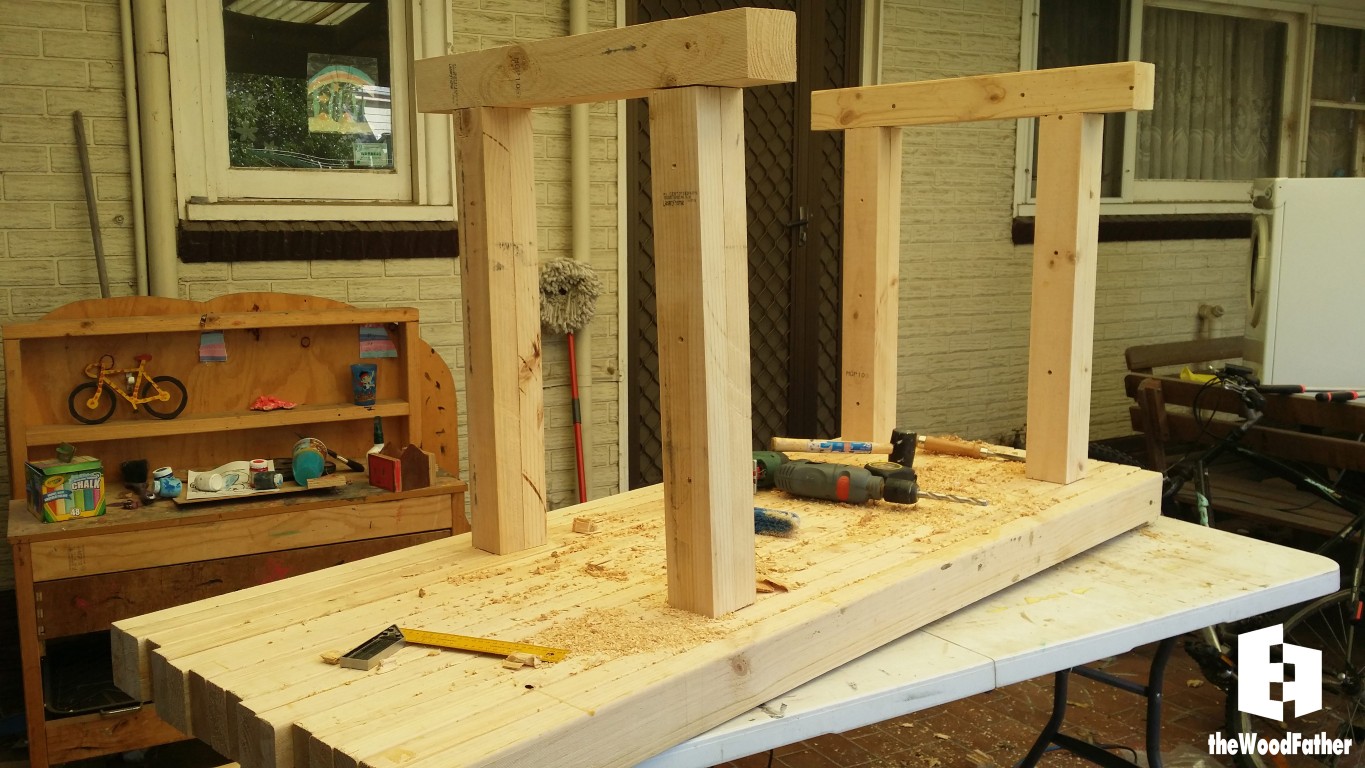
I would use a different method completely. I would probably create a jig to use a router to cut out a nice sharp, well defined mortise, and only chisel the parts the router could not reach. This would result in a much nicer and more repeatable mortise. I did not have a router at the time of cutting these or I would have done so.
Failing that, I would have built the mortises into the base and slab by cutting them out before gluing them up. I could have used the tablesaw or even a circular saw to simply cut out dadoes, and then clamp them up and move on. I thought about this method but decided it would take too much time up, and also I thought cutting by hand would be a good learning experience. Wrong on both counts.
Flipping it over
On what I did:
Sigh…this.

If I was to do it over:
I would ask for help, duh.
I’ll release the second part of the build next week and a write up after that. That one will include the flattening of the top, glue up, hardwood inserts and finishing the bench.
Personally I am very proud of my bench, it looks great to my eye and has enhanced my skills and increased my enjoyment levels so much more. I really wish I did this years ago.
Feel free to comment away, I’m sure there are plenty of people out there who like or loathe the job I’ve done, let me know what you think!
Hi Mario,
I’m wondering if I could order the jordan shoe box from you?
I’m not currently building them I’m afraid Daniella, maybe in a few months.
Comments are closed.