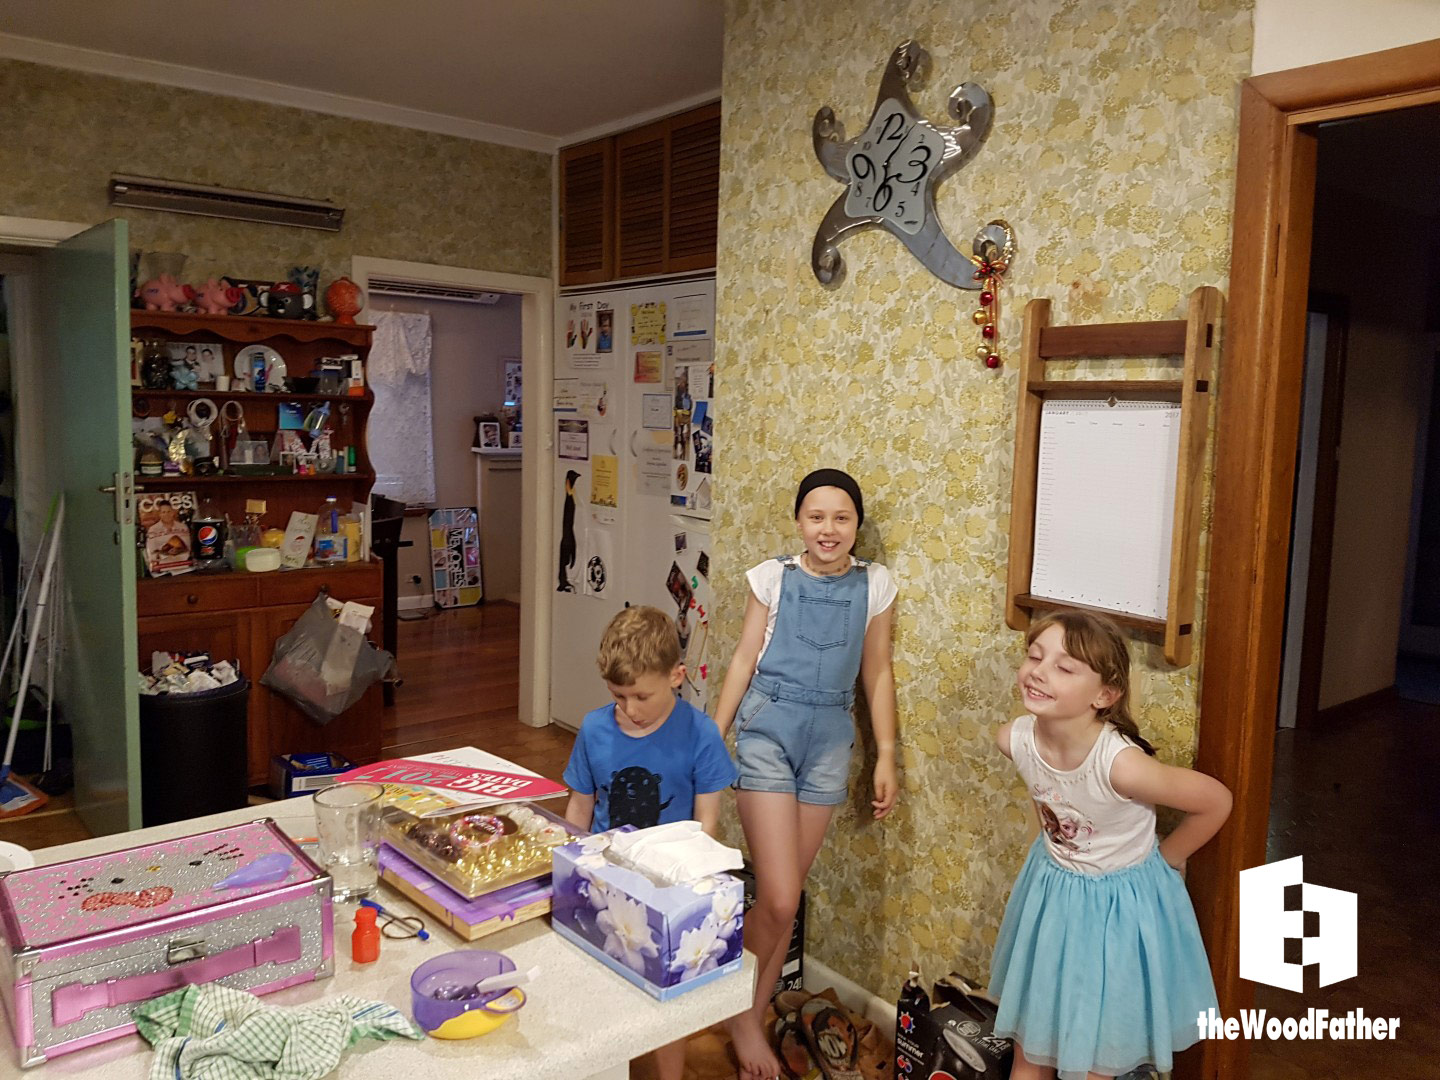
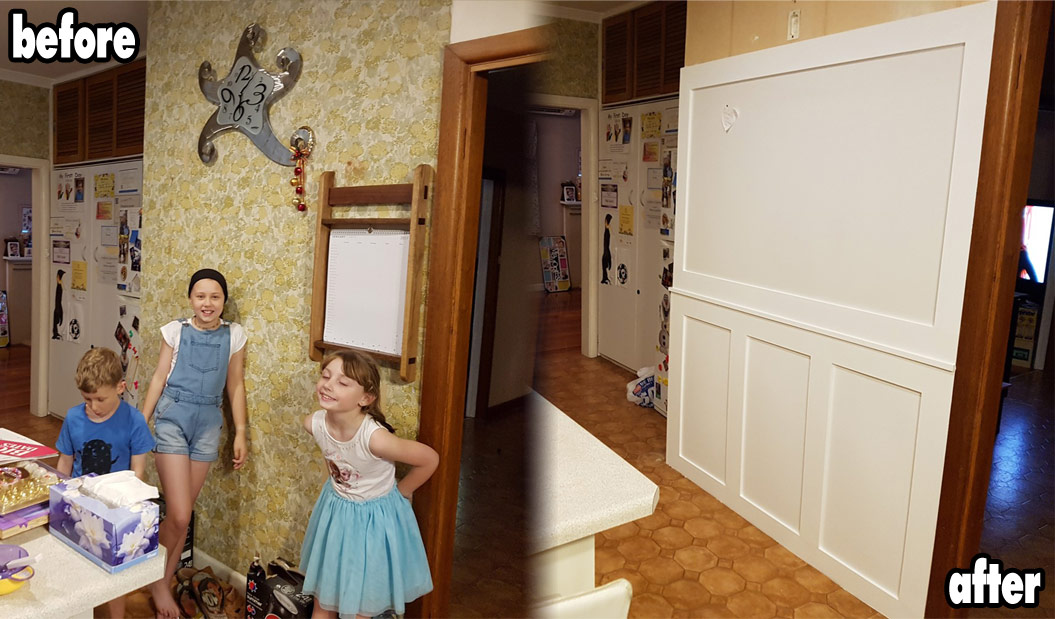
Ah, frustration, the most motivating of all the emotions! Case in point, it was 39 degrees, (a touch over 100f) and the humidity was through the roof. We have a good airconditioner in the house, but after 3 days of this weather and no breeze to provide relief, it just wasn’t doing a great job of cooling us any more. Plus, as it is an evaporative system it added even more moisture to the air, I’m pretty sure that I saw a cloud in the corner of the lounge room. Oh, and old wallpaper, yeah, it doesn’t play well with moisture, hence this weeks project, a small kitchen renovation.
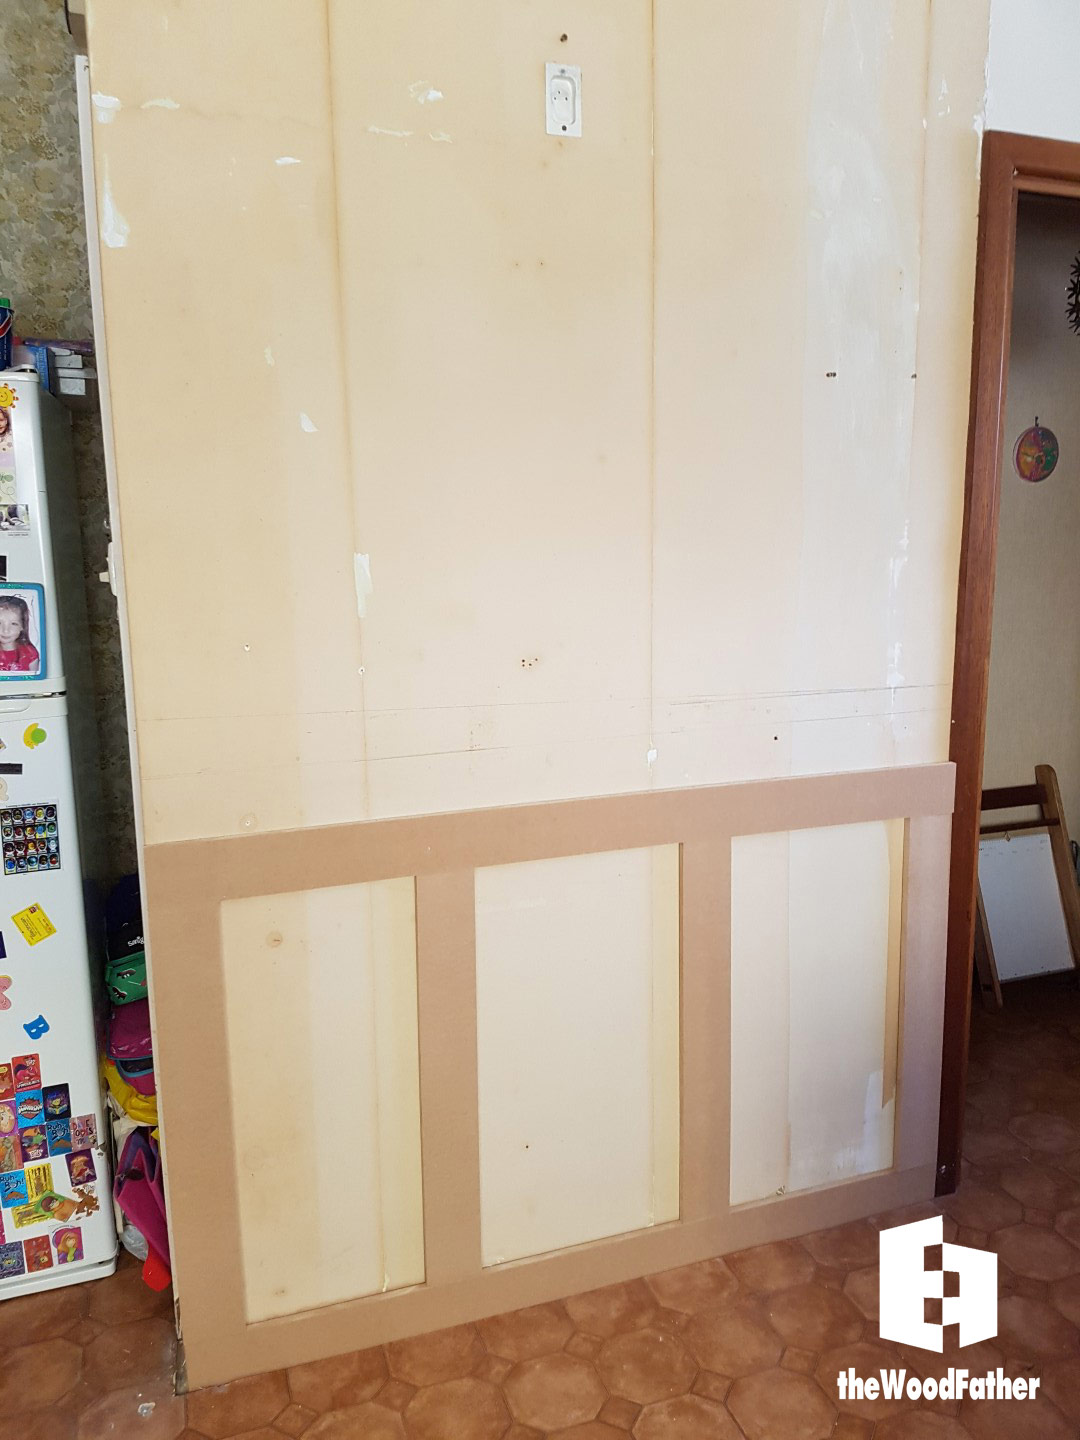
Here’s a quick overview. Our house is roughly 60 years old, in great condition but some rooms are still quite old fashioned in the decor. The kitchen has some awful vinyl wallpaper, green flowers or plants or some crazy design on it, I really have tried the past 15 years to just not look at it. The moisture in the air made a small section peel up, so, I had to rip it off. And once I tore that, I had to just keep going, it was very cathartic.
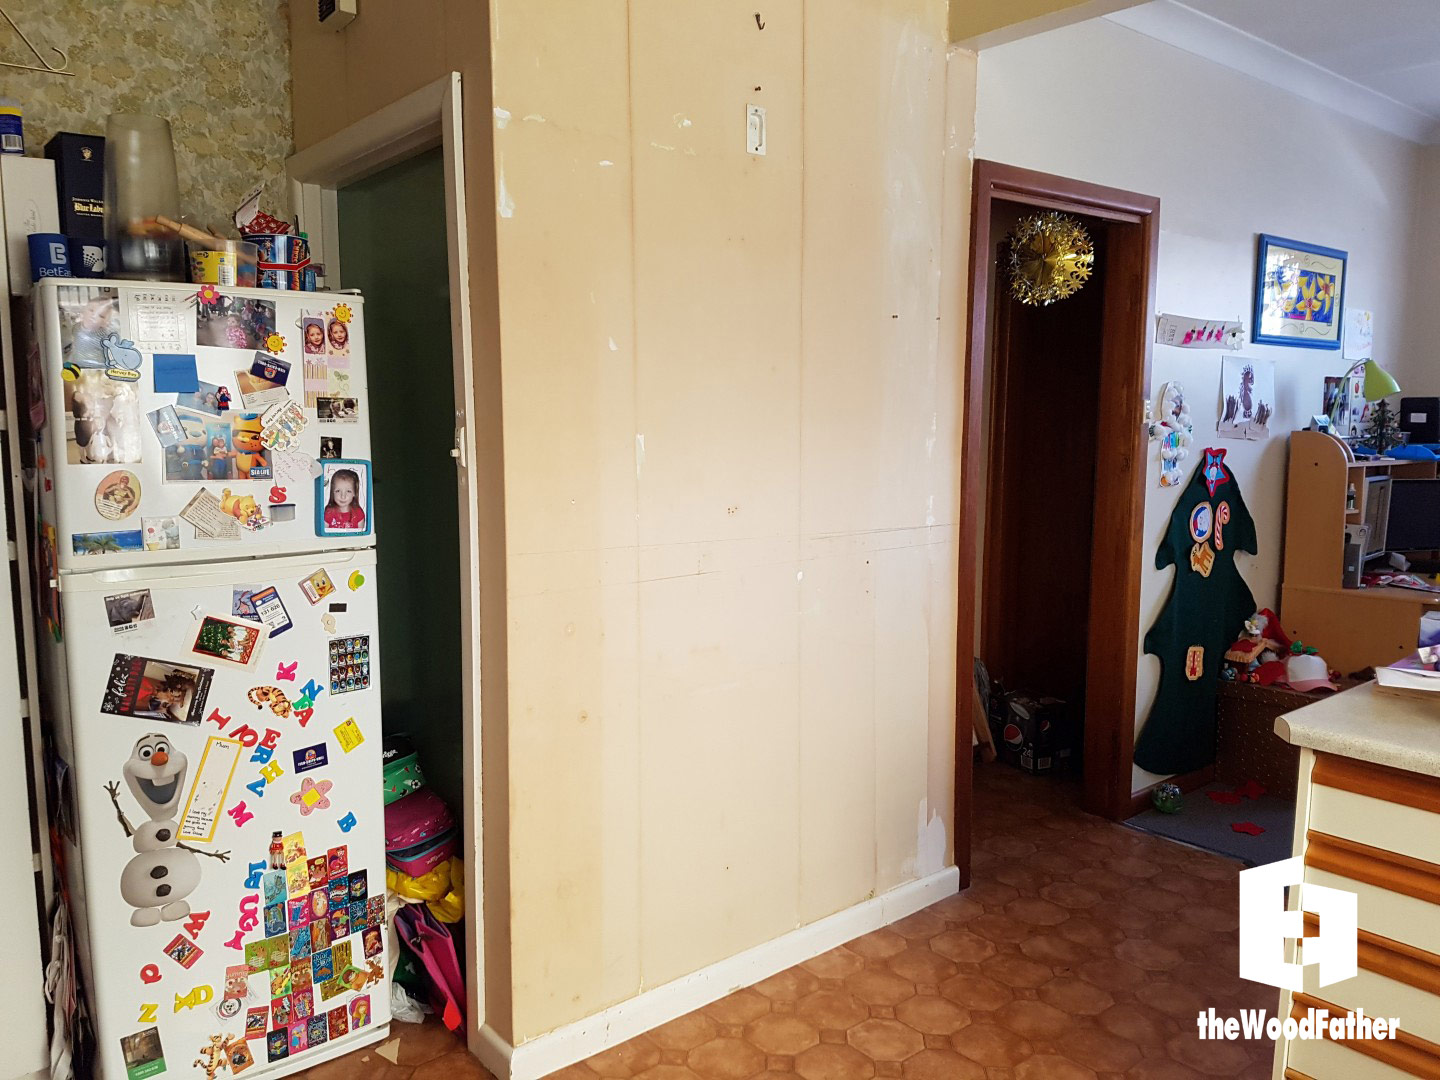
So once it was all pulled down, I was left with a bigger problem, the backing paper. It was in really good condition for the most part, the only poor section was where the paper had started peeling. And anyone who has ever removed wallpaper backing knows that it is a hell of a job, just, the worst. You need to steam the wall, scrape a little bit, clean your scraper, steam some more, and generally waste a day of your life. So I was keen to attempt some steam-free methods.
I figured my options were:
- Paint. I could maybe use a thick texture paint and slather the wall in that. I didn’t think it would look that nice in the end though if I didn’t steam the wall first. Plus, when the paper lifts, the paint will lift.
- Wallpaper it again. The backing was in good enough shape that I could have just reused it, barring a small section which I could clean up first. But, really, I’d just want to tear that paper down in a short time anyway.
- Install Wainscoting. I could not ‘fix’ the wall, but just cover it up. I’ve always wanted to try some wainscoting down the hallway so I thought this might be a good trial run to see what it looks like, and how much work it is.
Seeing as we use this wall for hanging the childrens artwork and words of the week, etc, I thought it would also be nice if it could be used as a whiteboard or magnetboard, so I thought I’d add that in too.
So, here we go:
Step 1
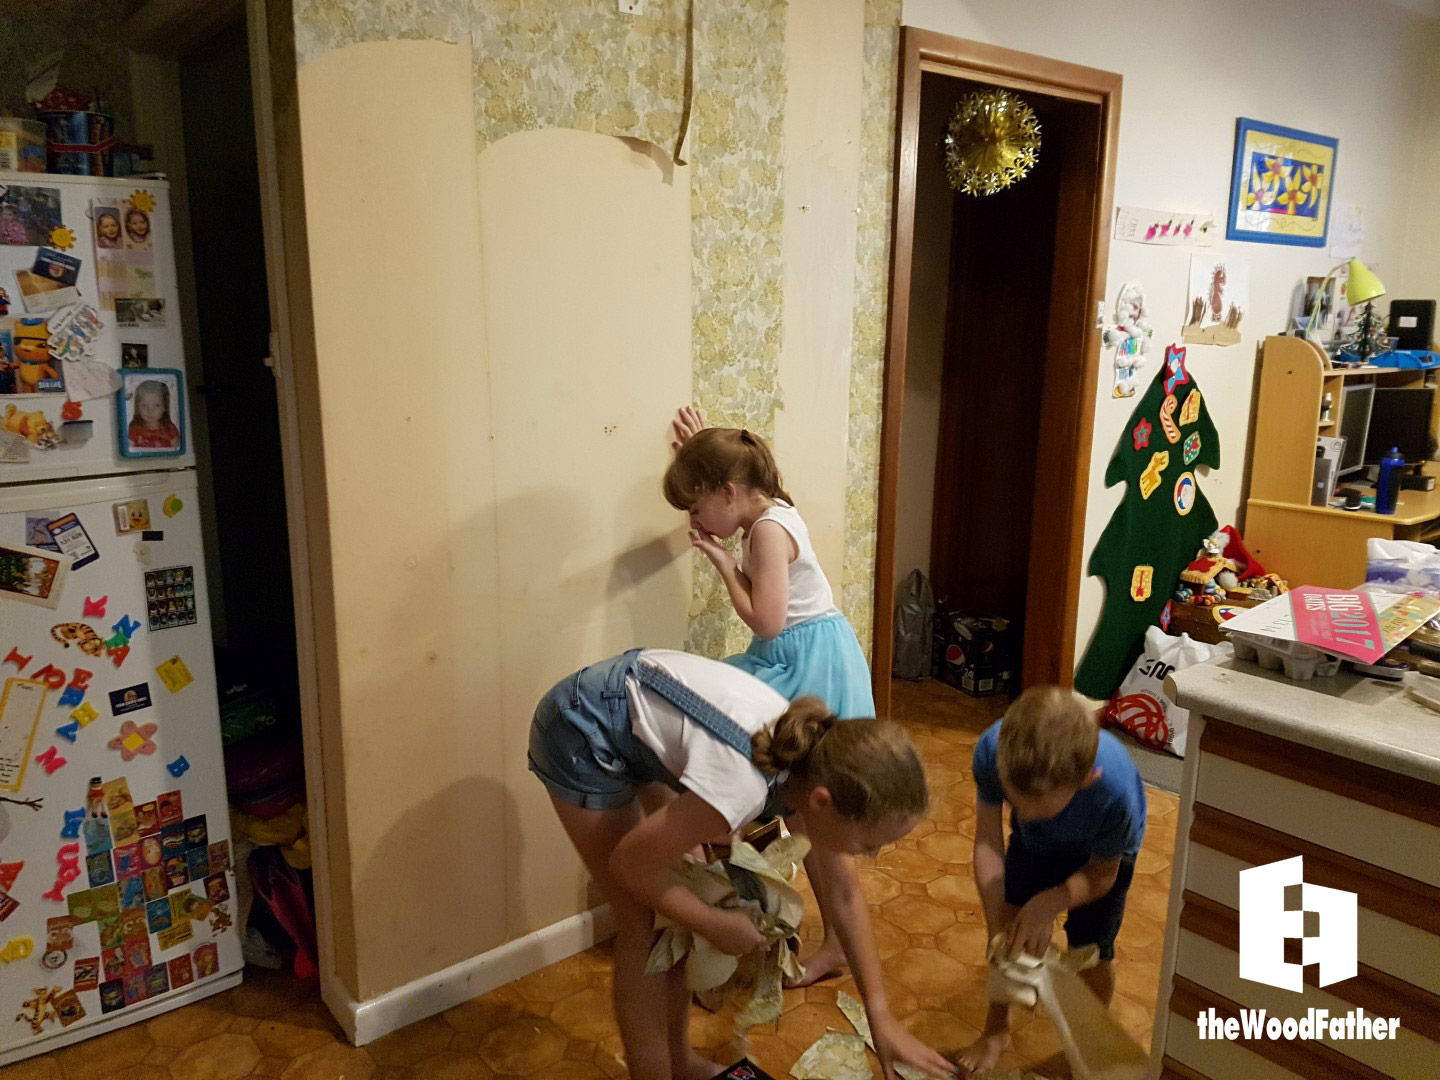
Remove the old paper. Fairly self explanatory and very easy, we just ripped it right off the wall. Lots of fun. I also pulled of the old skirting as I knew I would be changing it later on.
|
|
|
|
Step 2
Design the new wall in sketchup, to get an idea of the amount of wood required and what the wall would look like in the end.
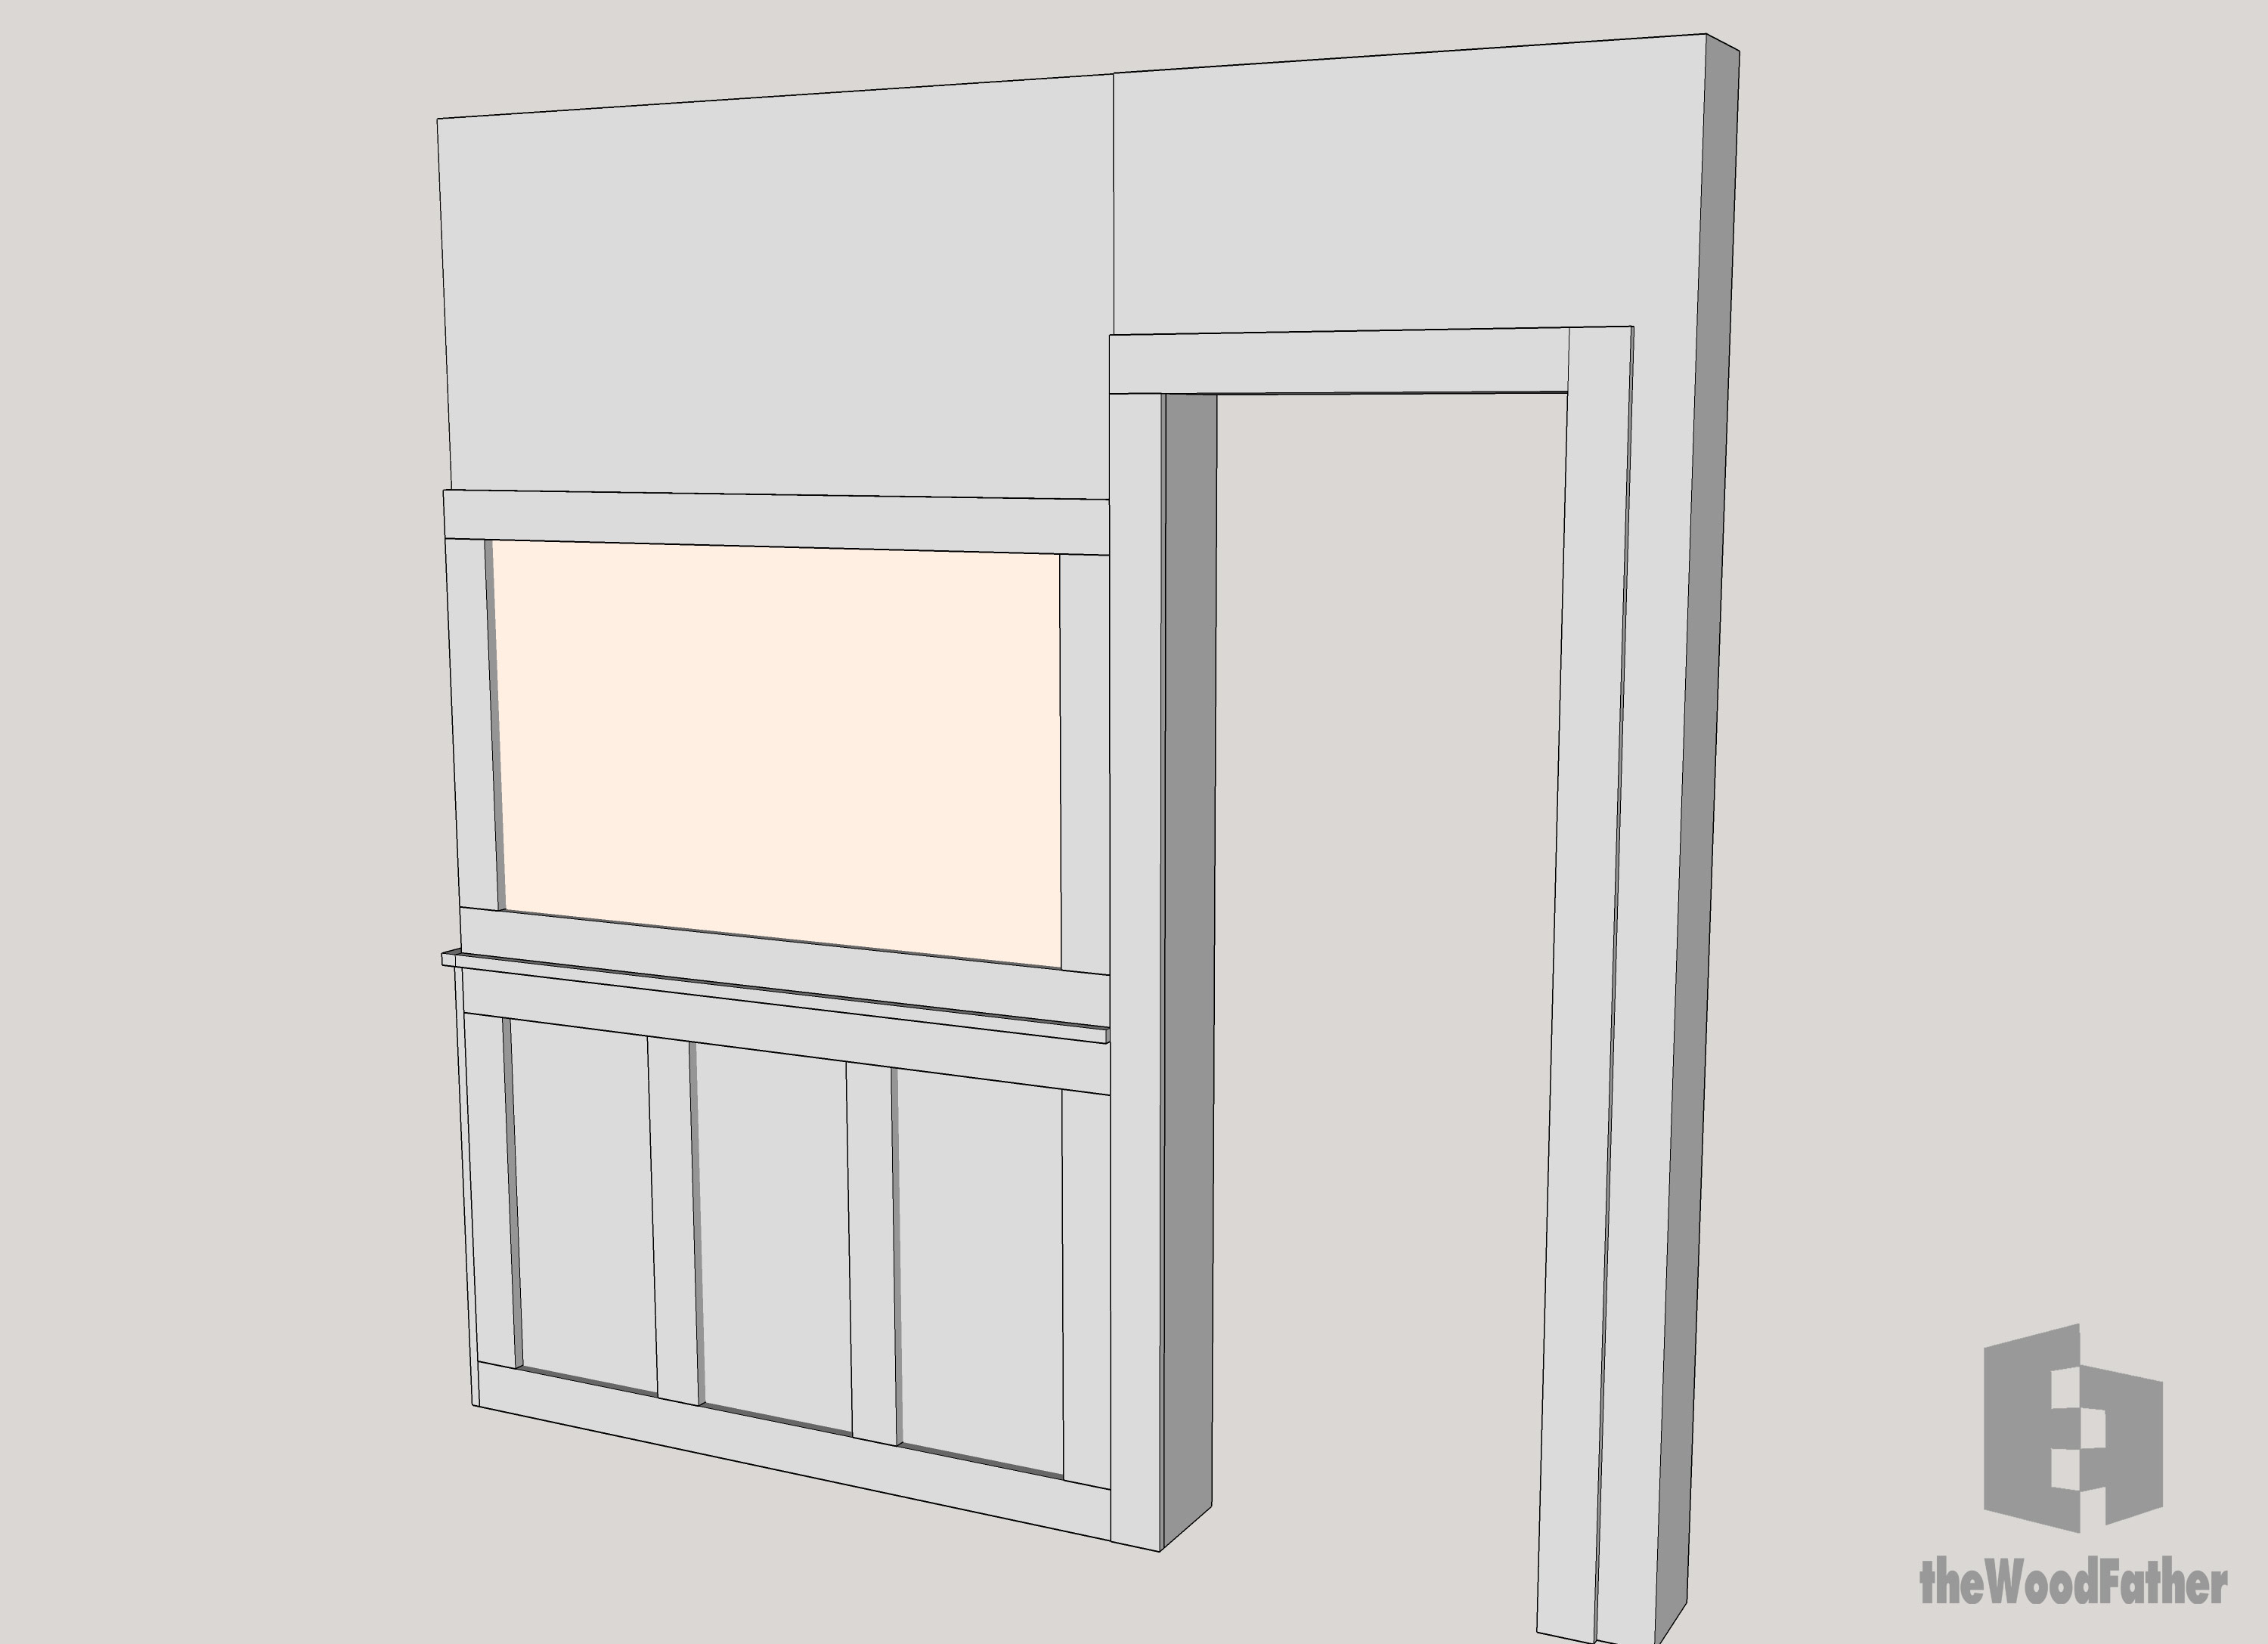
Step 3
Buy everything!
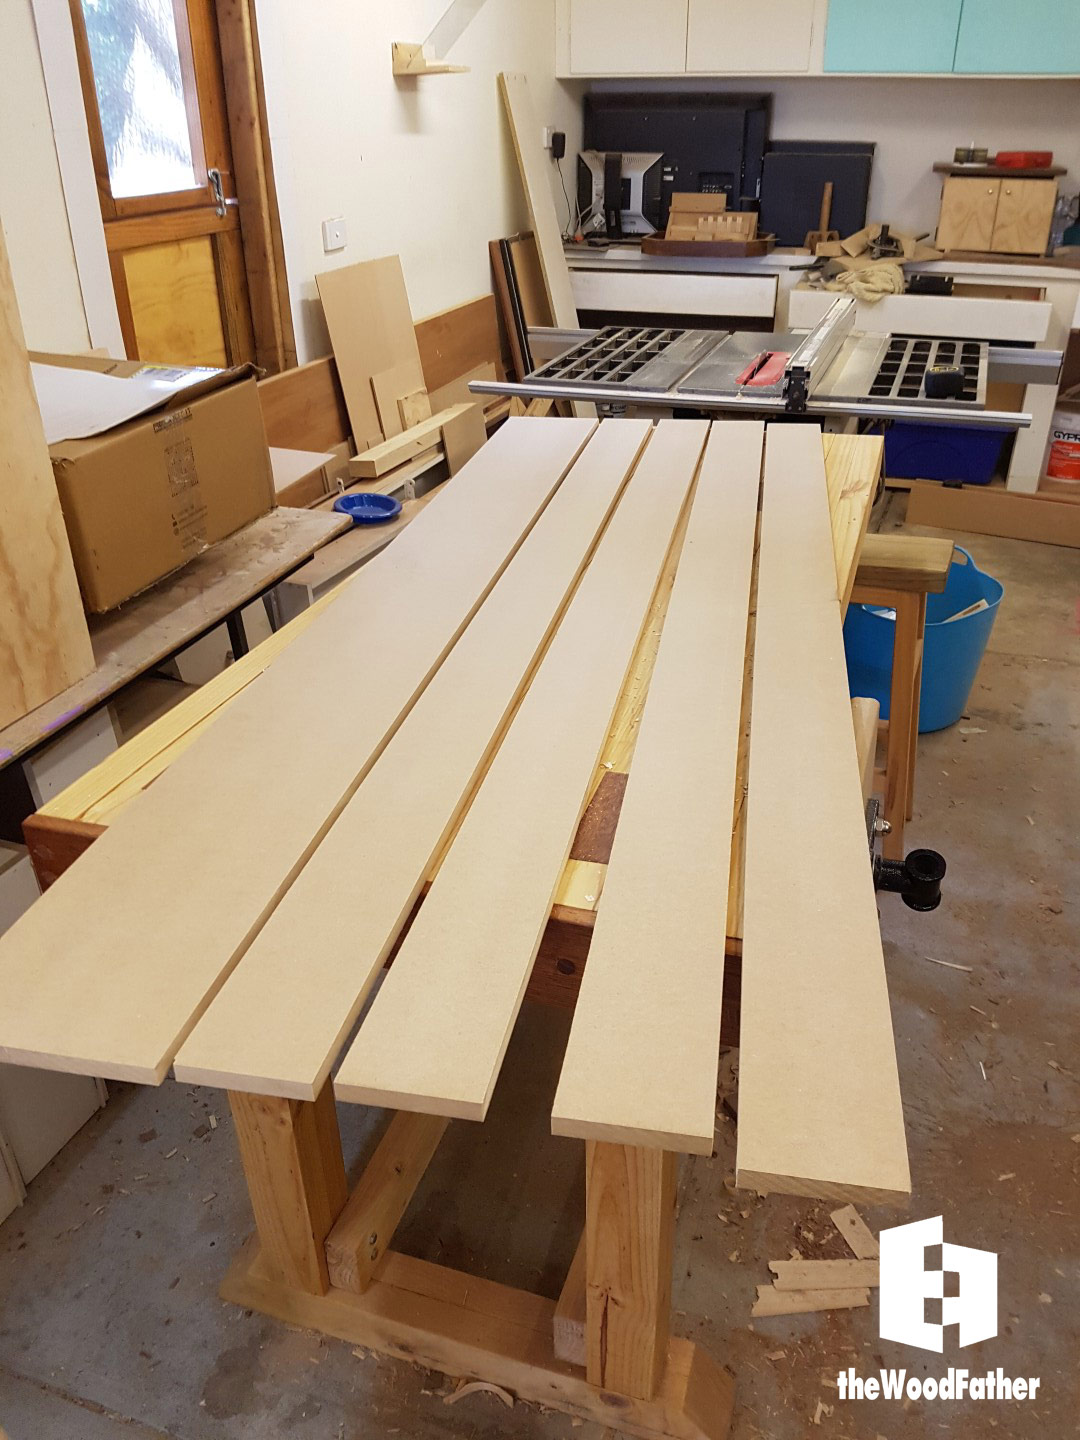
- 2 sheets of MDF for the frame, 1800mm x 450mm x 16mm
- 3 sheets of MDF for the panels, 900mm x 600mm x 3mm
- 1 sheet White melamine coated MDF, 2400mm x 1200mm x 3mm
- Fair warning, this is not what you want to use for a whiteboard sheet, it’s just for a nice clean look to the wall.
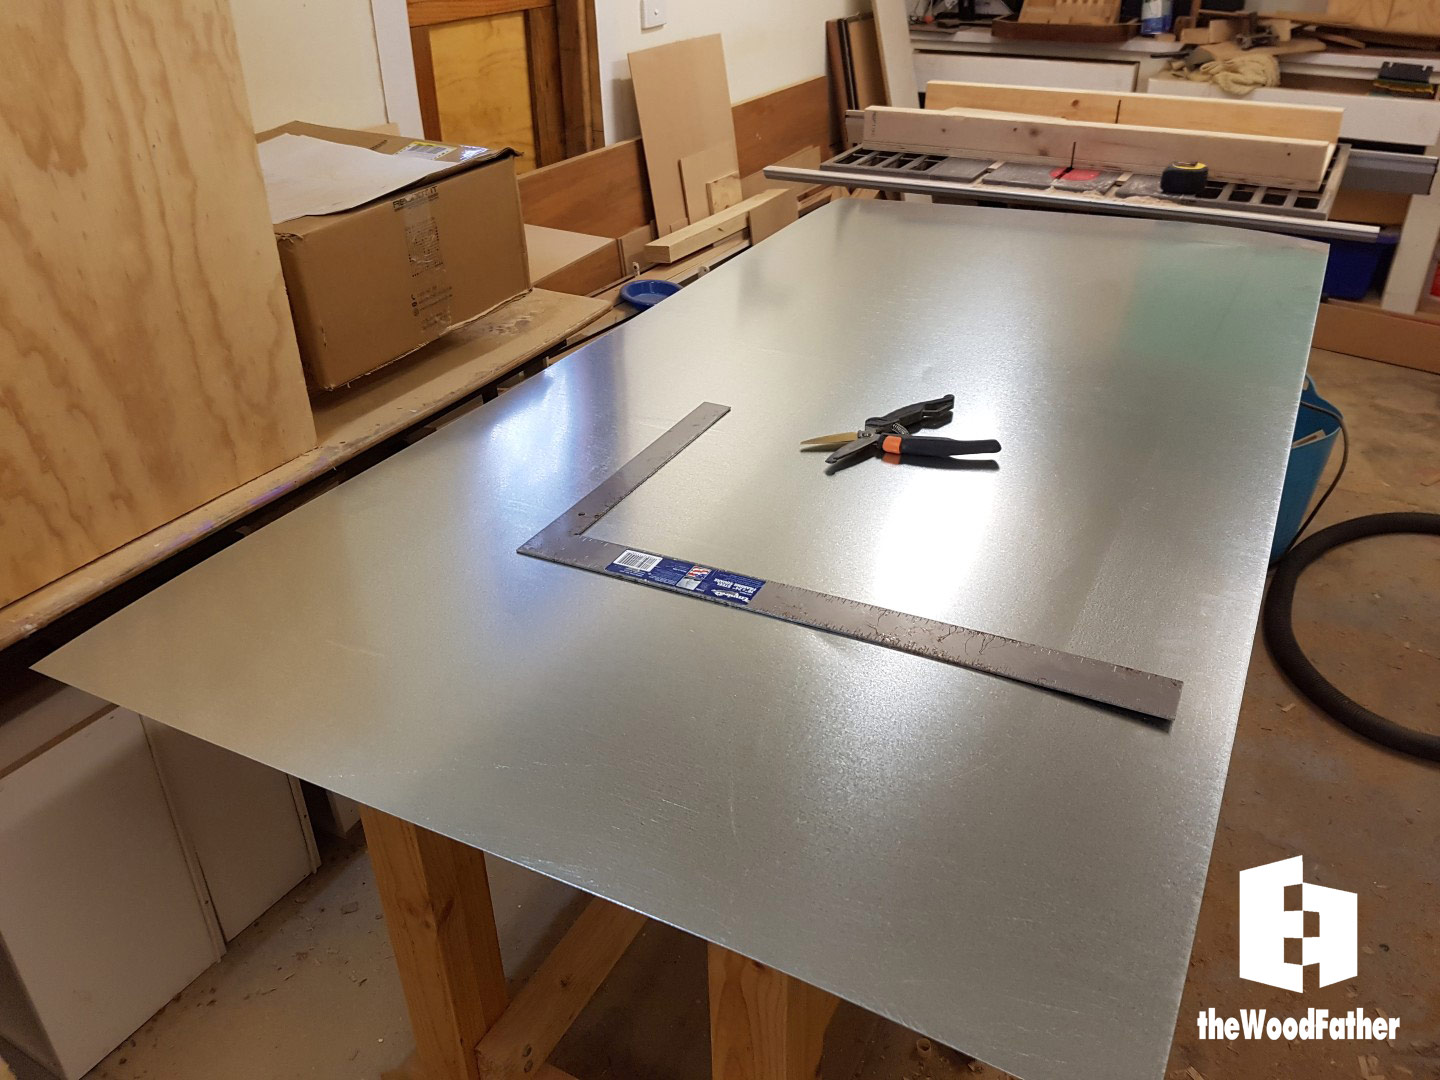
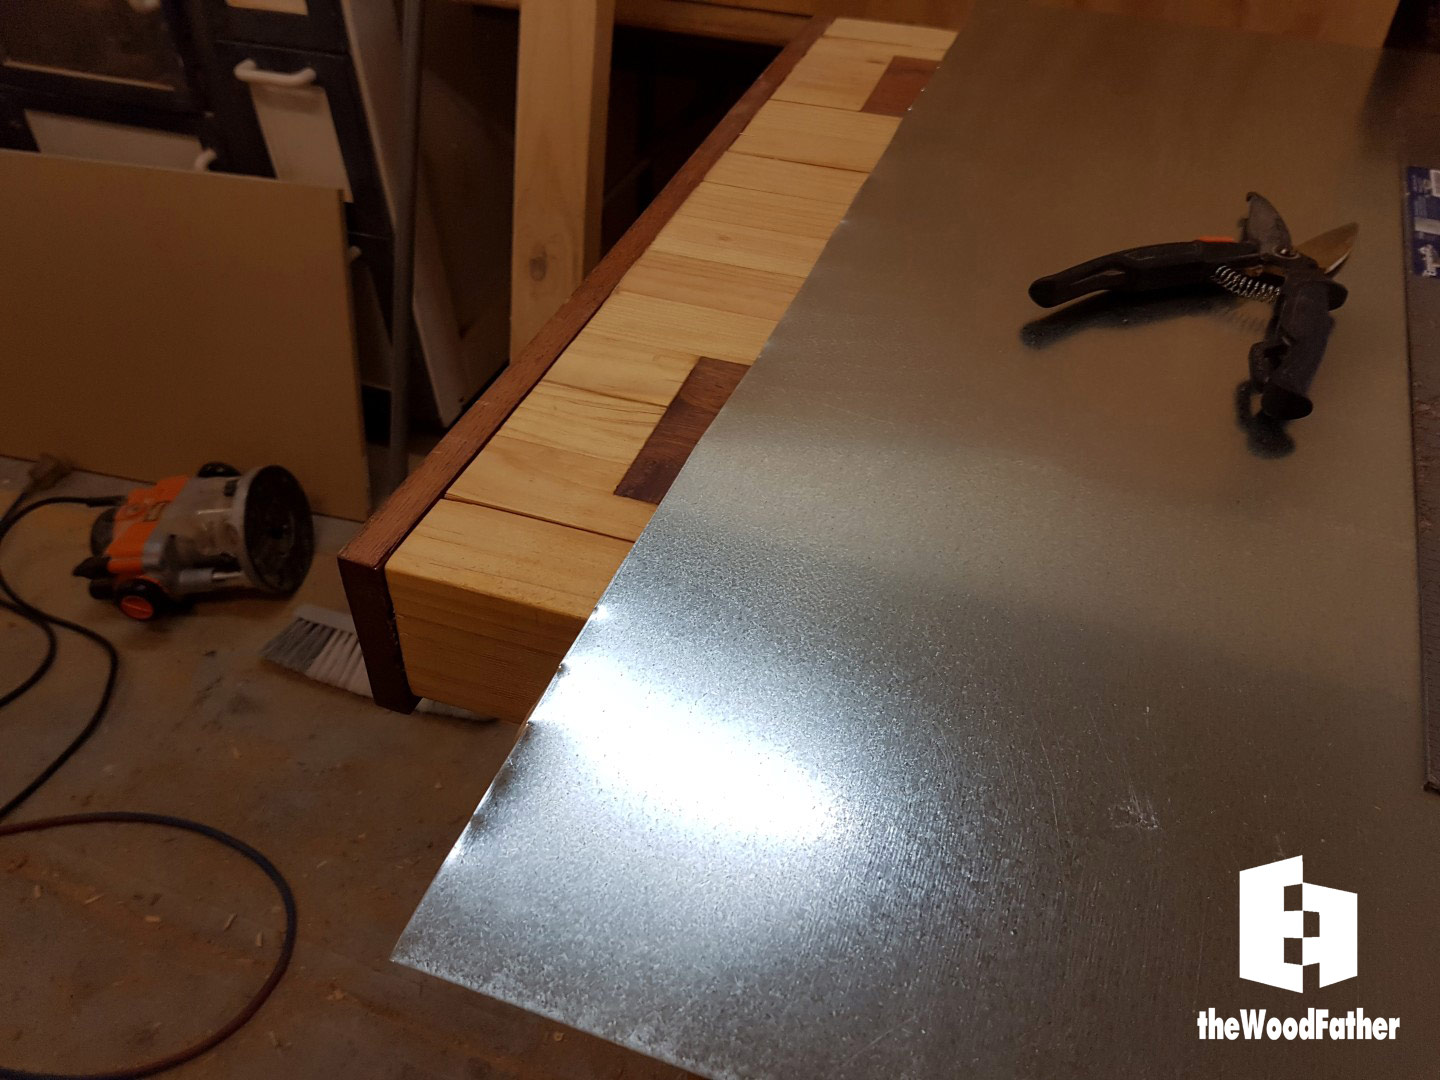
- 1 Sheet of Galvanized metal – 1800 X 900 X 0.55MM
- This is a thin sheet of metal for the backing. Tin snips are more than up to cutting through it.
- I already had primer and top coat.
- Screws, glue, nails, etc.
The total cost for all parts was around $75 aud, pretty good value I think. MDF is an easy choice when you want a flat panel which you are going to paint.
Step 4
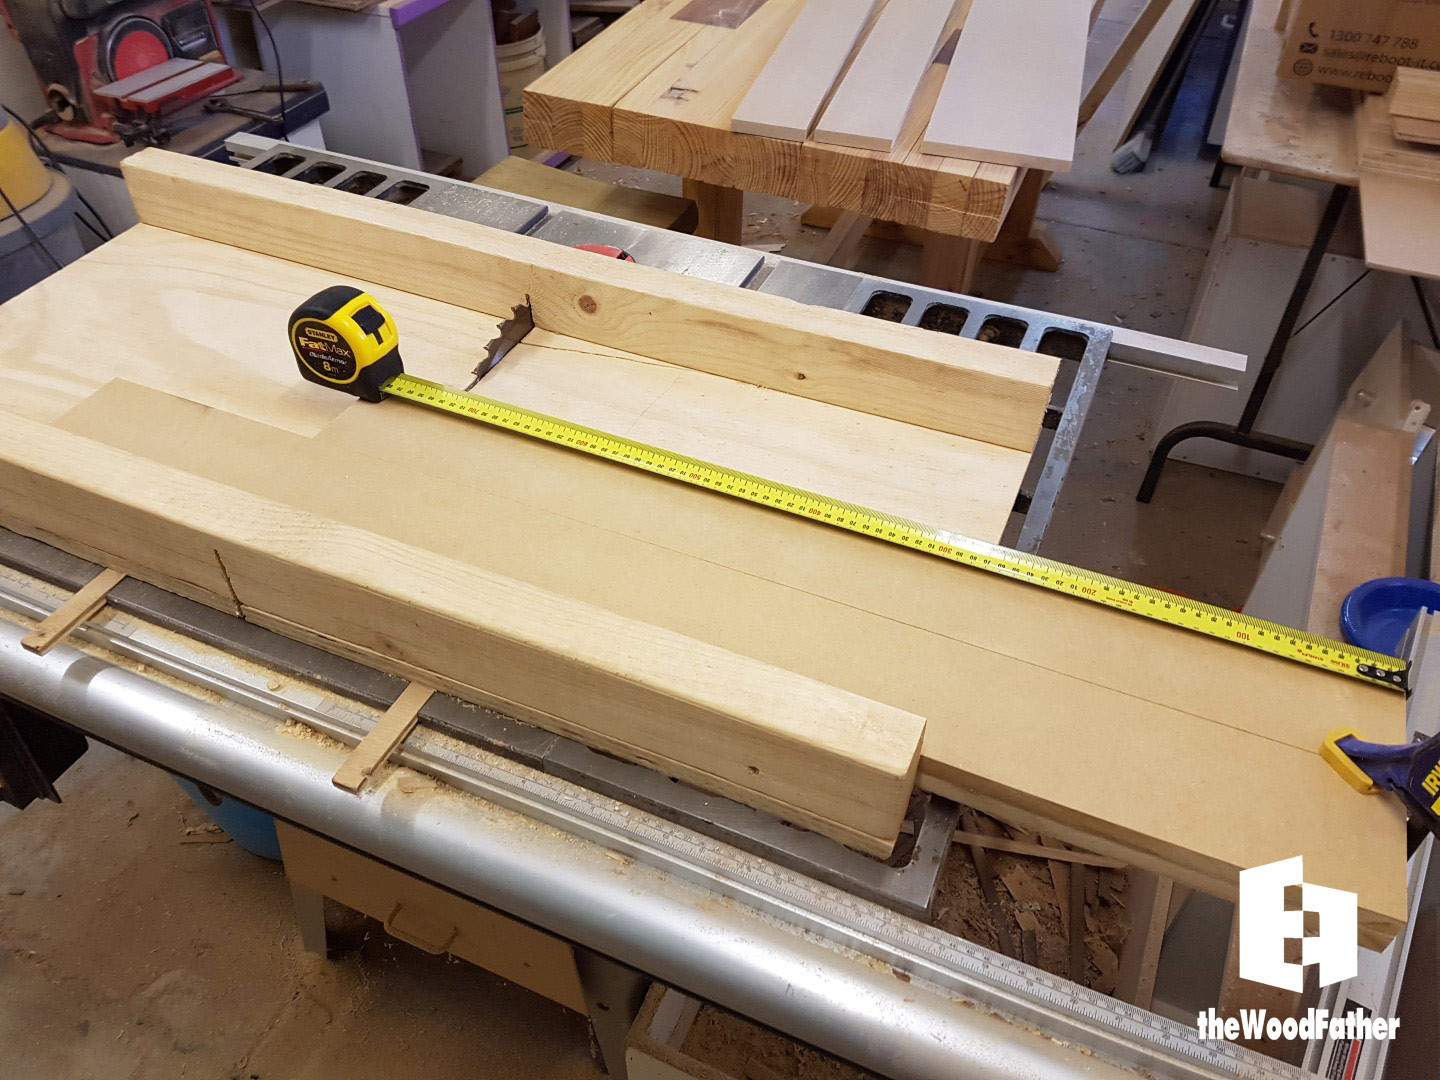
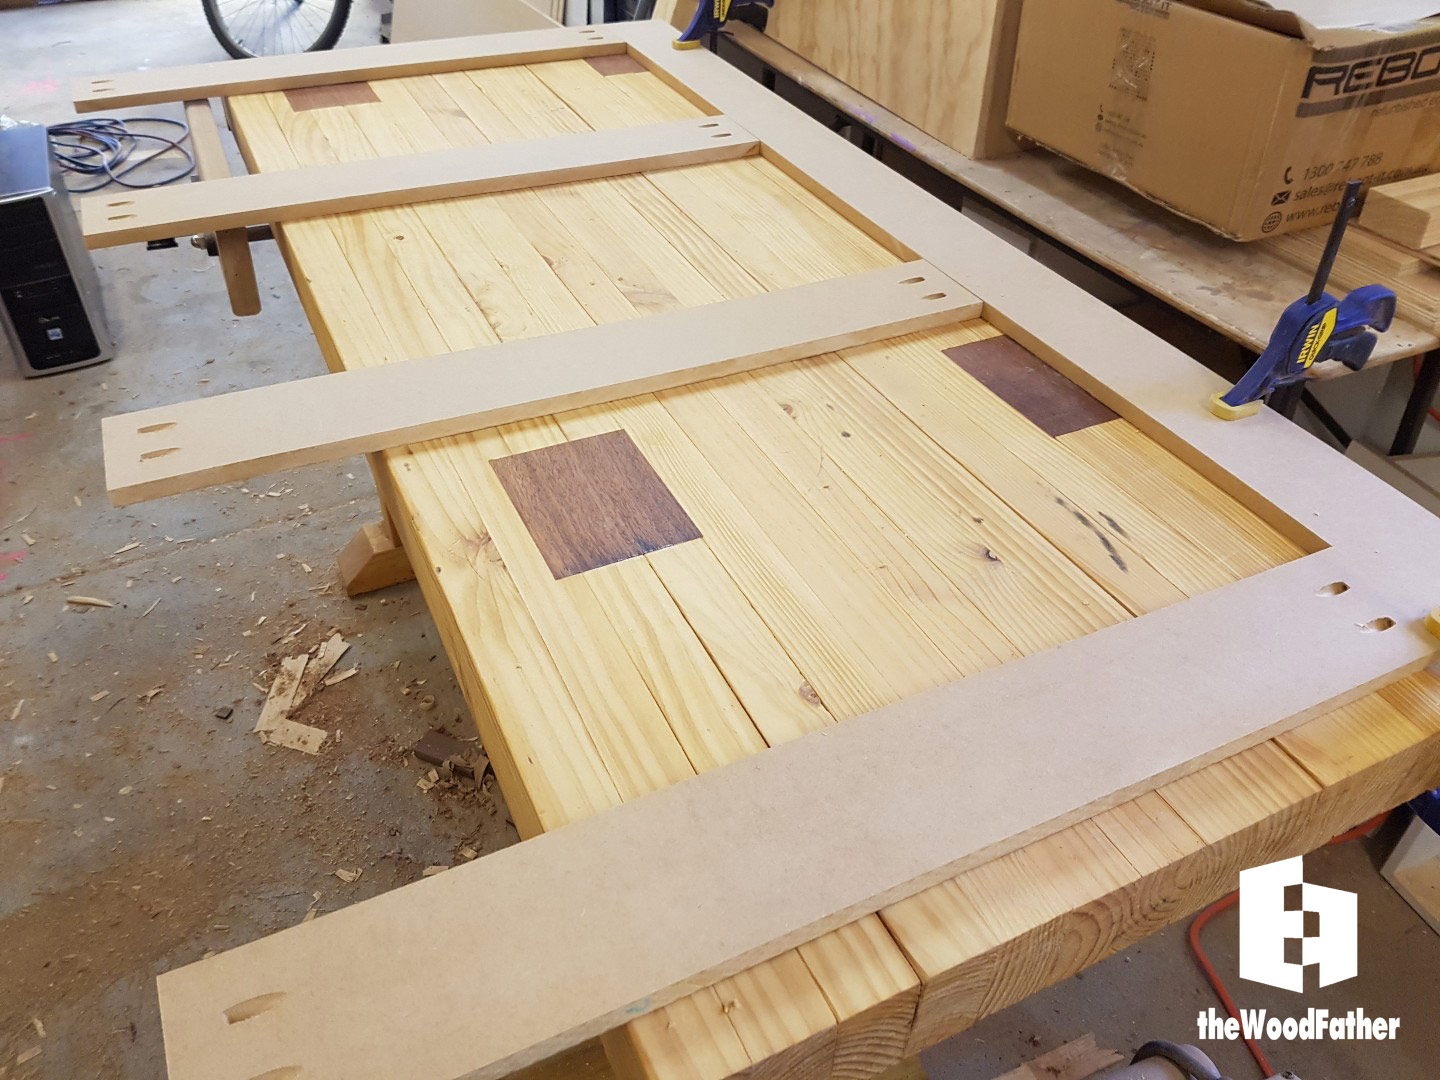
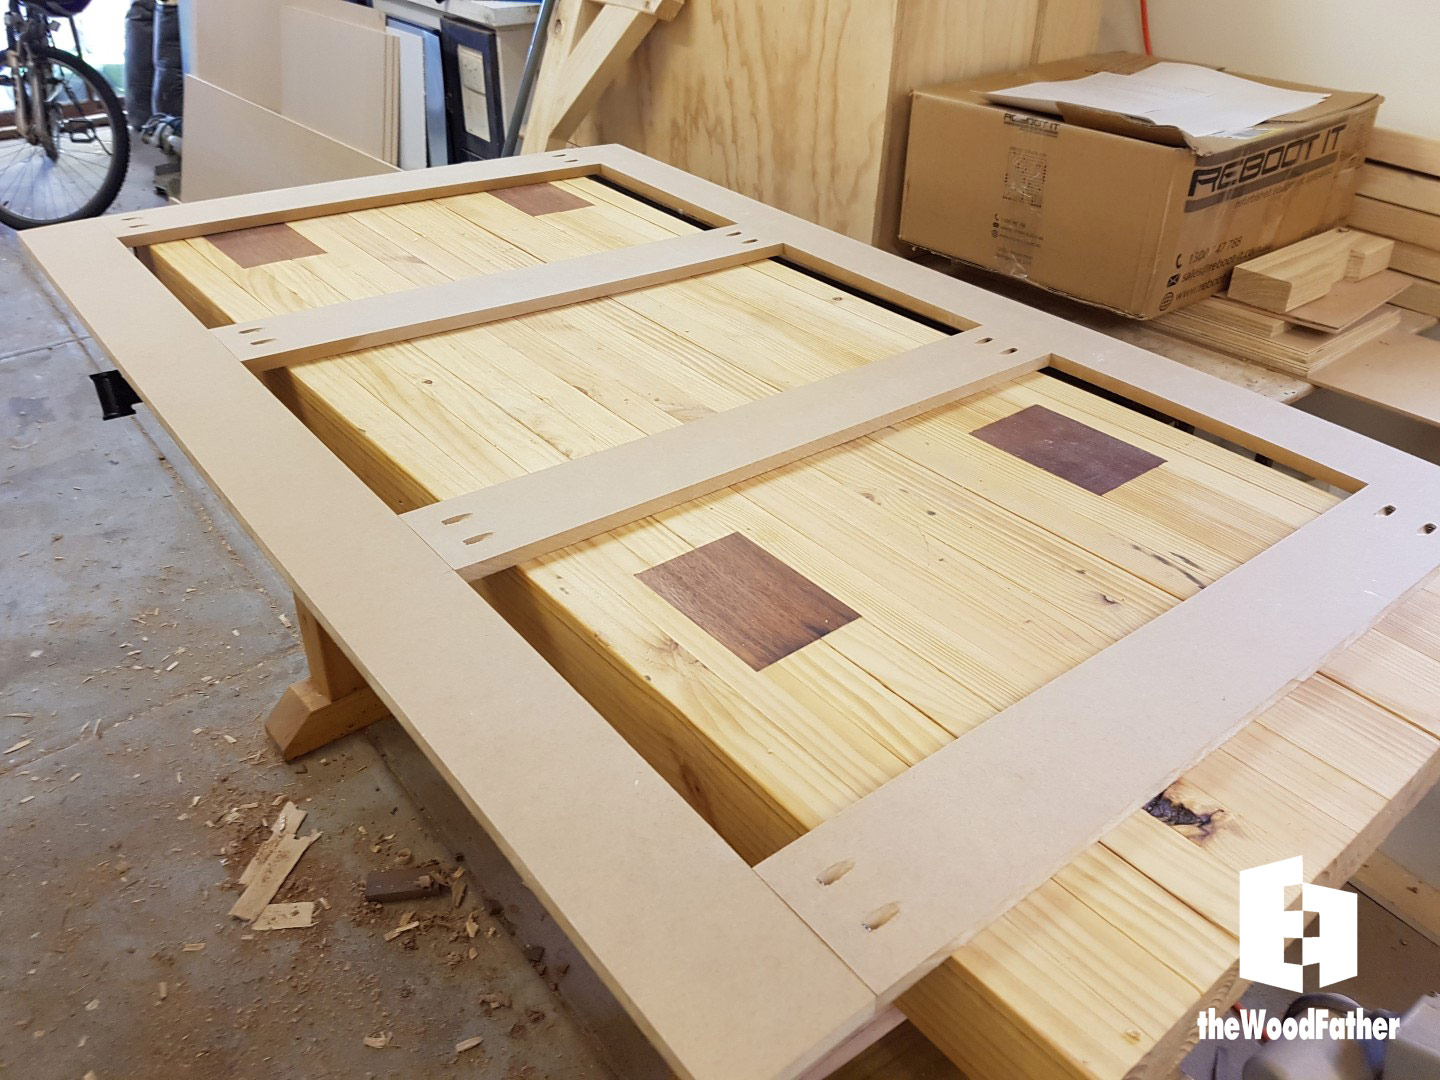
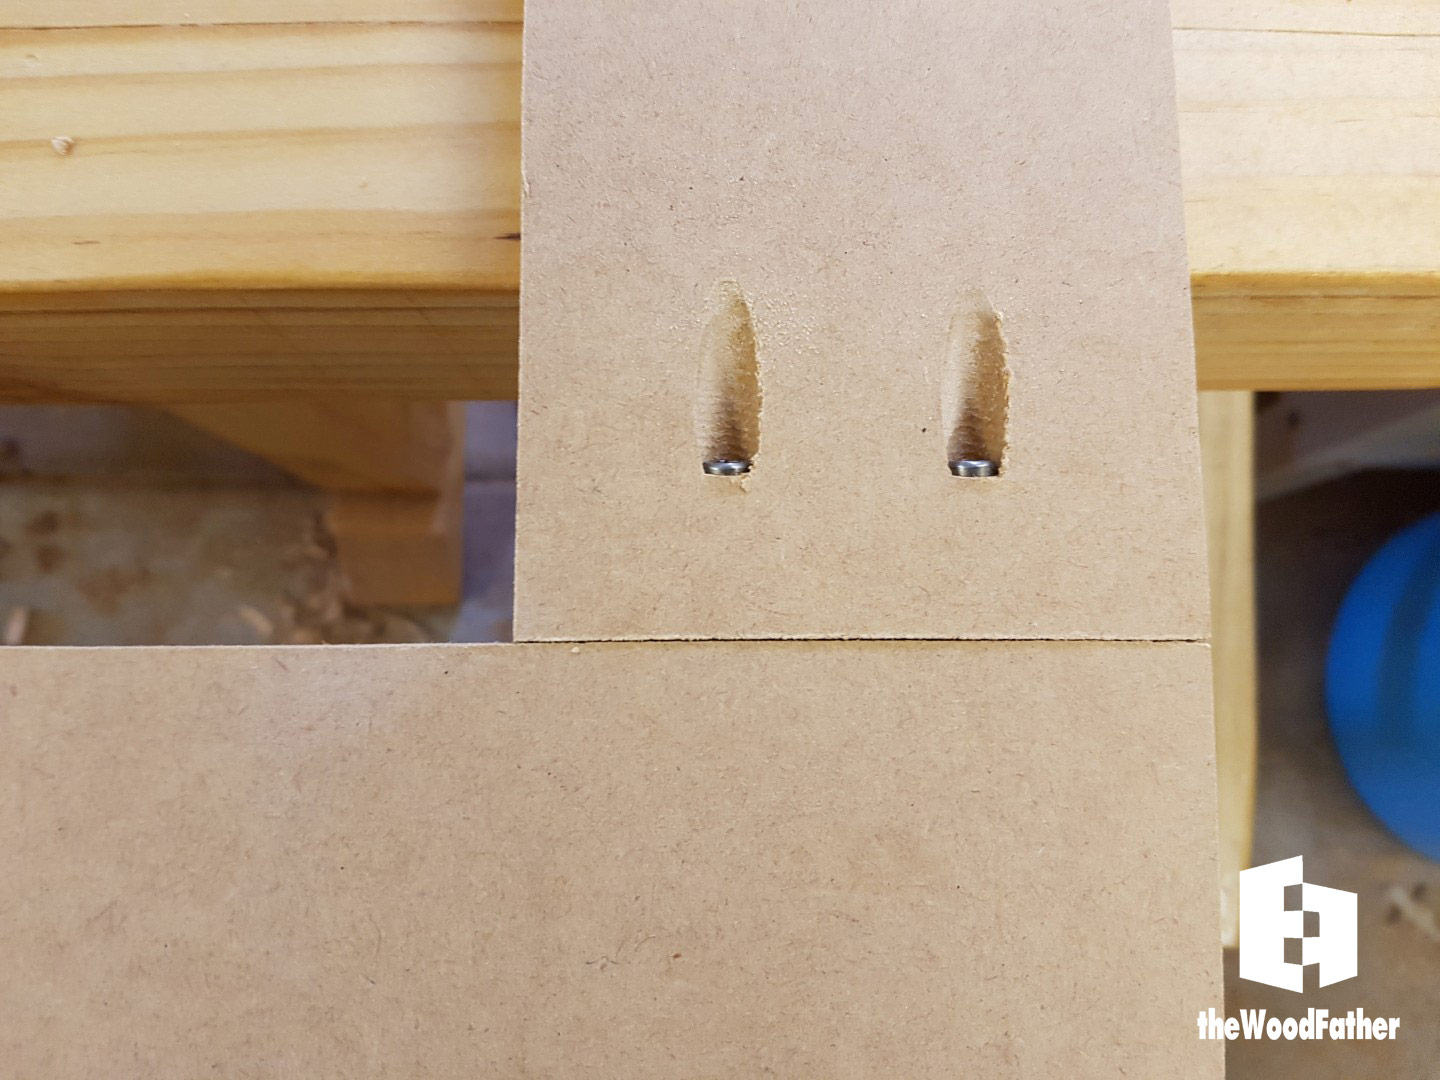
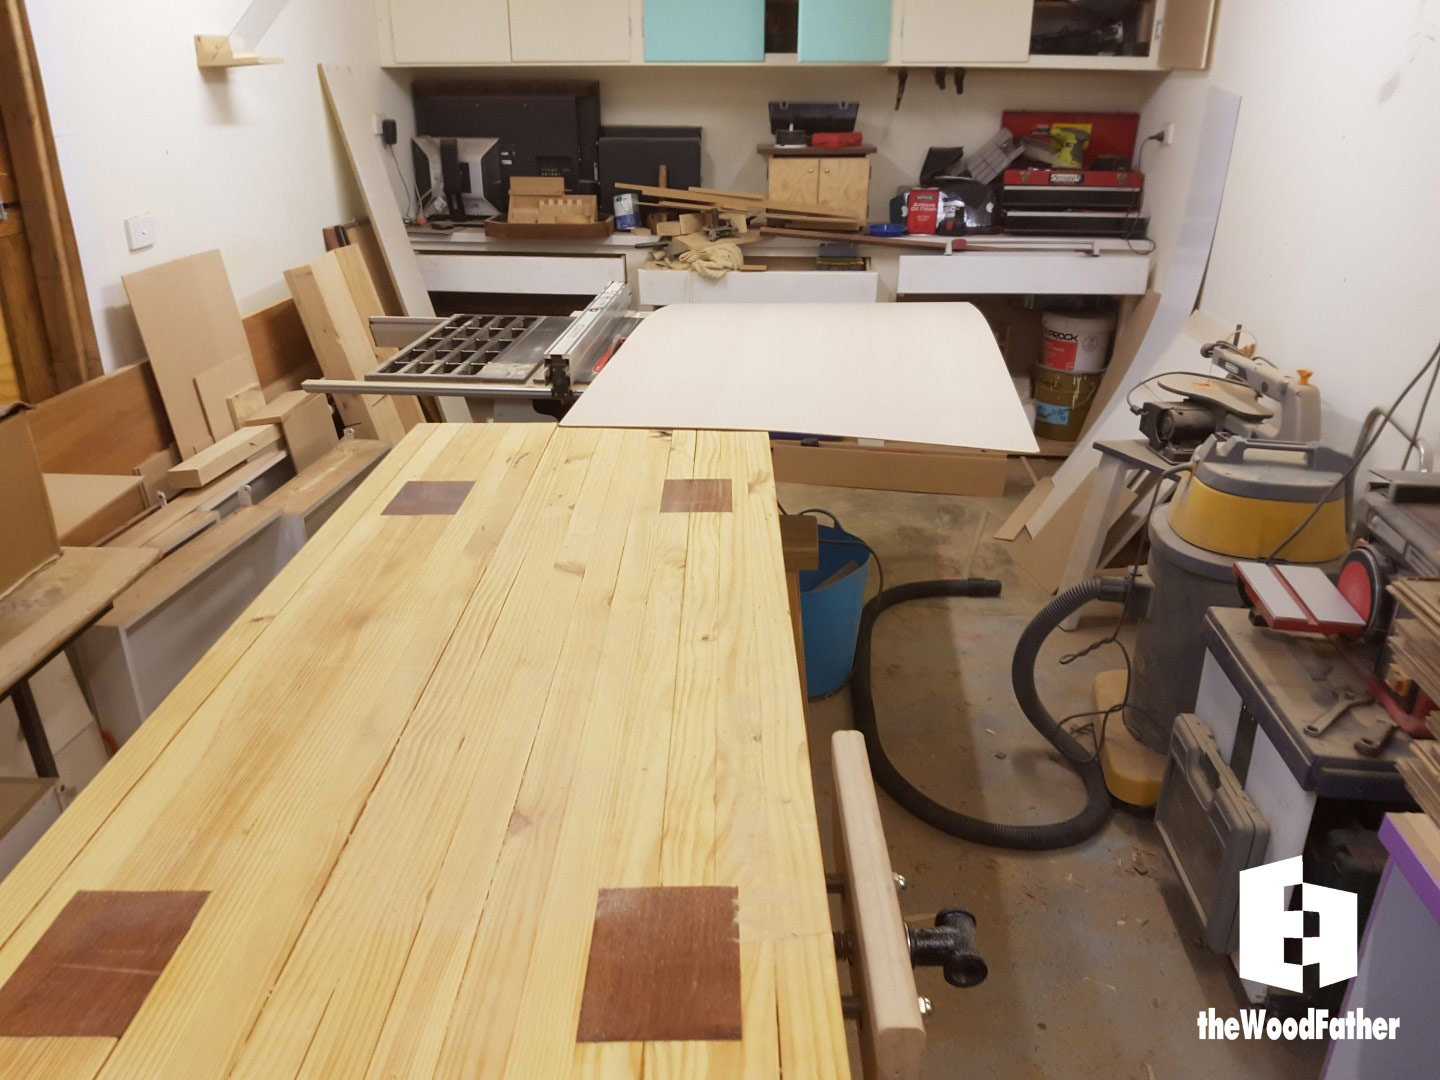
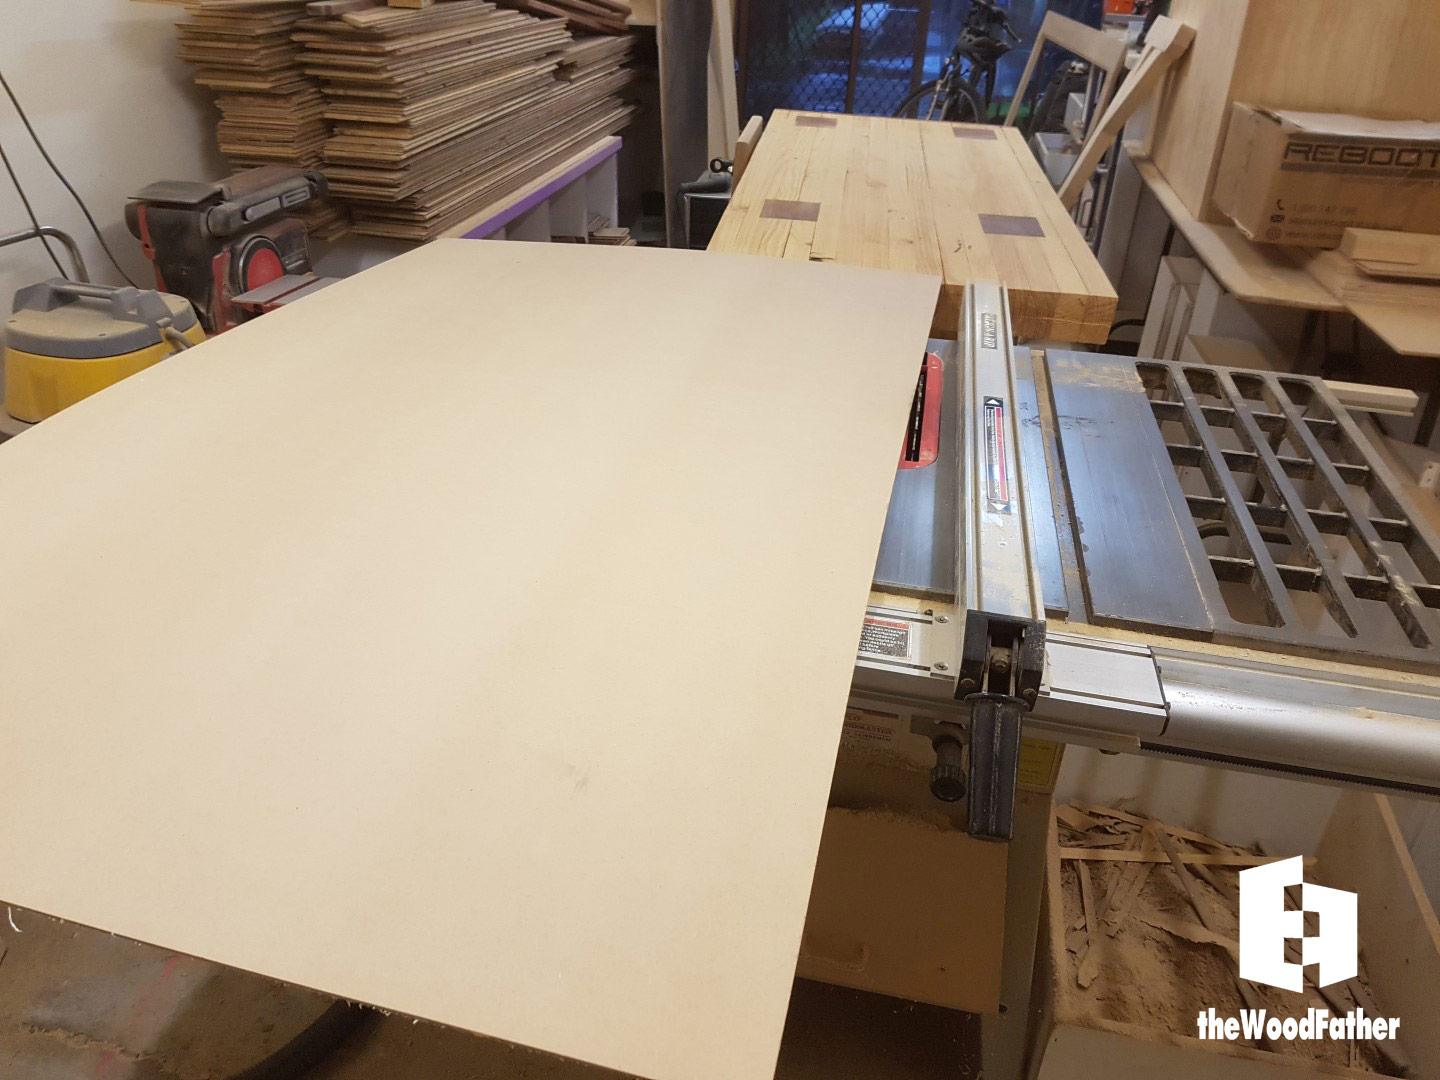
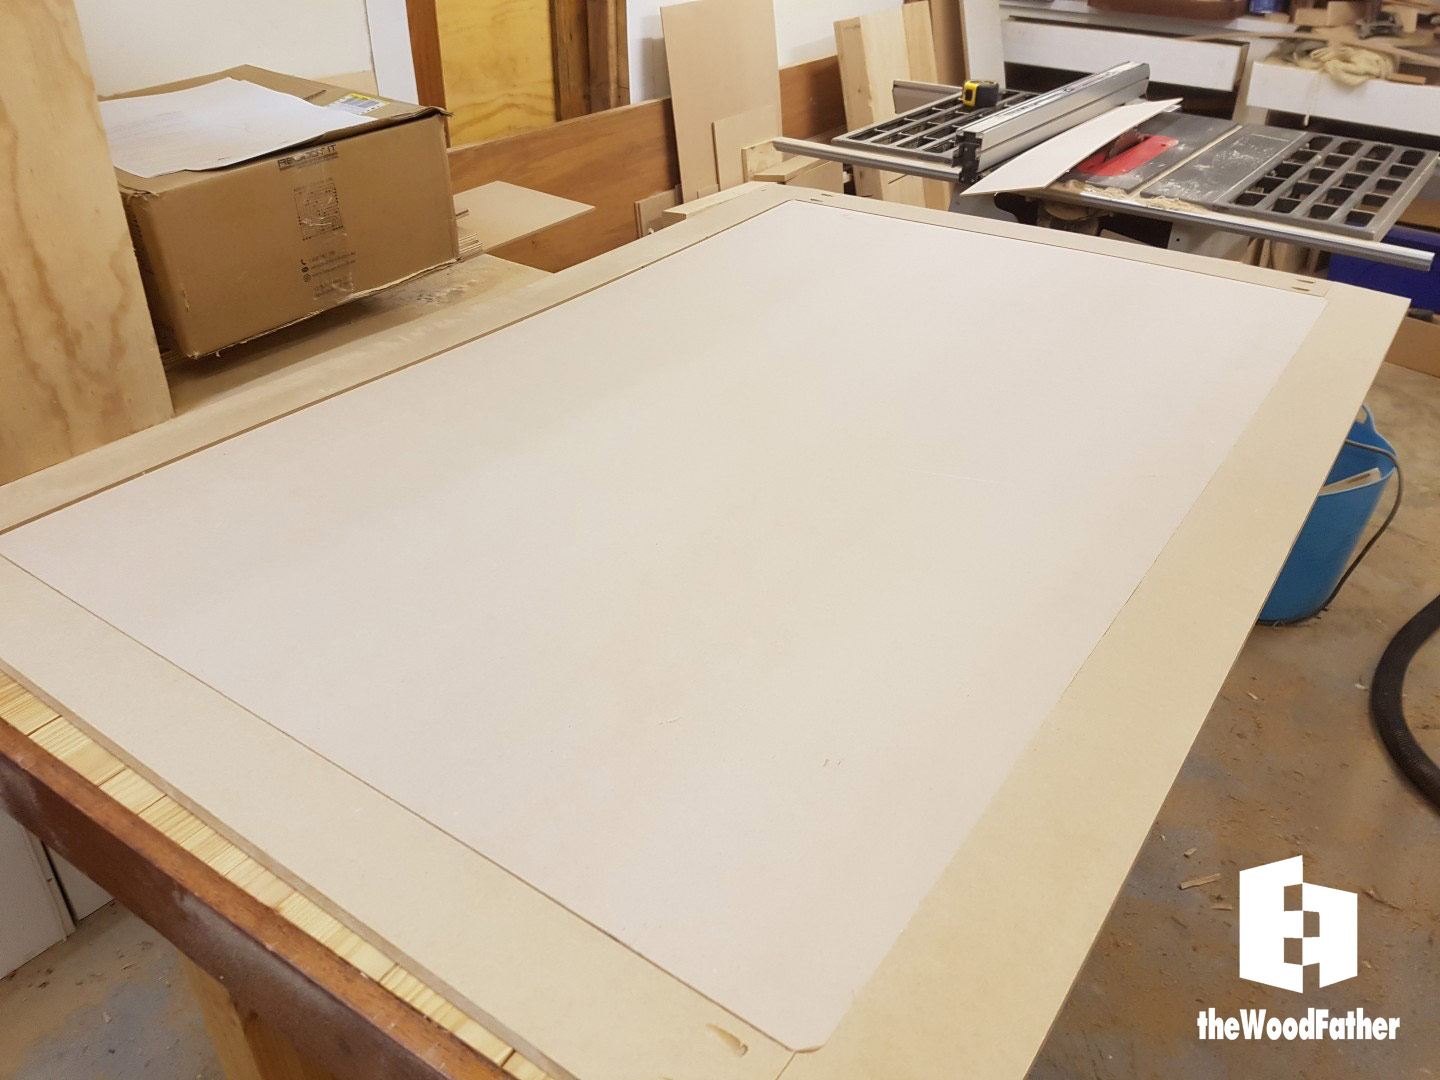
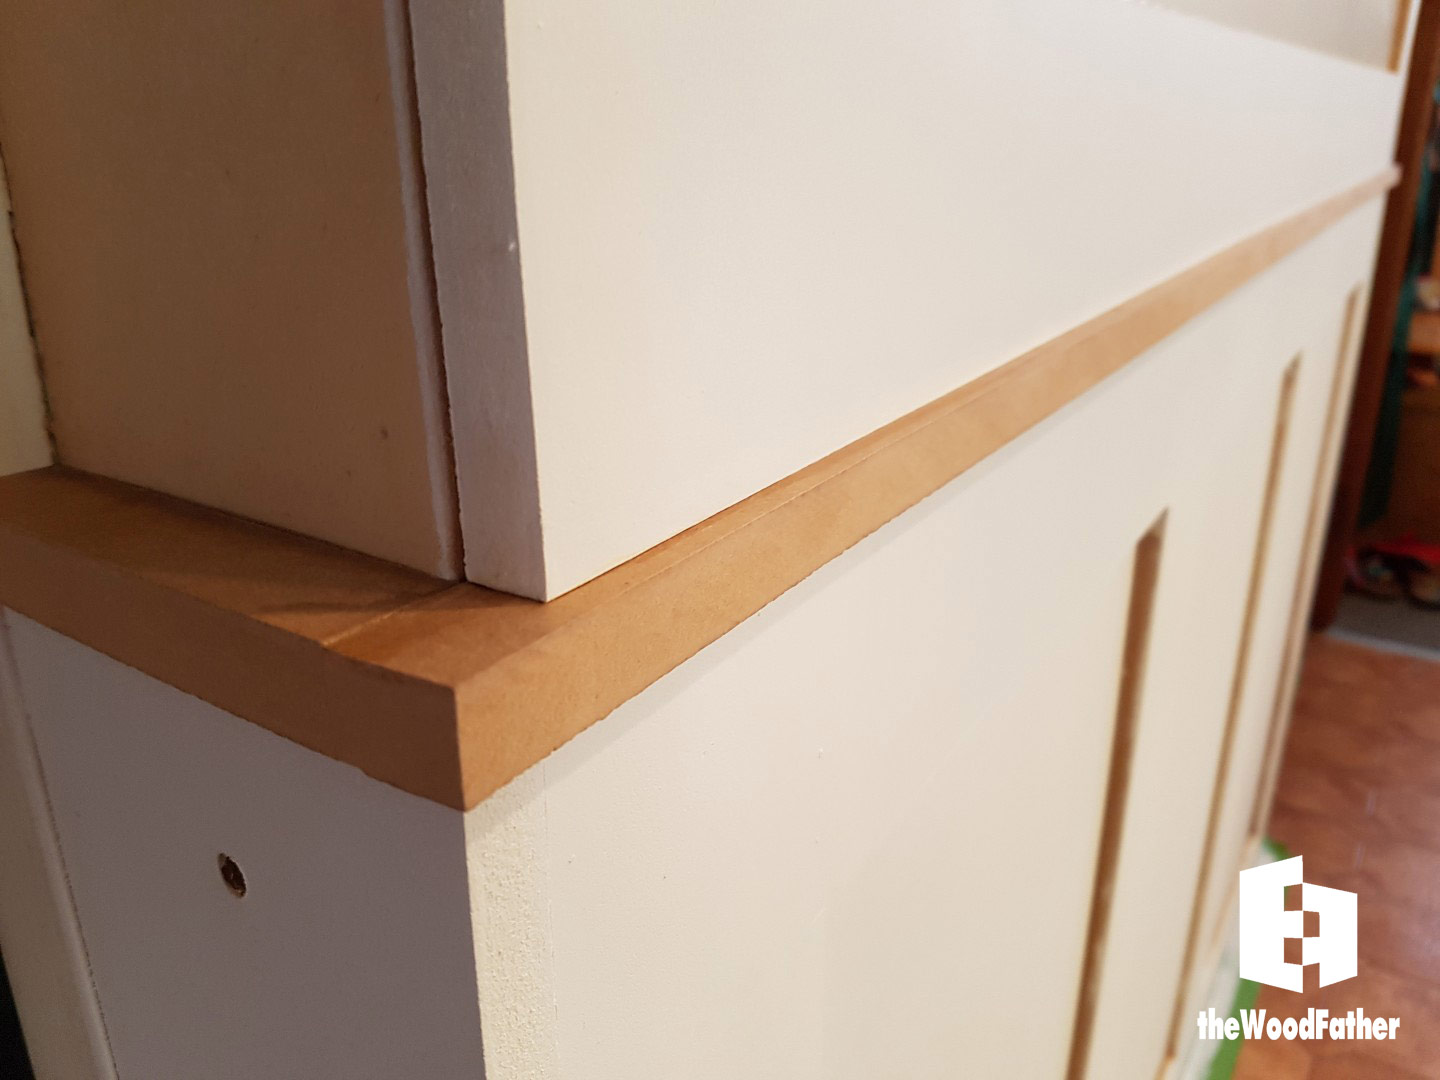
Build the wainscoting frame. Cut all the strips to size and then bang a few pocket holes in, you really can’t go wrong. I used the 3mm mdf for the panels as they are cheap, smooth, and take paint very well.
I then used a rabbeting bit in the router to cut a 3mm groove around for each panel to sit in.
|
|
|
|
|
|
|
|
Step 5
Screw it to the wall. A few screws straight into the wall stud mean this will never come out. Surprisingly this wall was quite flat across the face which made the job easier. I was expecting it to be curved so it was a great surprise to find it was flat, not many other walls in my home are! Oh and also, if I had a nail gun I would have used that instead of screws which would be easier to fill in with putty.
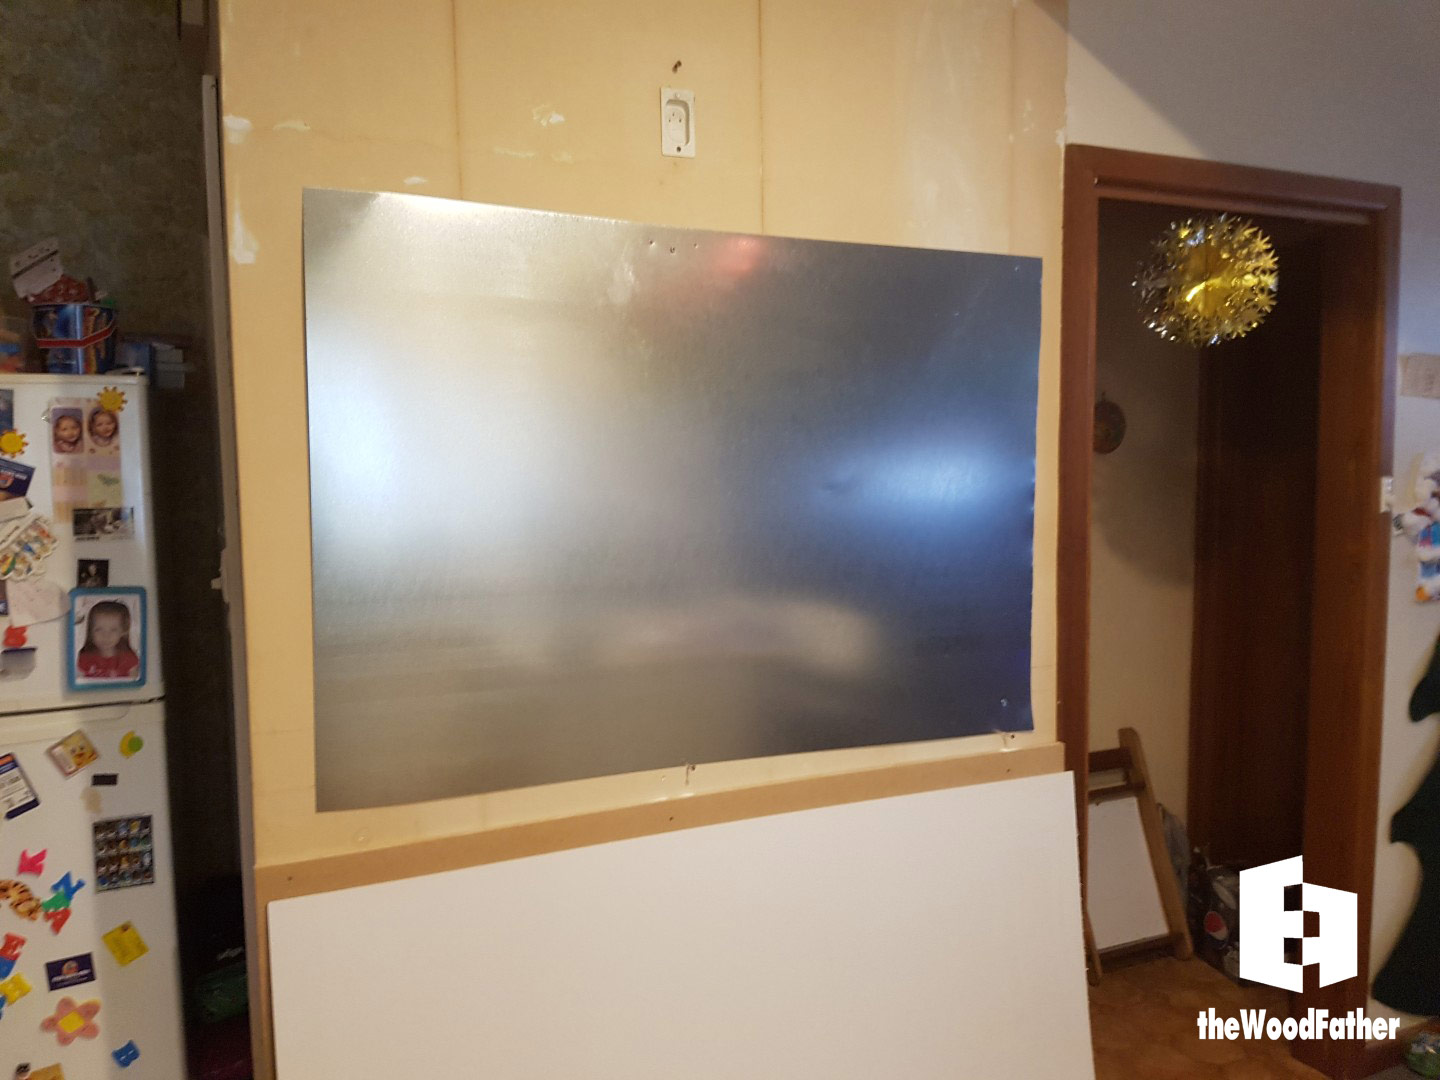
Step 6
Mount a sheet of galvanized metal to the wall for the magnetic backing. (I did level it out after taking this photo.)
|
|
|
|
|
|
Step 7
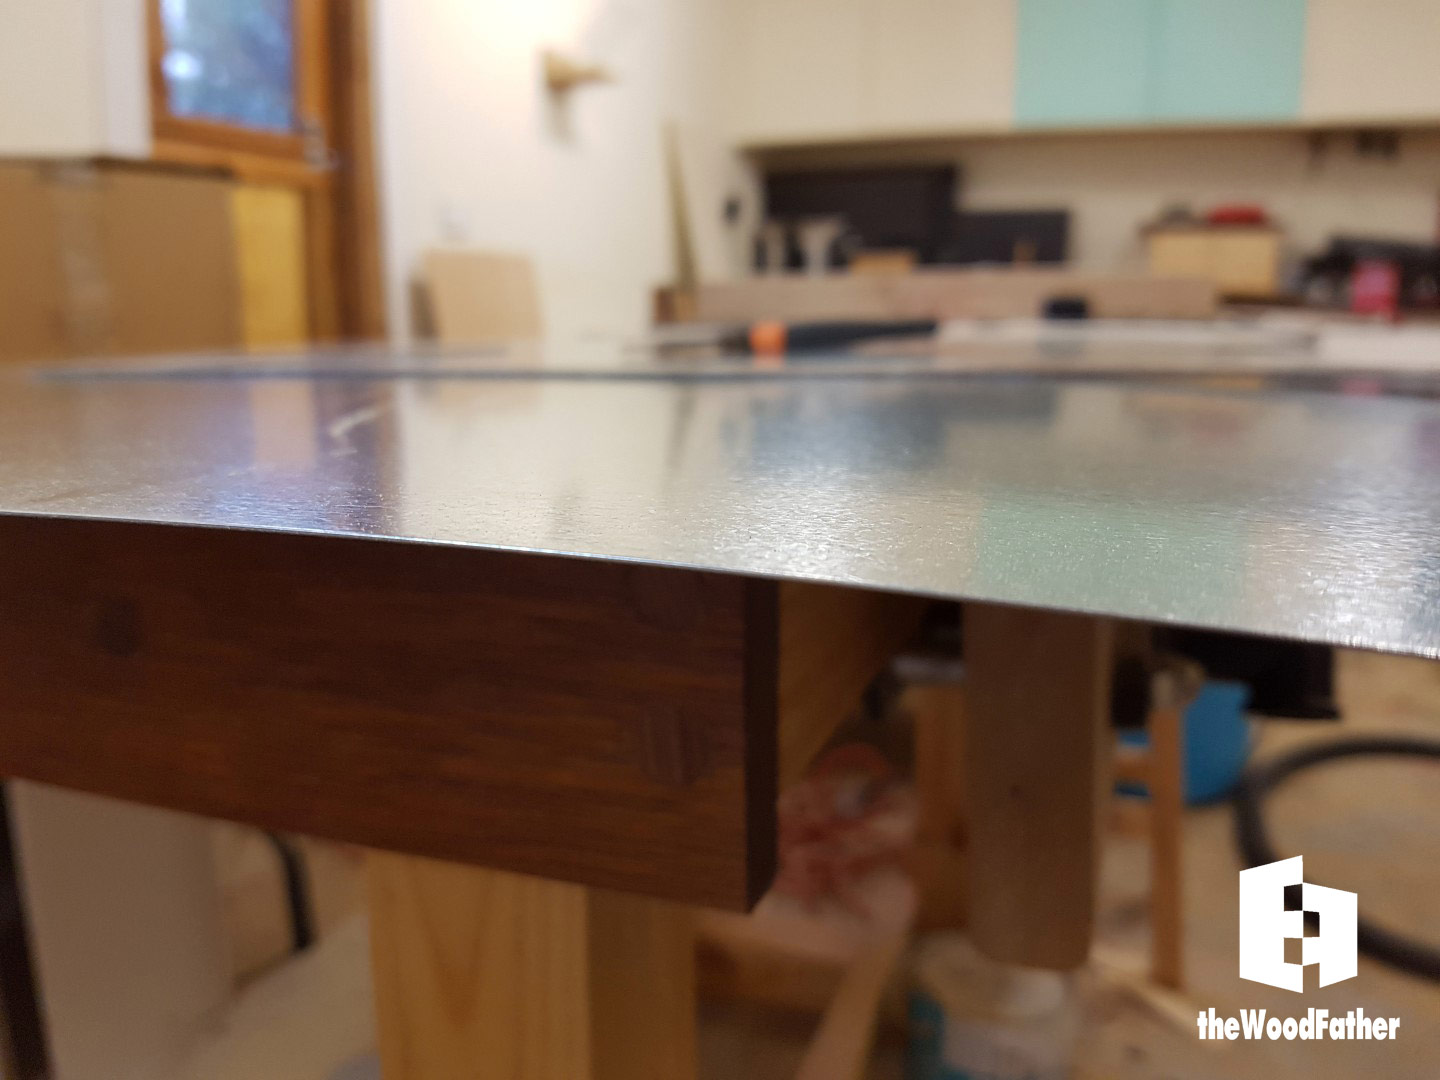
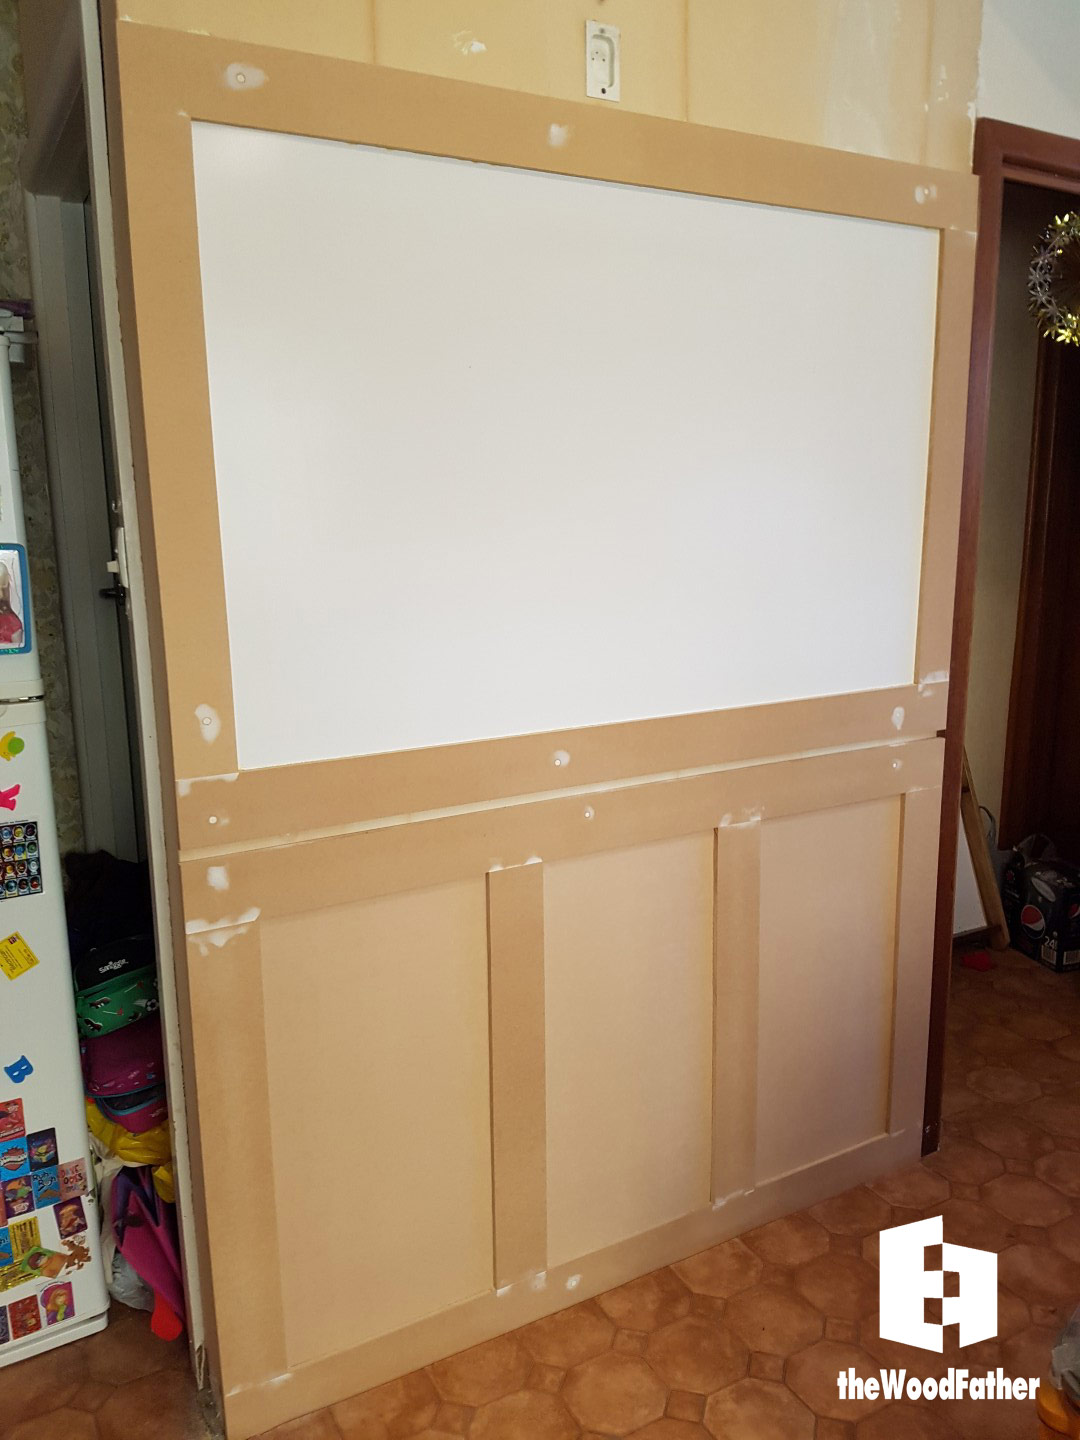
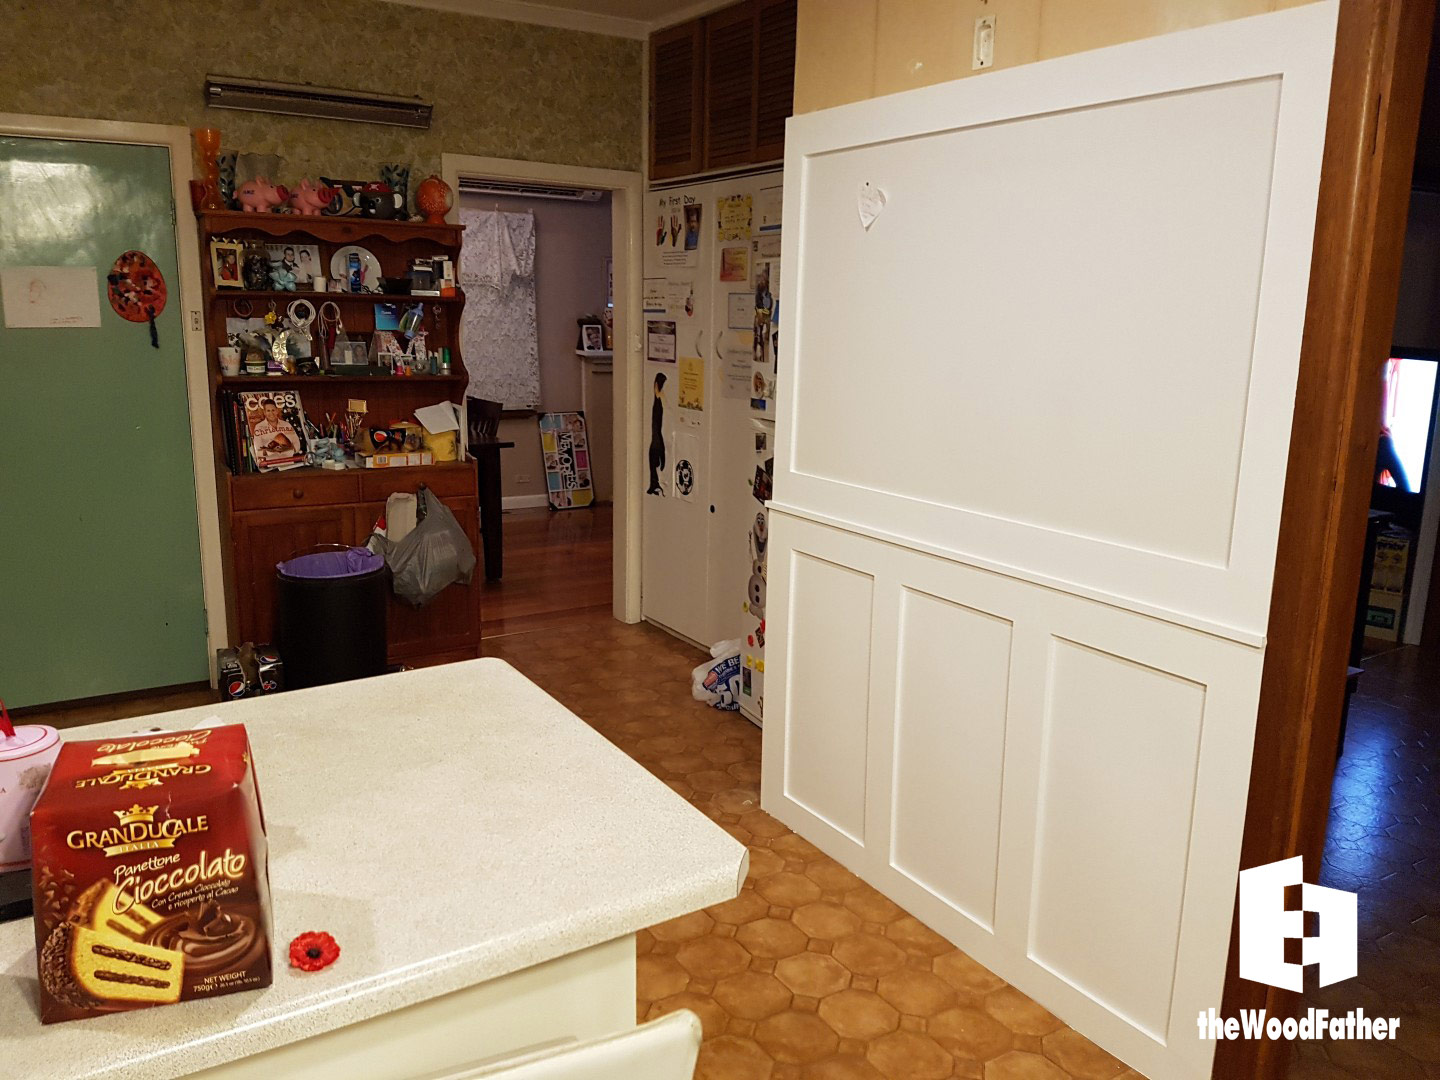
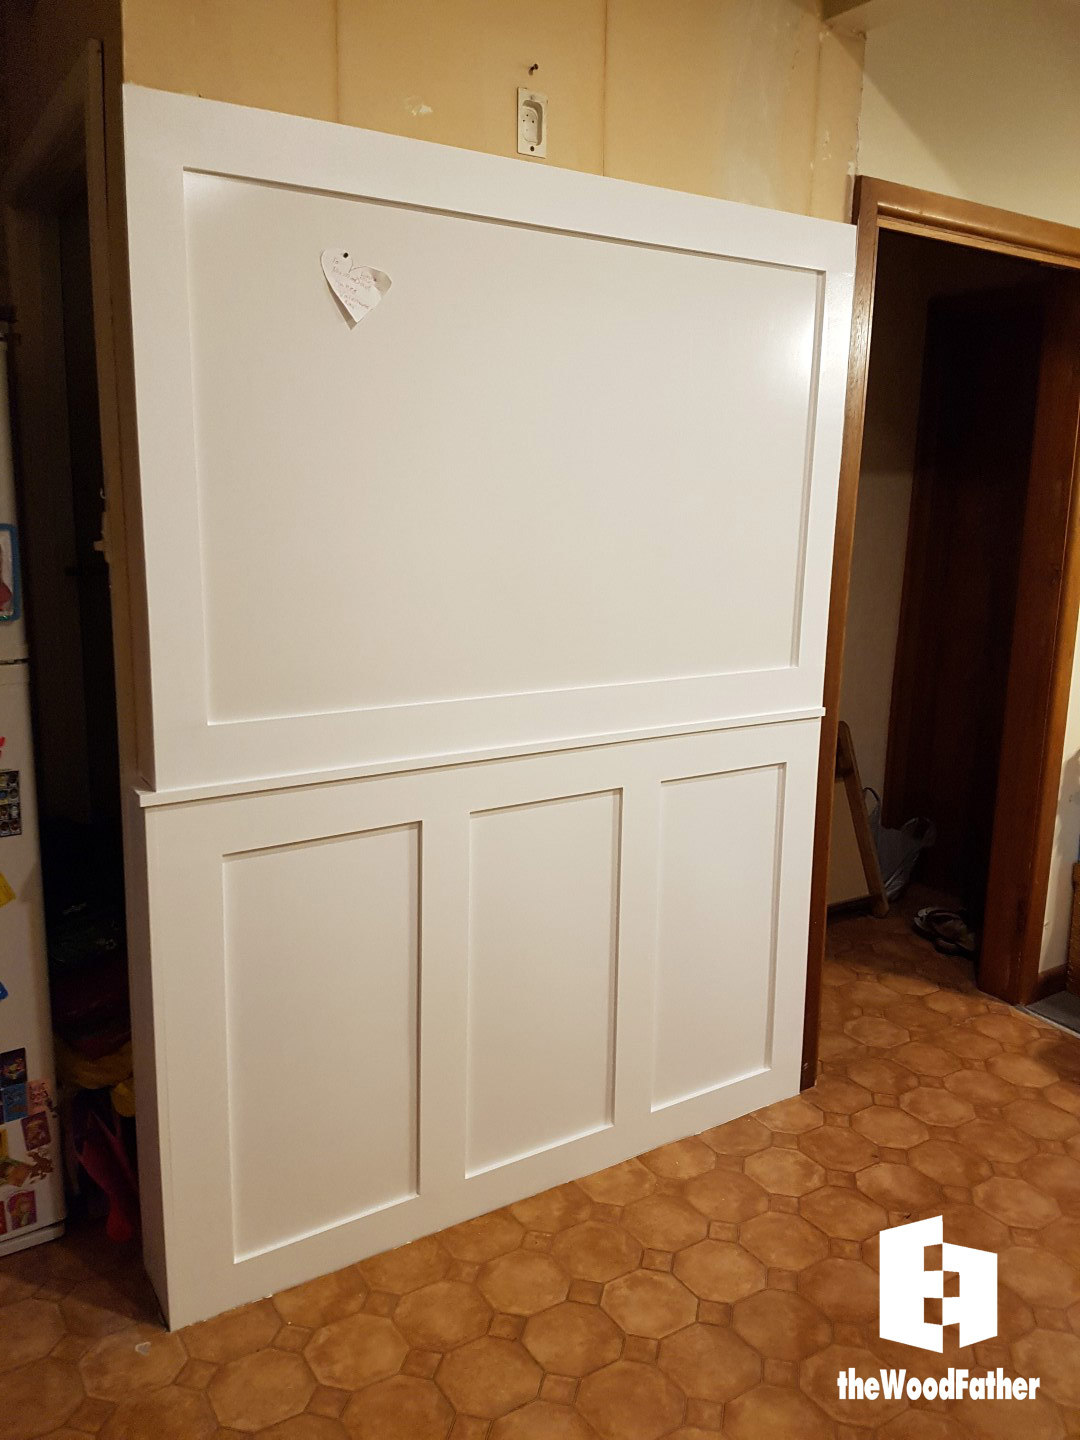
Make a frame for the whiteboard section. Now, technically I failed here, I used a sheet of 3mm melamine assuming it would work just fine, but tests showed that the markers left ghost imprints all over the place that were hard to clean. Overtime, I won’t be able to clear them at all. However I was committed by this stage so I went ahead with my plans anyway. Instead of writing on the wall, we’ll use it as a magnetic board which will be just fine.
|
|
|
|
|
|
Step 8
Mount the top frame. I also inserted a length in between the top and bottom section, just to clean up the look and tie them together. This section has a tight fit and is also glued in to the top and bottom parts.
|
|
|
 |
|
|
|


Step 9
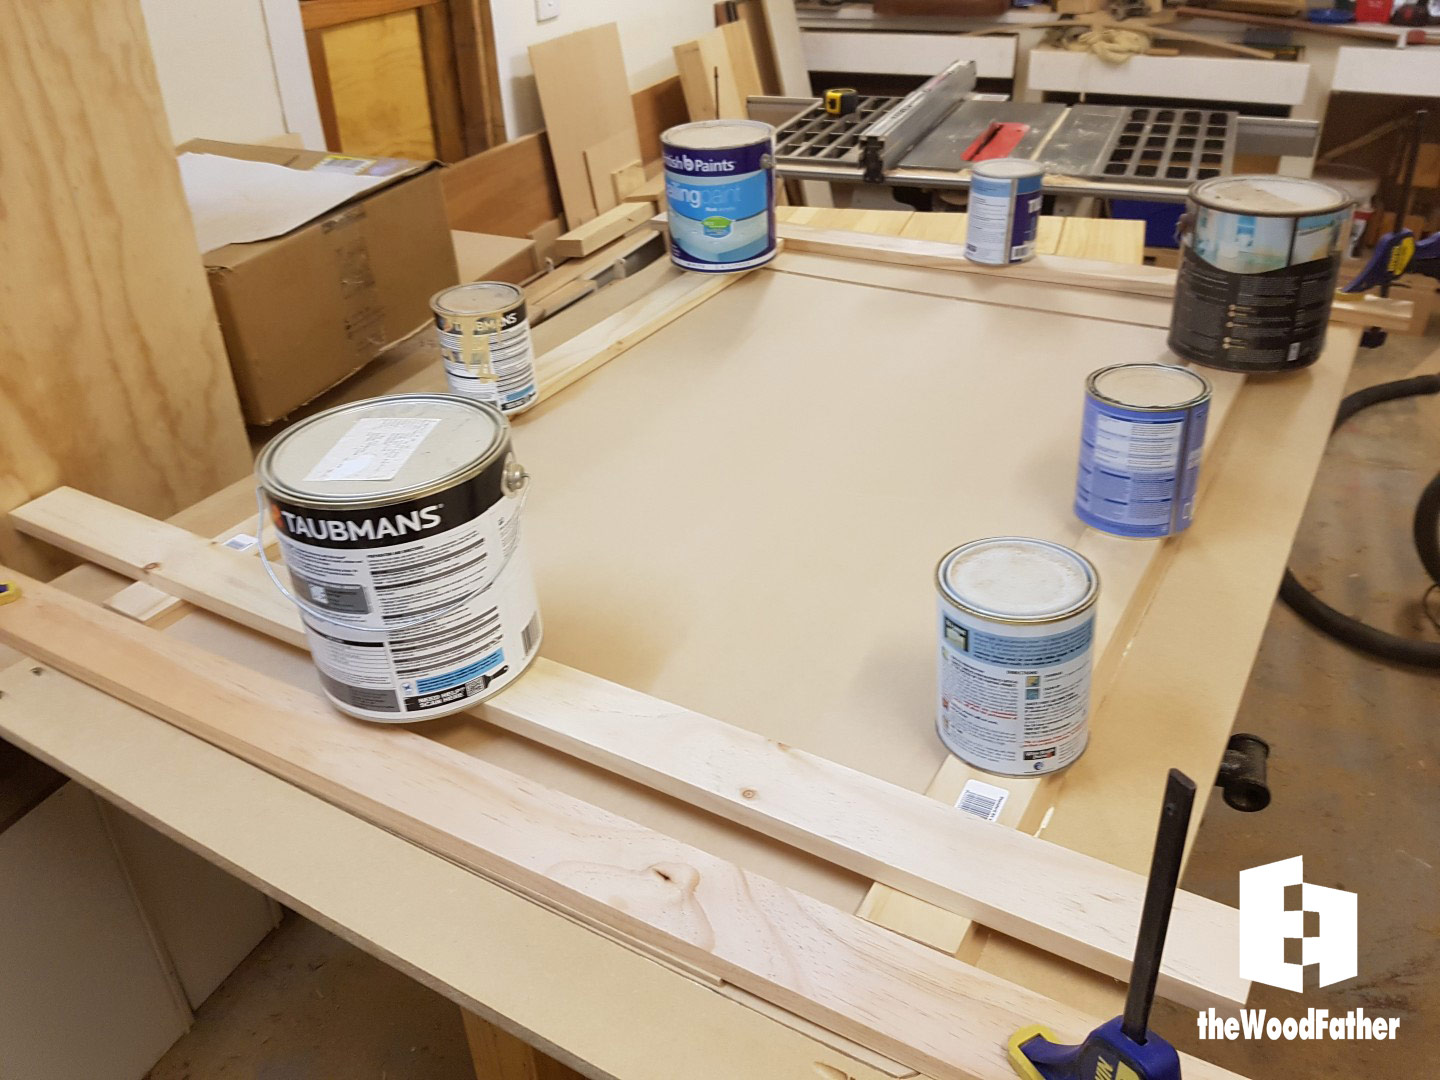
Putty all holes, give it 2 coats of primer and two more topcoats.

Step 10
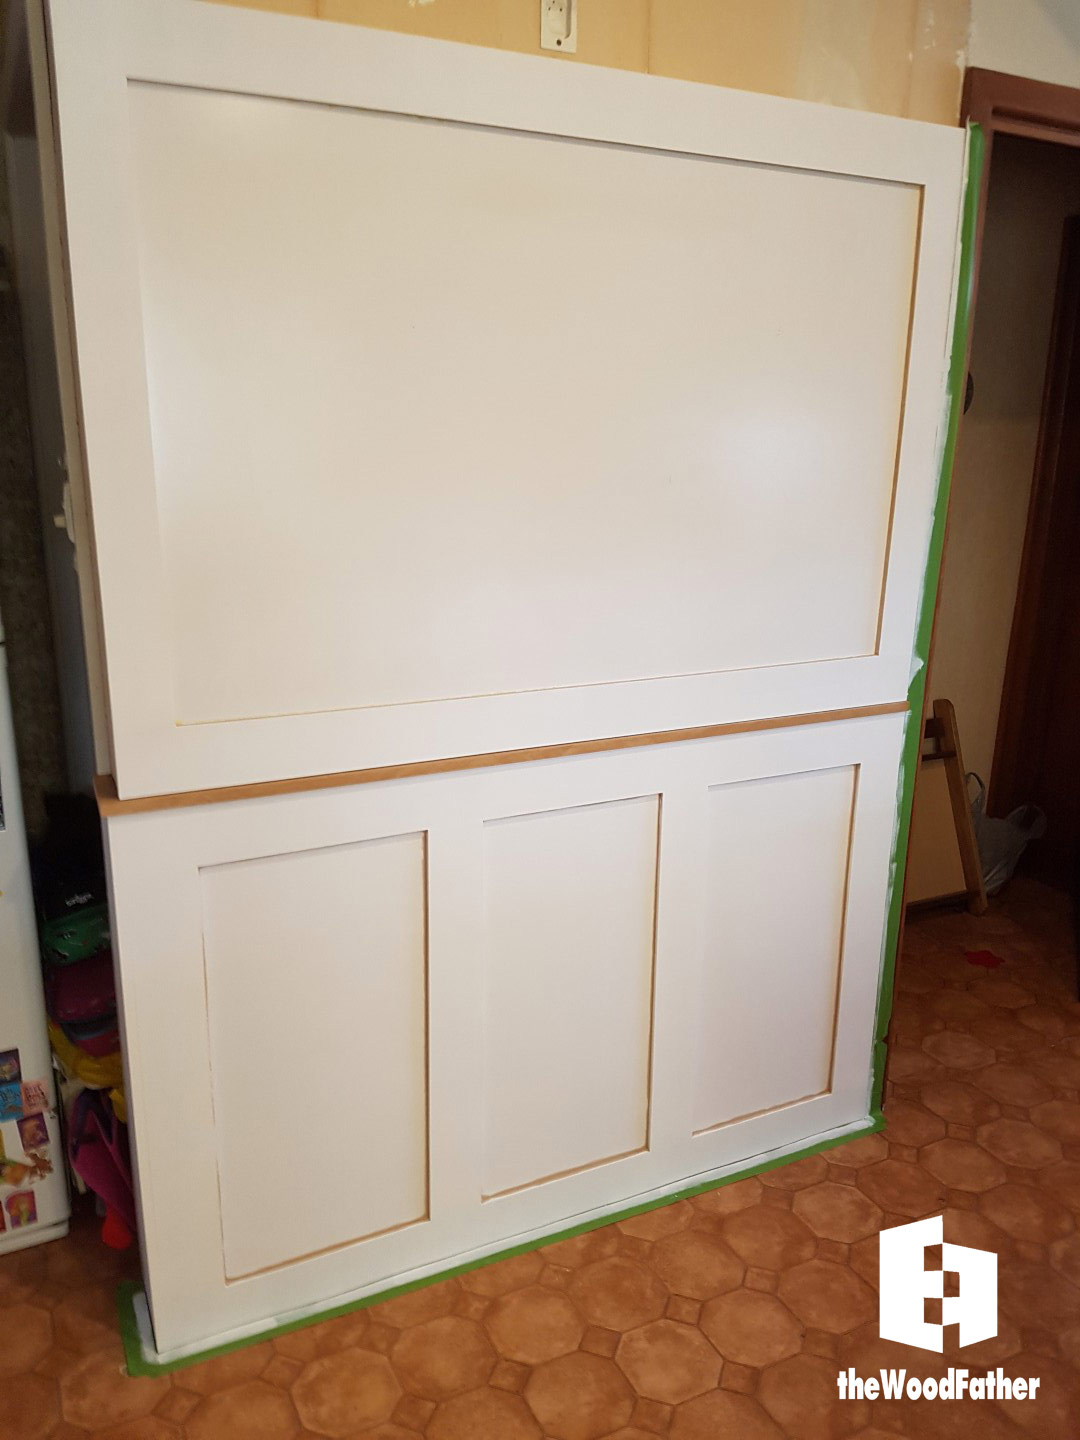
Enjoy!
|
|
|
Seeing as the sheetmetal has the 3mm mdf in front of it, normal fridge magnets will not work. Instead, I’ve already got a bunch of inexpensize rare earth magnets to use instead. I’ll make my own wooden badges to apply the magnets to, and they will be able to hold anything I like on it.
I’m extremely happy with this cheap little renovation now. The whole room looks so much bigger and cleaner, the difference is quite amazing. And as a bonus, I can now take down the small pinboard we have on another wall in the kitchen and hang my wife’s calendar holder there instead which will make that corner much more attractive too.
The only part I’ve not figured out yet is what I’m going to do to the very top of the wall above the whiteboard. I really can’t be bothered scraping the paper off, but at the minute that is my only thought.
Feel free to send any suggestions my way.