Ok, put your hand up if you use your table saw as a workbench.
Hmm, how about put your hand up if you use your table saw as a glue up bench.
Alrighty last one, hands up if you use your table saw as a painting station.
Is your hand up? Of course it is.*
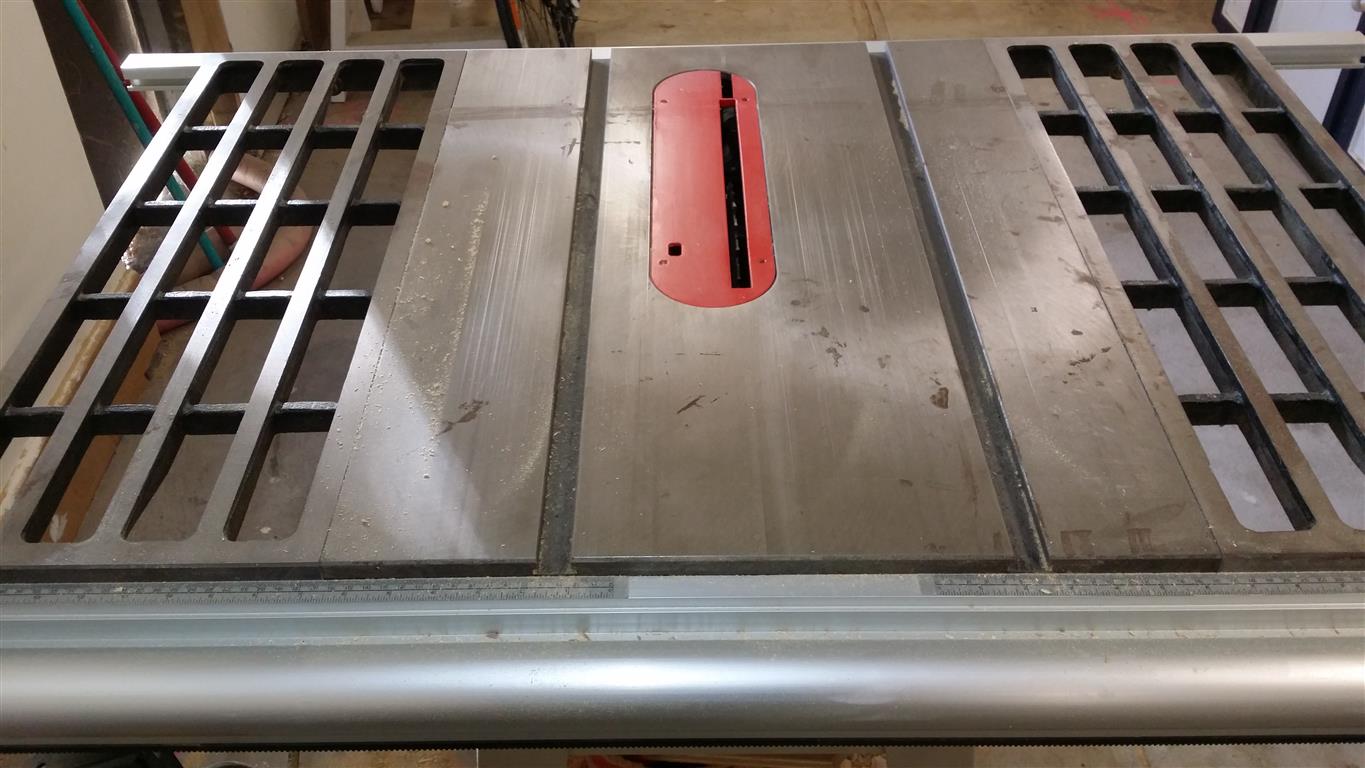
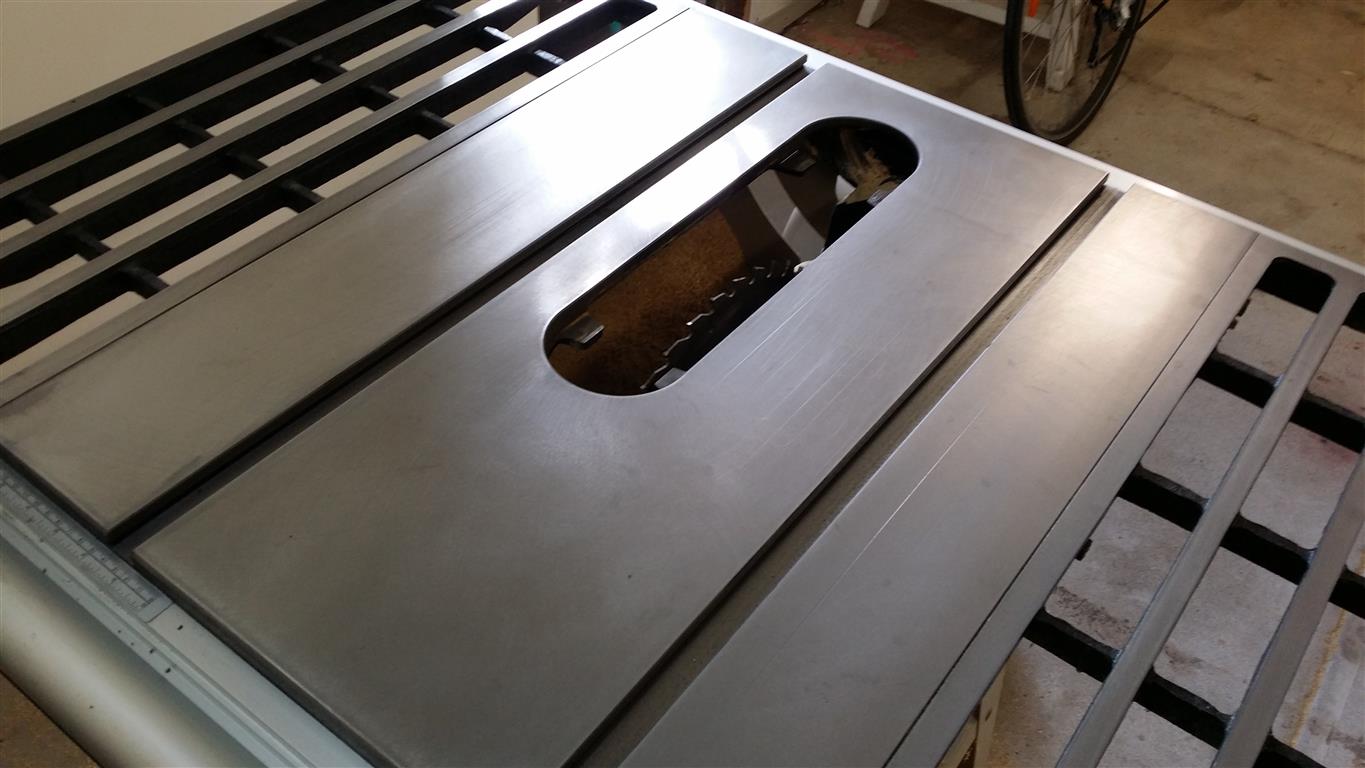
I’ve used my saw as a bench top since I first got it. It is stained, greasy, painted, grimy, and worst of all, scratched. It really doesn’t look like a 12 month old saw, and it hasn’t been used enough to justify it looking the way it does. I’ve wanted to clean it up for the longest time, but laziness and a lack of know-how, got in the way.
Last week I watched one of Laney’s videos about cleaning cast iron benchtops, the transformation on his ones were nothing short of astounding. So I thought I’d give it a shot. Here’s my results, I’m pretty happy with it, my saw looks far better now than it did when it was brand new. Which sadly isn’t saying much for how it looked when I got it…
[cryout-multi][cryout-column width=”1/”]
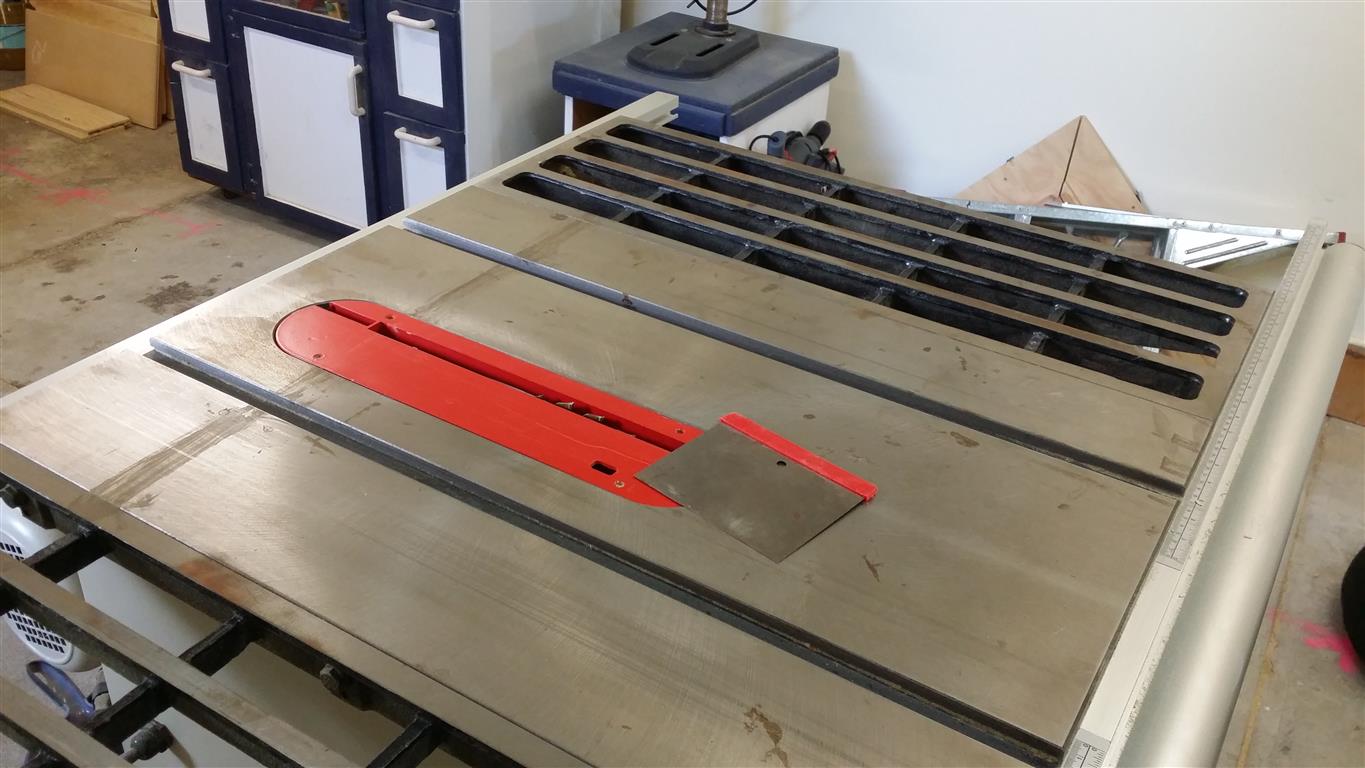
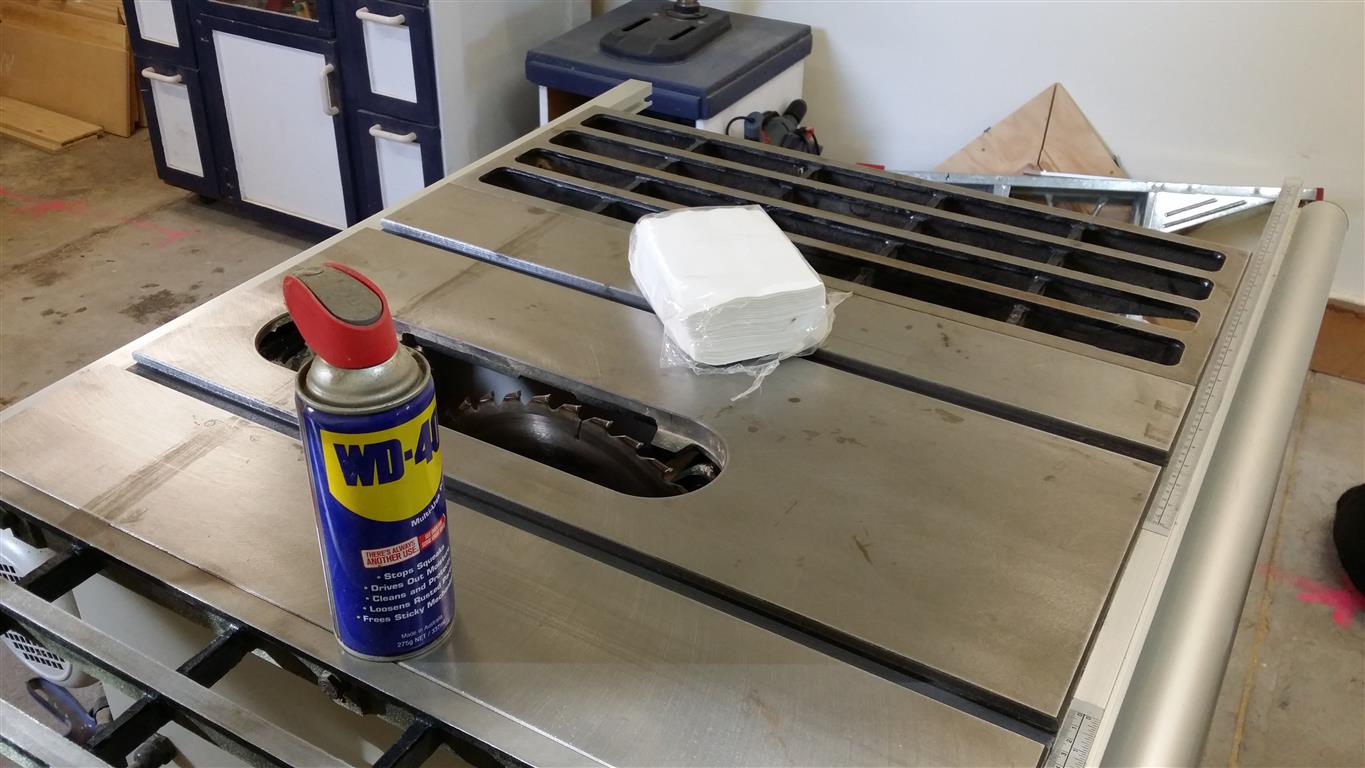
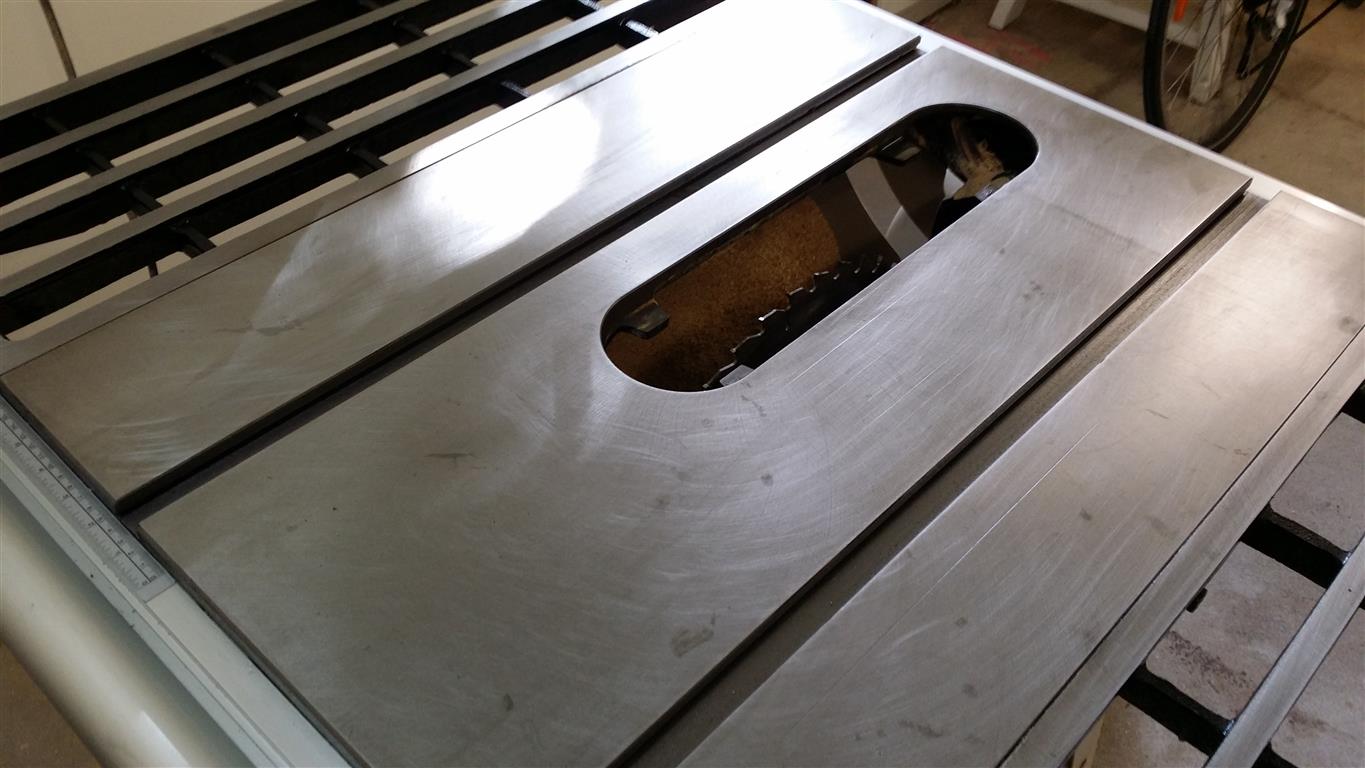
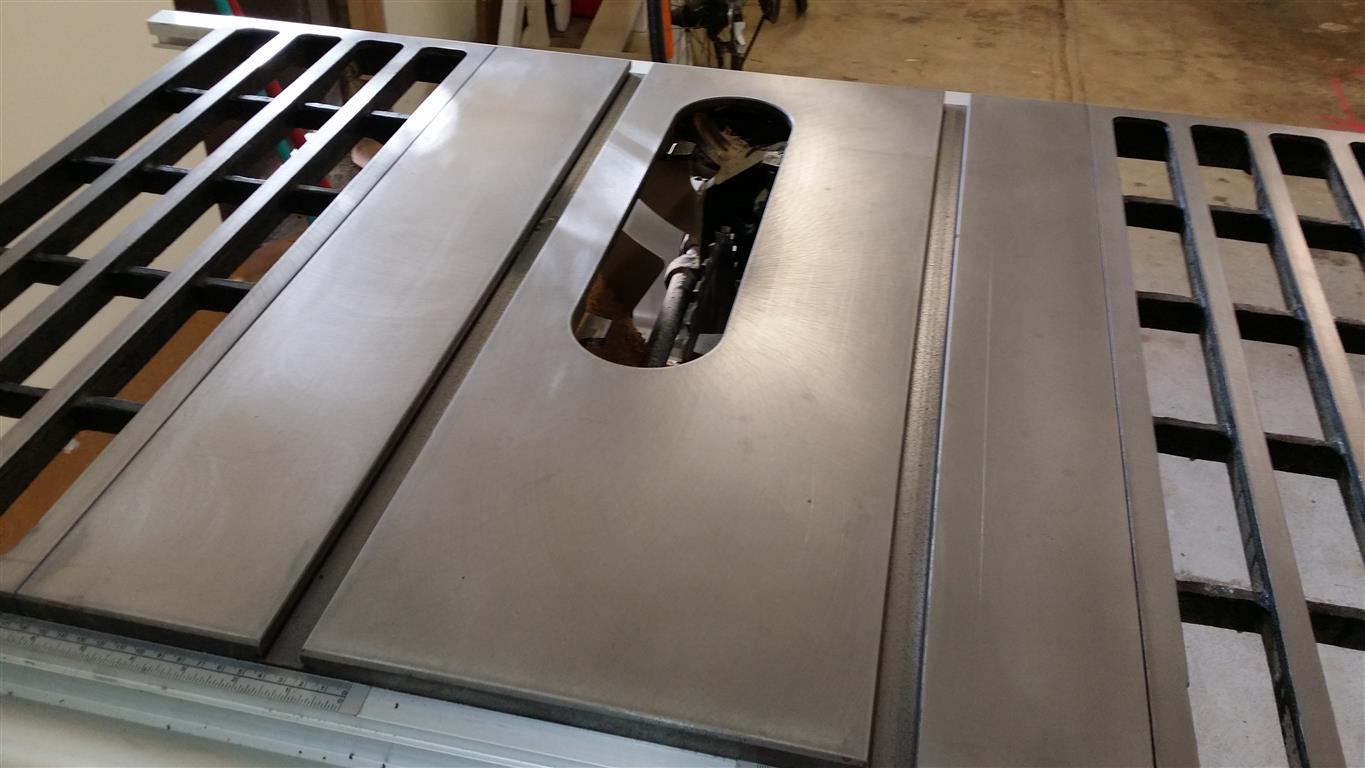
Here it is how I started. Blobs of glue everywhere, paint on it, and rough scratches from I don’t what. I must have pushed some wood through that had a nail or screw head sticking out, but I don’t remember doing so. The first step here was scraping all that crud off, I used an old paint scraper to do so.

[/cryout-column] [cryout-column width=”1/1″]
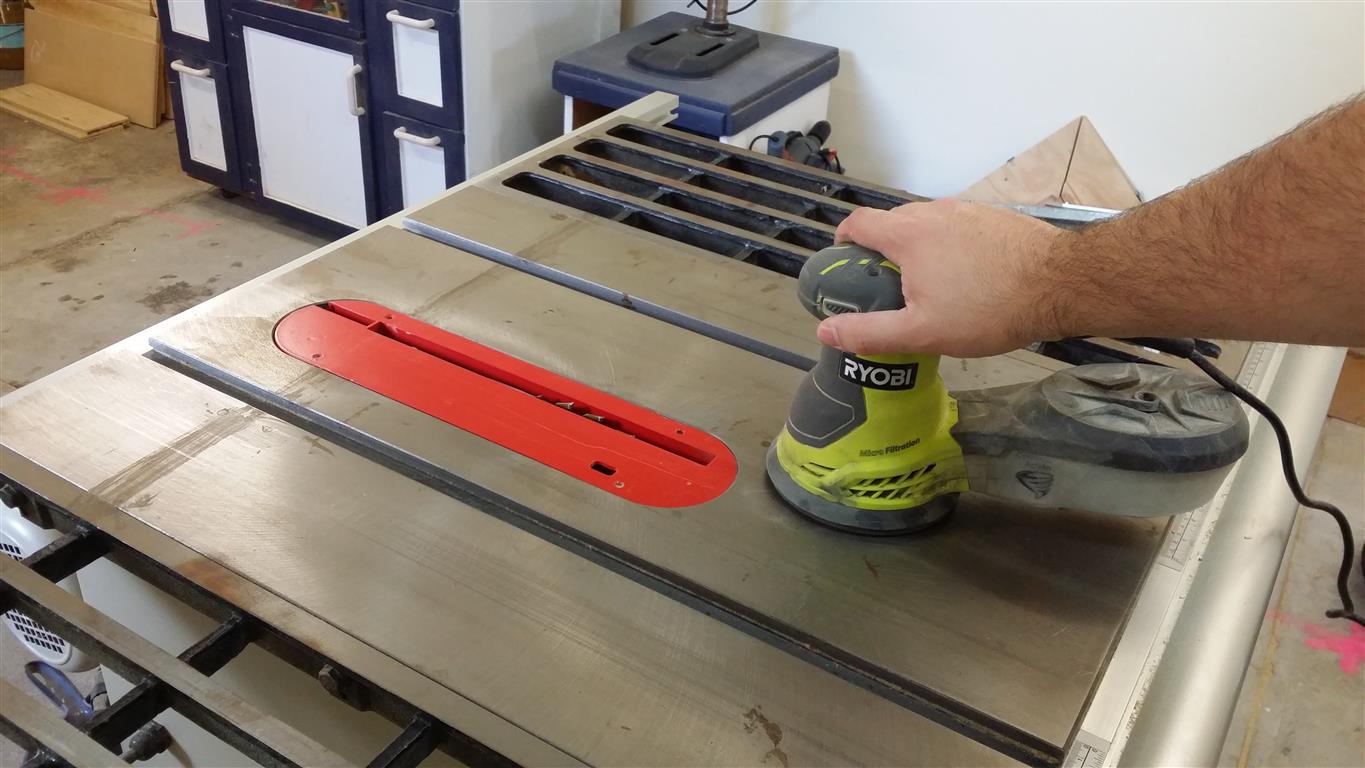
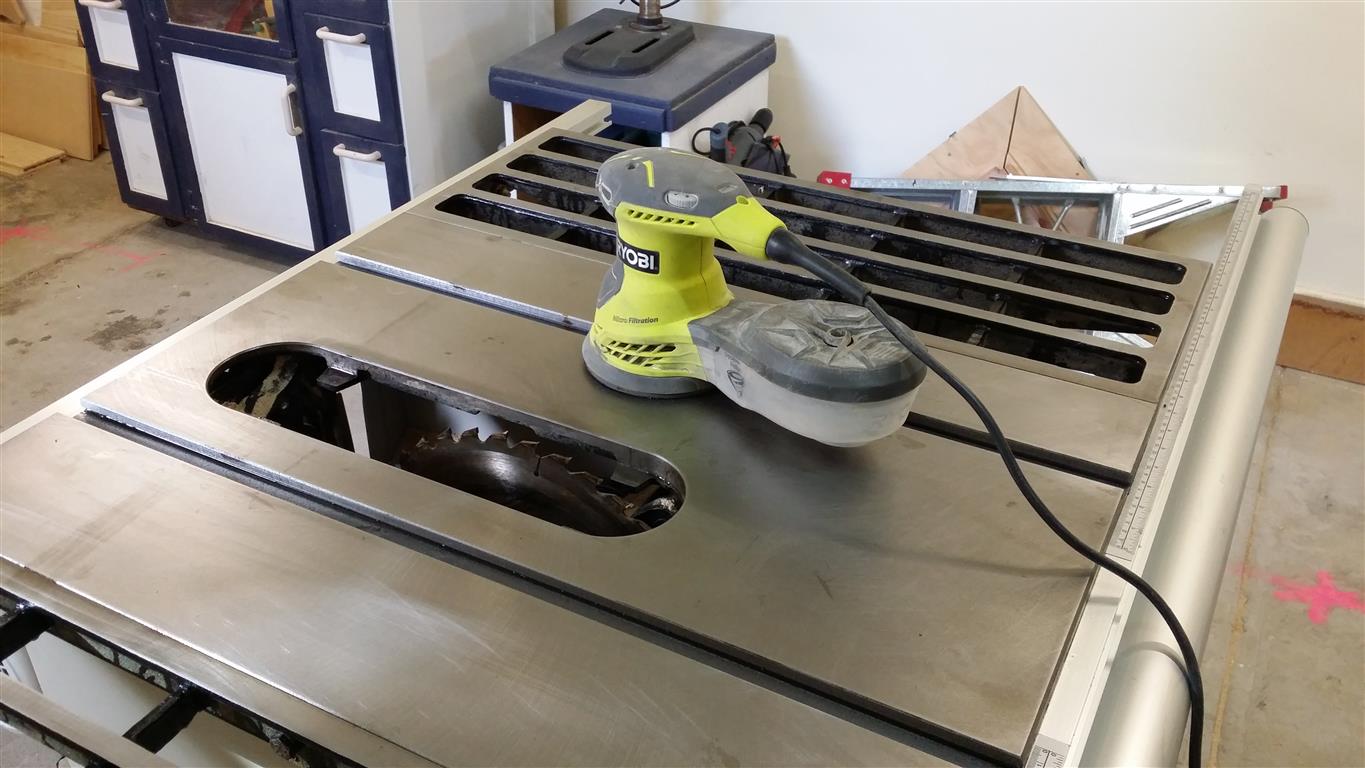
After the bulk of the crud was removed, I used my orbital sander with a 120 grit pad on it. I went over the whole top, slowly and deliberately, making sure I covered every part of it. Then I took the sanding disc off and wrapped it around a plywood offcut. Lots of elbow grease was spent sanding the mitre tracks to remove the roughness the saw shipped with from the factory.

[/cryout-column] [cryout-column width=”1/1″]
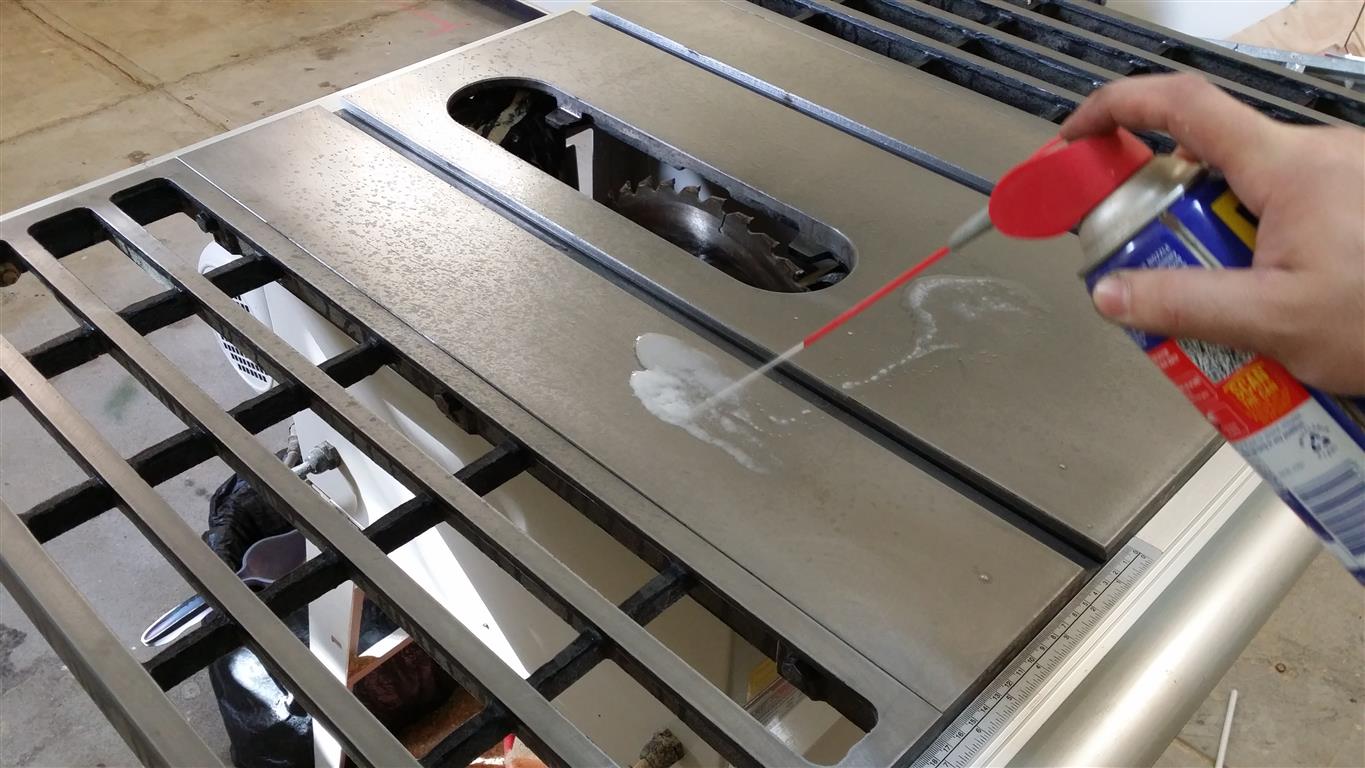
Then it was time to drench it in WD-40. Absolutely drench it. I took a clean 120 grit pad and the plywood offcut and hand sanded everywhere. You can use a power sander here if you like, but the slurry will just be thrown everywhere, it’s just easier to go by hand. Once I was done, I wiped up all the slime with paper towels and admired the already much nicer cast iron top.
[/cryout-column] [cryout-column width=”1/1″]
At this stage, I’ll be honest, it was looking really nice and I was tempted to call it a day. It was shiny, smooth and had a consistent sheen. But I thought it would be nicer if I took it further.
[/cryout-column] [cryout-column width=”1/1″]
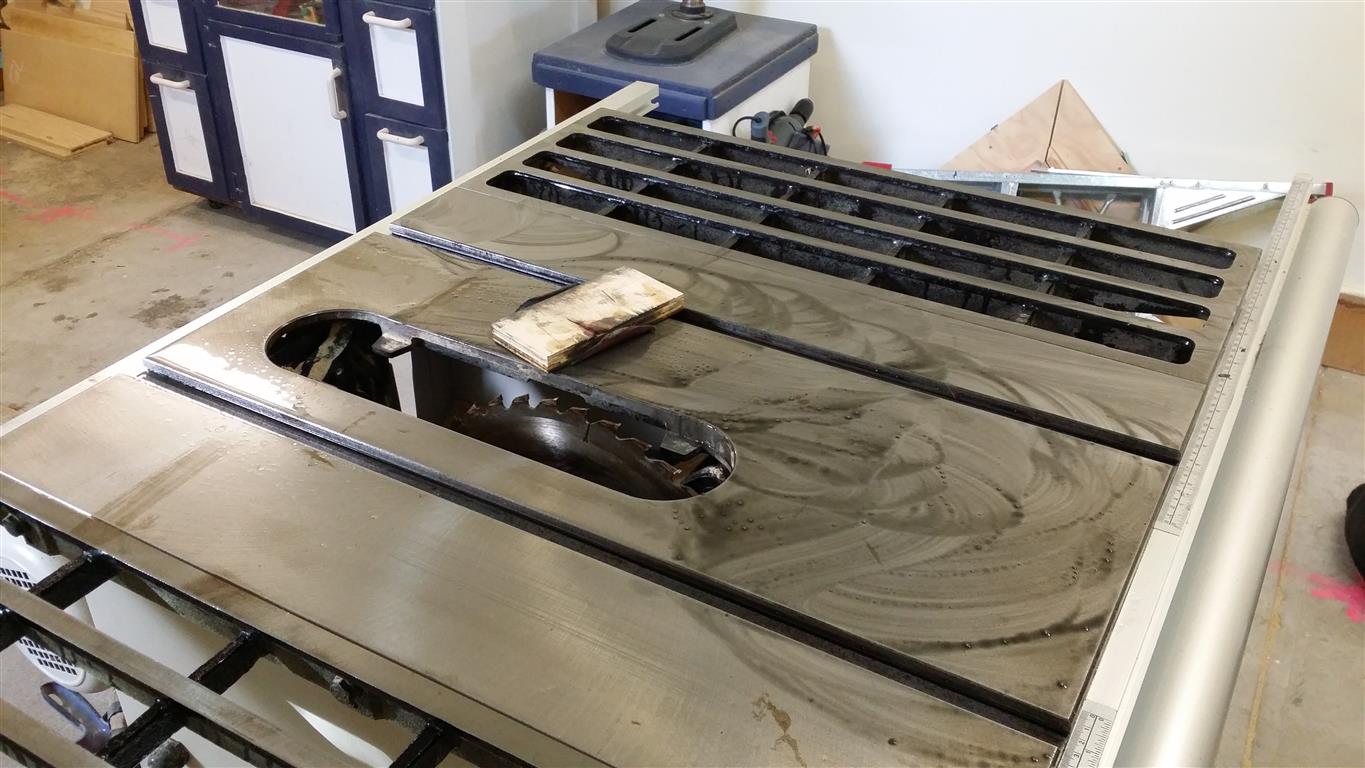
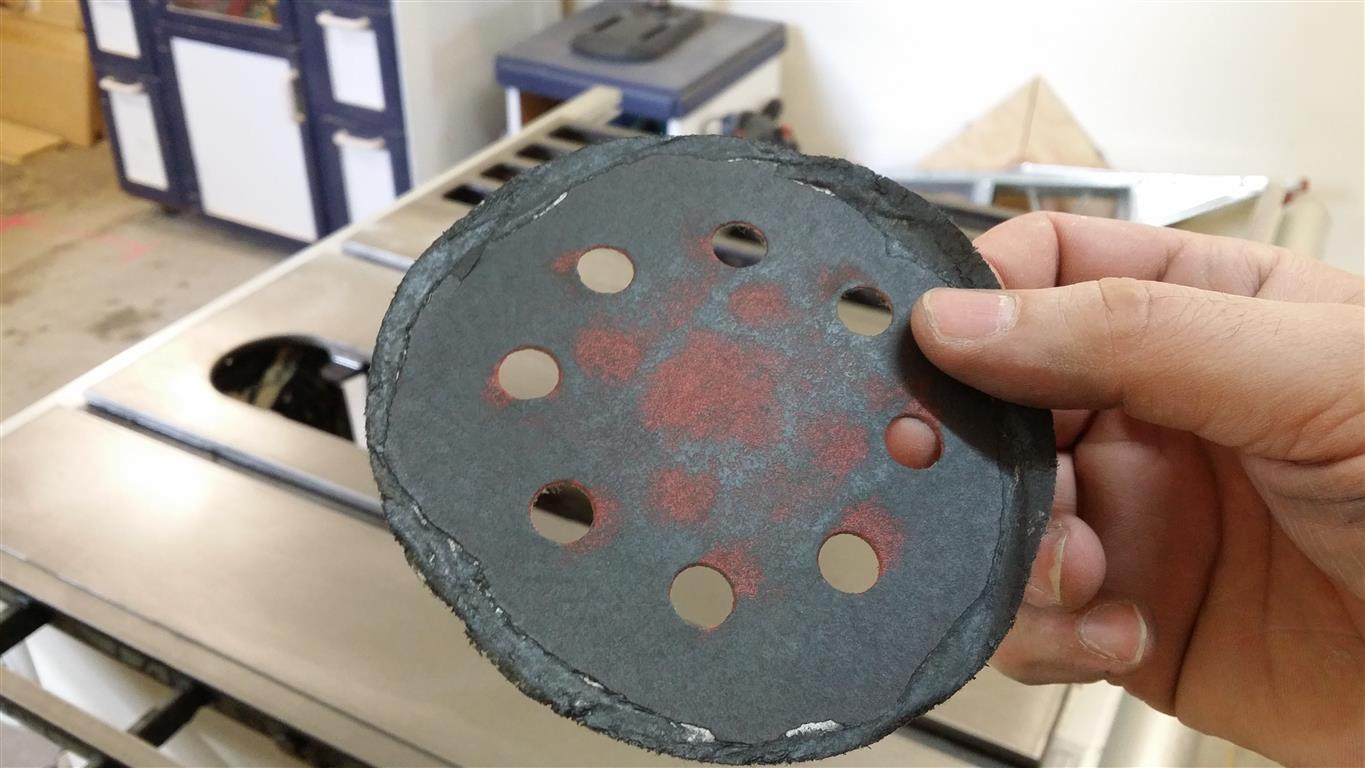
I fitted a 240grit disc to the sander and went at it again, dry sanding the top. I went slower again with this pass, really making sure I wasn’t missing any areas and that I couldn’t feel any sort of bump or ridge with my fingertips, no matter how slight. You can see just how gunked up the disc got by the end, this was a brand new one a little while earlier. I used up two new discs on it for this pass alone.
[/cryout-column] [cryout-column width=”1/1″]
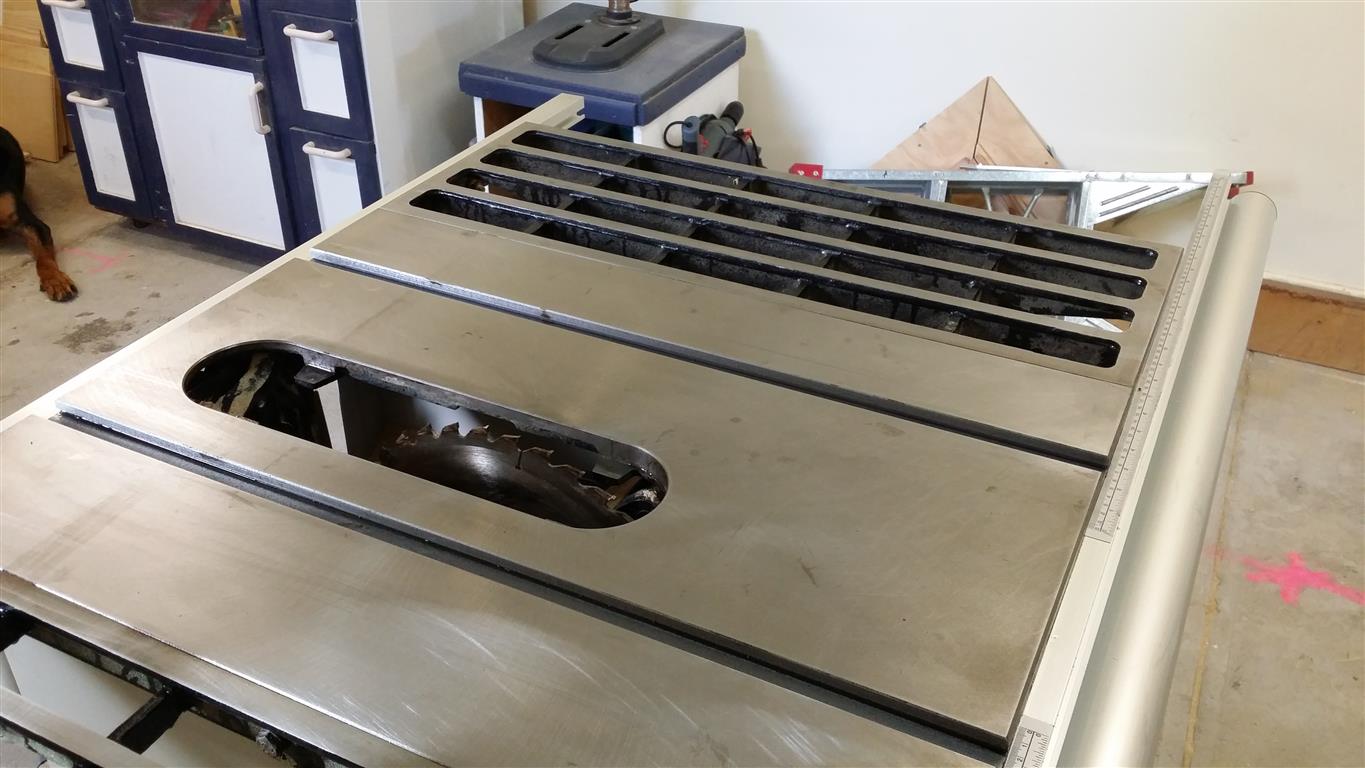
I don’t have any protective wax to seal the top with yet, but looking online I saw that a lot of guys simply use WD-40, now I’m one of them. I drenched the top once more and with clean paper towels, buffed it out.
[/cryout-column] [cryout-column width=”1/1″]
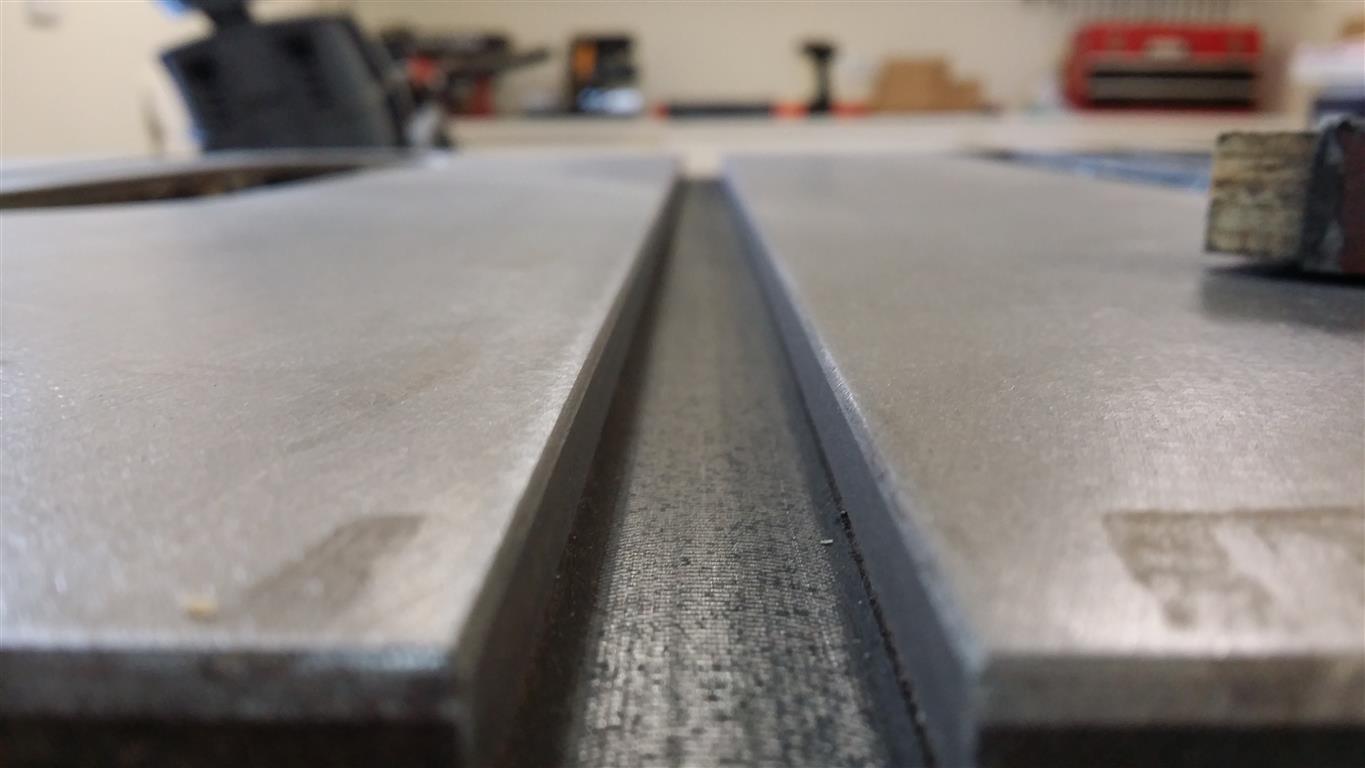
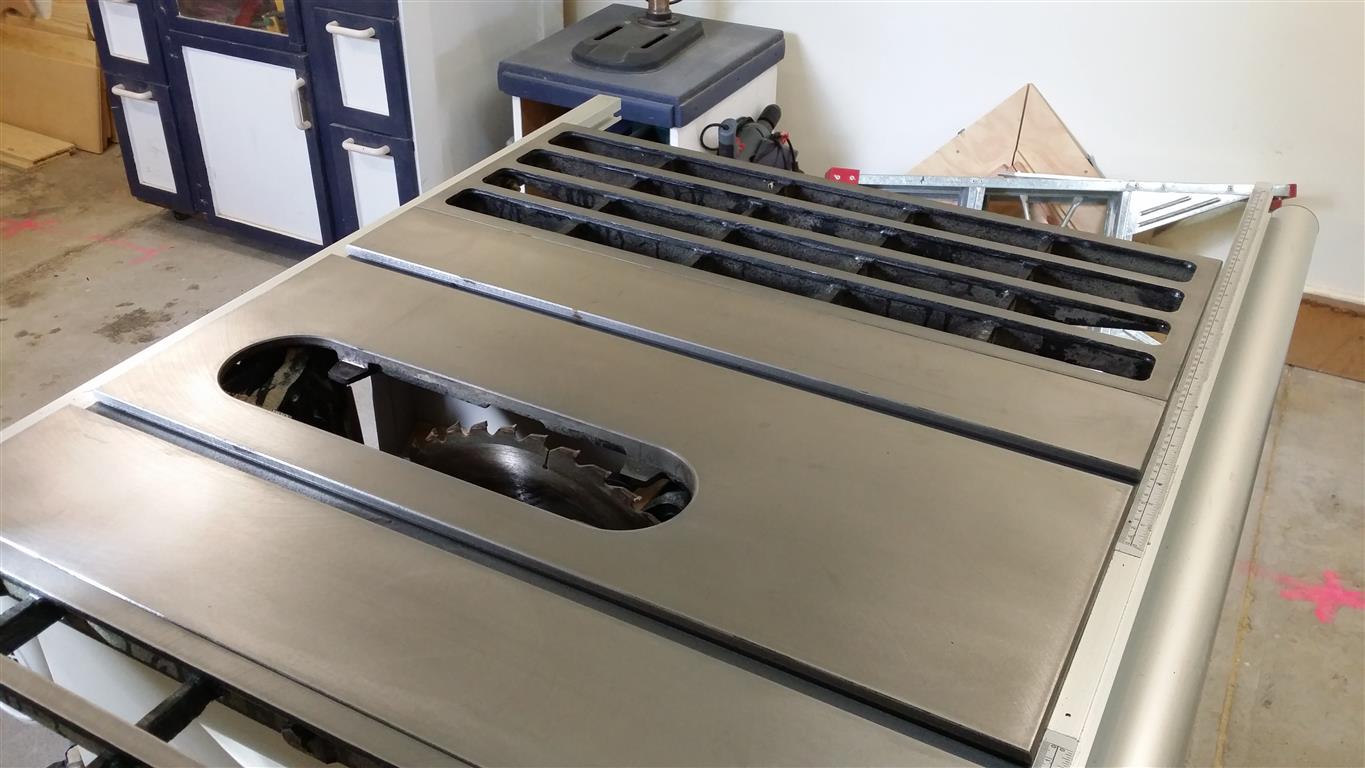
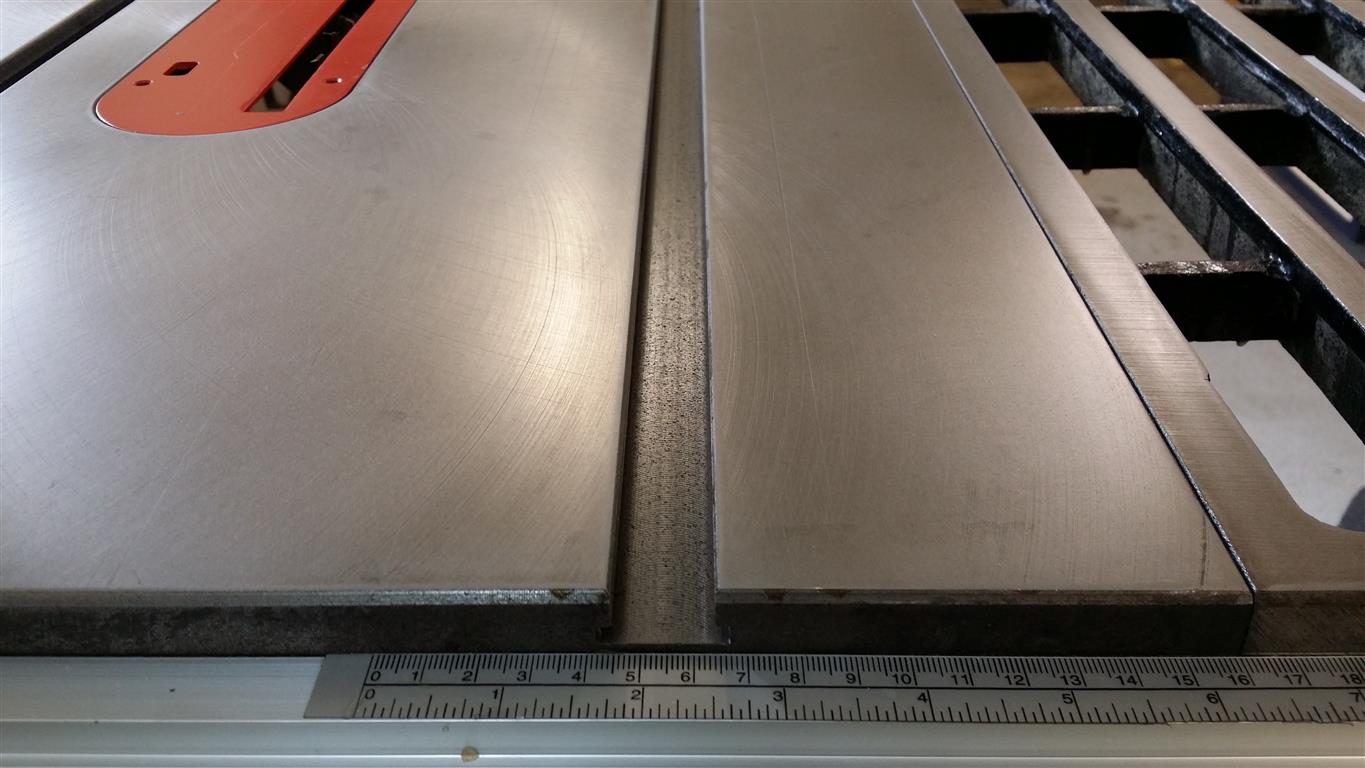
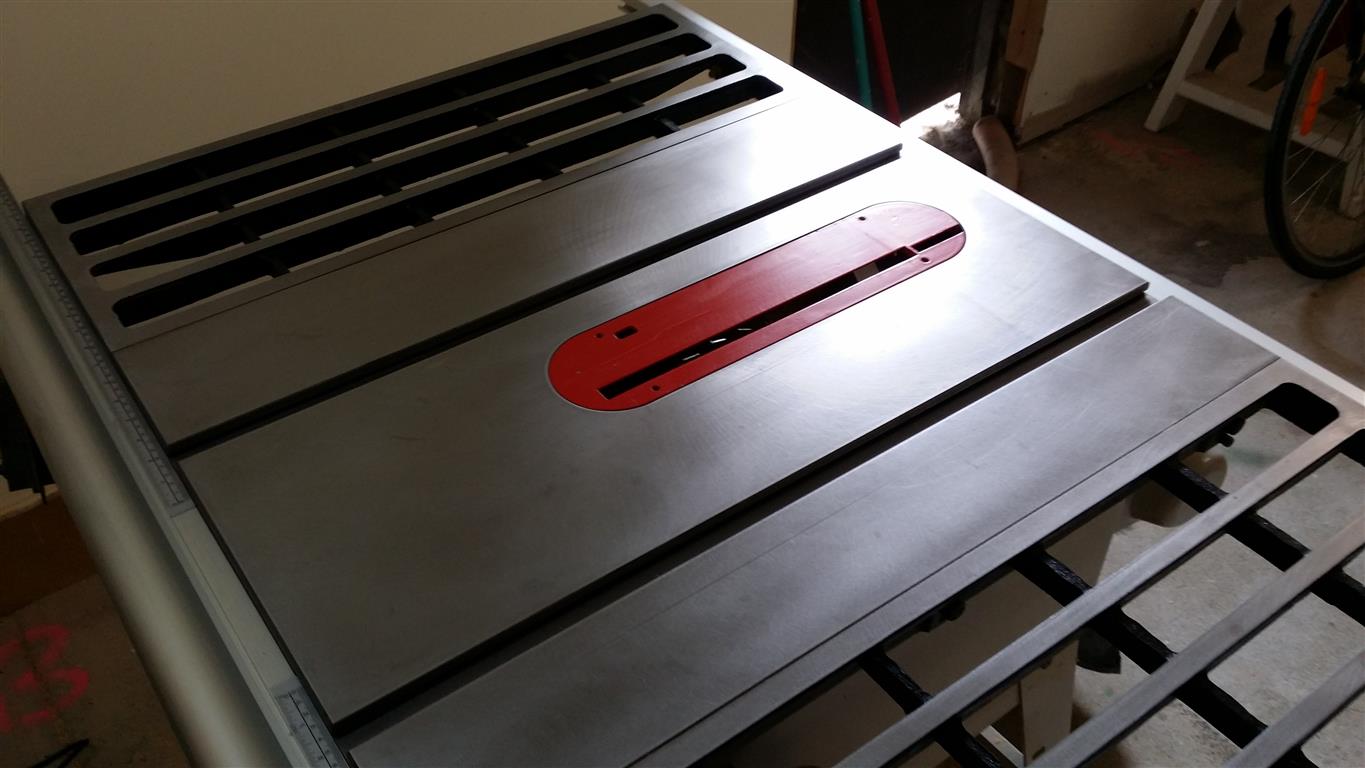
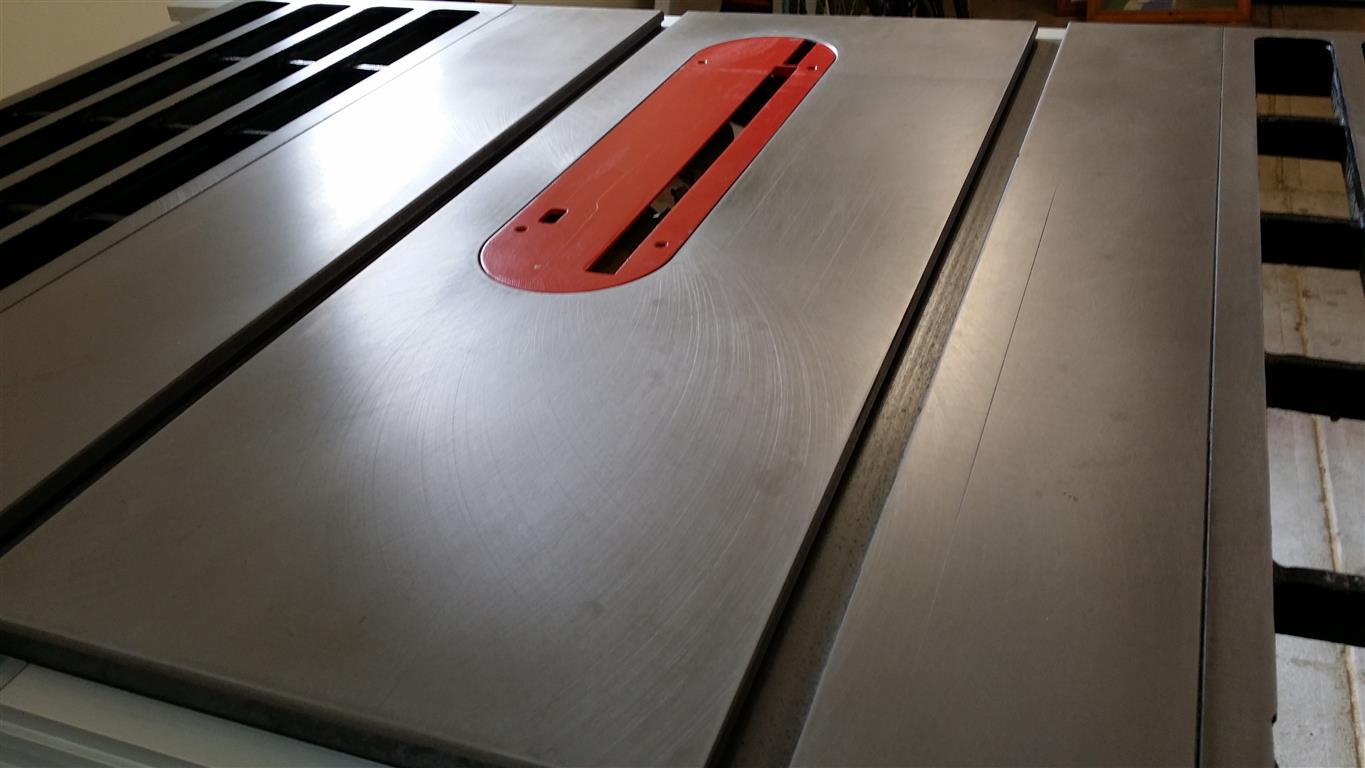
I think it came out an absolute treat. It is heaps better than when I brought it home from the shop in the first place.
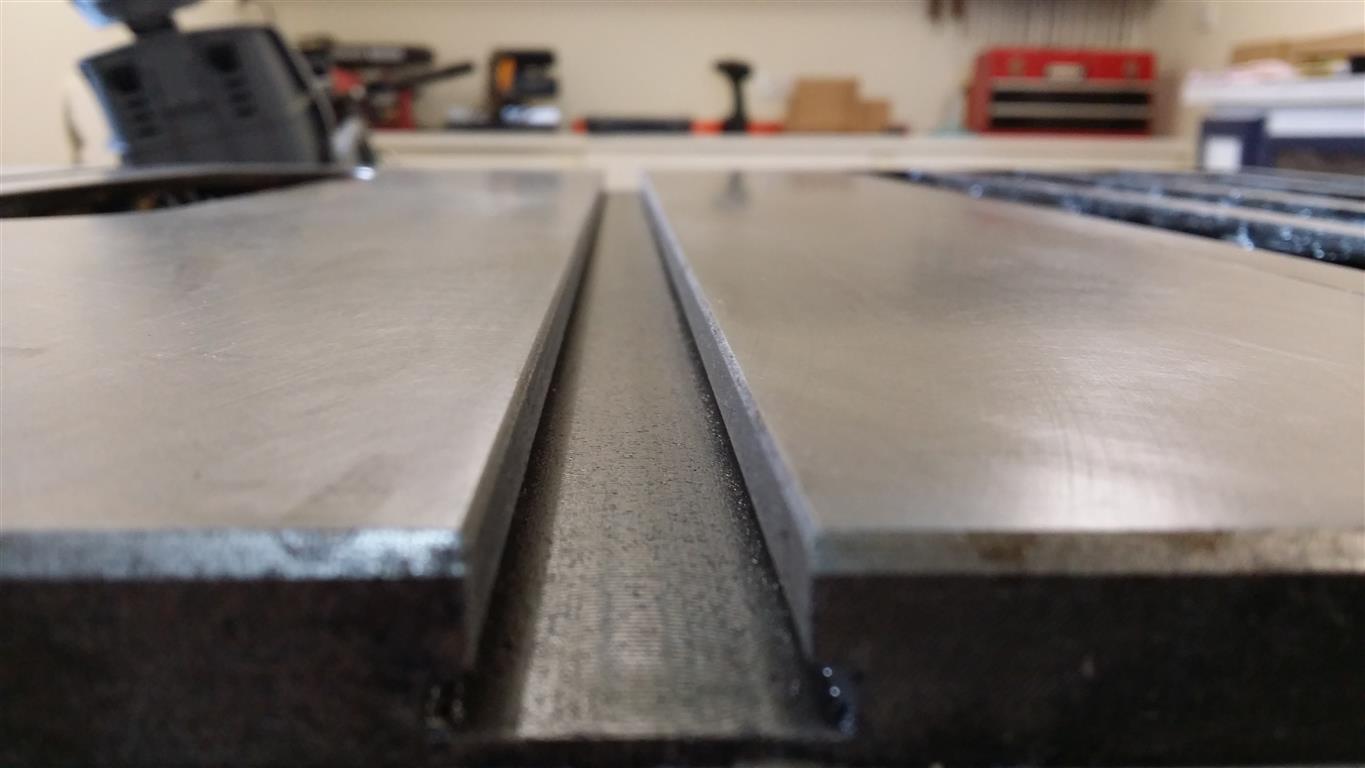
It’s extremely smooth to the touch, with no bumps, rough spots, or beginnings of rust. The mitre slots are cleaned and polished, jigs slide through them like they are on bearings.
[/cryout-column] [cryout-column width=”1/1″]
This is very much one of those jobs where you think to yourself, ‘Why didn’t I do this earlier?’. I really recommend giving it a shot, it’s easy, fast and the results are fantastic.
The only problem is that I’m still without a work bench, so it has no chance of staying this clean! I’ll be gluing up on it this weekend. At least I know how to clean it now!
[/cryout-column]
[/cryout-multi]
*Or you’re a dirty rotten liar.
You can get Dulon in Australia. It protects excellent against rust and other stuff, doesn’t contain silicones, makes the top smooth like glass and is easy to apply. I use it on cast iron tops. A small set will last you a very long time.
Other solution is beeswax, but you need to apply that more regular. It is natural though and I use it for all kinds of purposes. Even have wooden sliding rails with beeswax on it, works perfect.
BTW. What is the brand of table saw you have?
Hi Paul,
Dulon? I’ll have to check it out. I should also get my hands on some beeswax, it seems to have so many uses that it’s silly of me not having any.
My table saw is a contractor style saw, named the SB-12 from where I bought it. It’s pretty much a generic Chinese model that is sold all over the world with different badges on it. I’ve got a review video and post of it over here.
Hi
Good article, we have a similar process for cleaning cast iron. If you’re looking for something to seal it with, I’ve found much success with Butcher’s Bowling Alley Wax. Fantastic stuff, use it as you would wax anything else.
Cheers
Darren
Unfortunately I doubt I’ll be able to get that here in Australia but I’ll have to start looking around for something similar at least. WD-40 does work, but I think a nice wax buffed in will be longer lasting and provide an even more attractive shine. Cheers for the tip, I’ll see if I can track some down!
Thought I would share my insight. You could use carbide powder ( various grits are available) and honing oil as well as a piece of mirror glass. You use the mirror because it is optically smooth, to drive the oil – powder mix to clean the table top and true it! Areas where this won’t work such as the extentions probably your method is best.
Thanks for that Robert, I’m not sure if I’ve heard of carbide powder before. Sounds like NASA level quality! I’ll hunt around and see if I can find some to try out, cheers!
Comments are closed.