If you’ve been here recently you’ll know that a couple of months back I had to sadly put my dog Cocoa down. I thought it was fair that the first project I get back in the shop and work on since then, was something to remember her by.
I thought about designing something on the scrollsaw and cutting it out, but the detail that I would have wanted is more than I’m able to deliver. I only have a few blades left and they are all fairly coarse ones, I really should buy a batch of fine blades soon and practice on it. I do have a photo of Cocoa that I really like though, so making a photo frame was a fairly easy decision. I’ll be making some small display boxes soon where I want to pillow the joints, so I thought I’d try that out on a photo frame and see if I like the look or not.

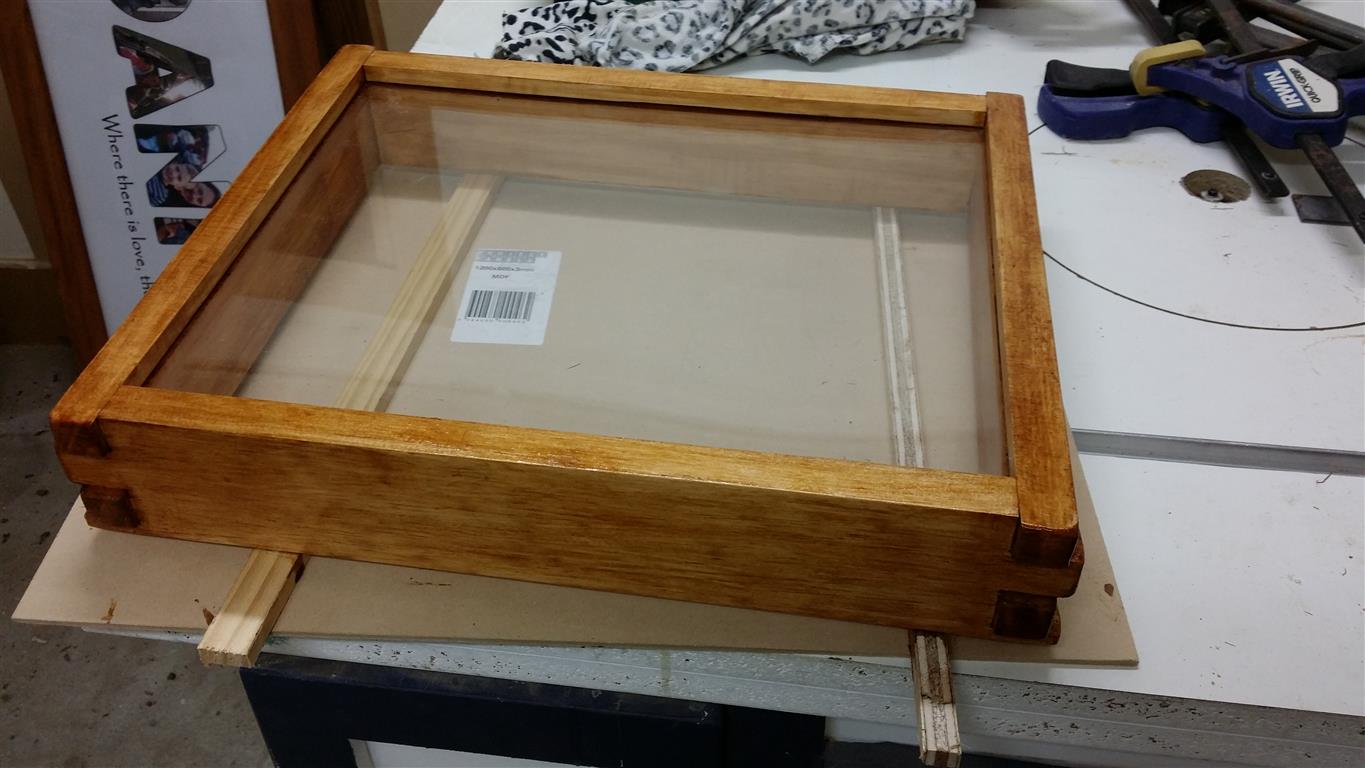
Honestly, I’m not over the moon about the fiinish. I used it because I want to finish off the tin, I should probably just throw it out, but as for the actual frame, I’m quite happy with the look. I think if it was made out of some nicer wood, it would look really nice.
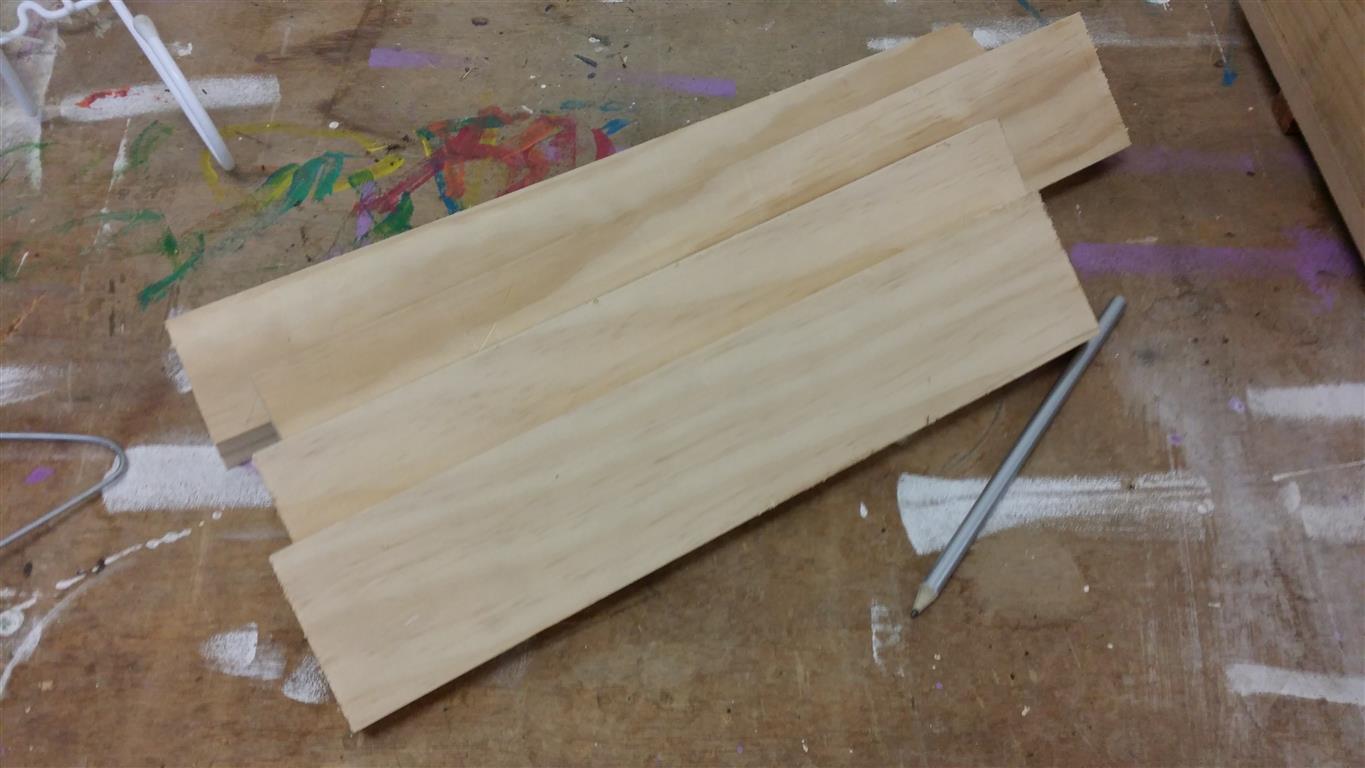
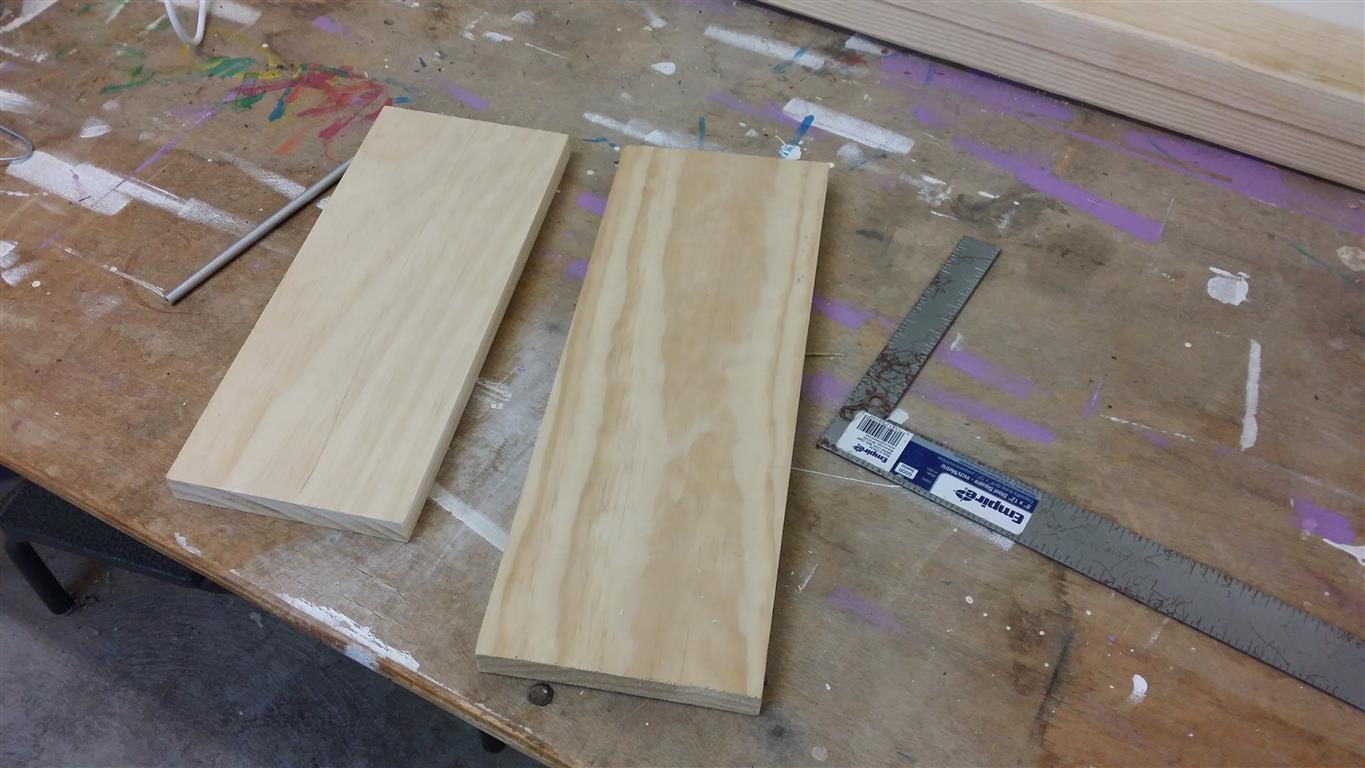
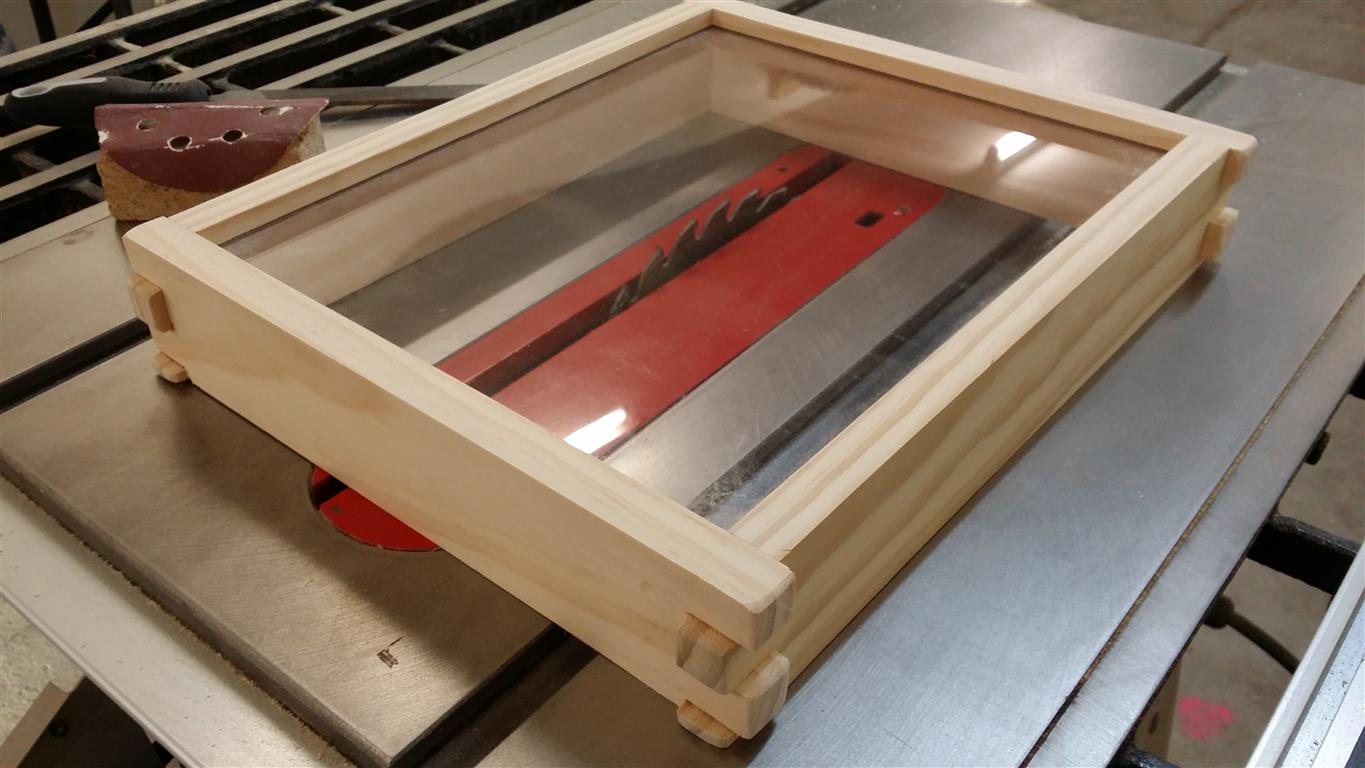
So, I started off with a couple of Pine scraps that I found in the shop. First step was to rip them to width, then cut them both to length. I didn’t pull out the tape measure on this project at all, I simply went with what size looked right.
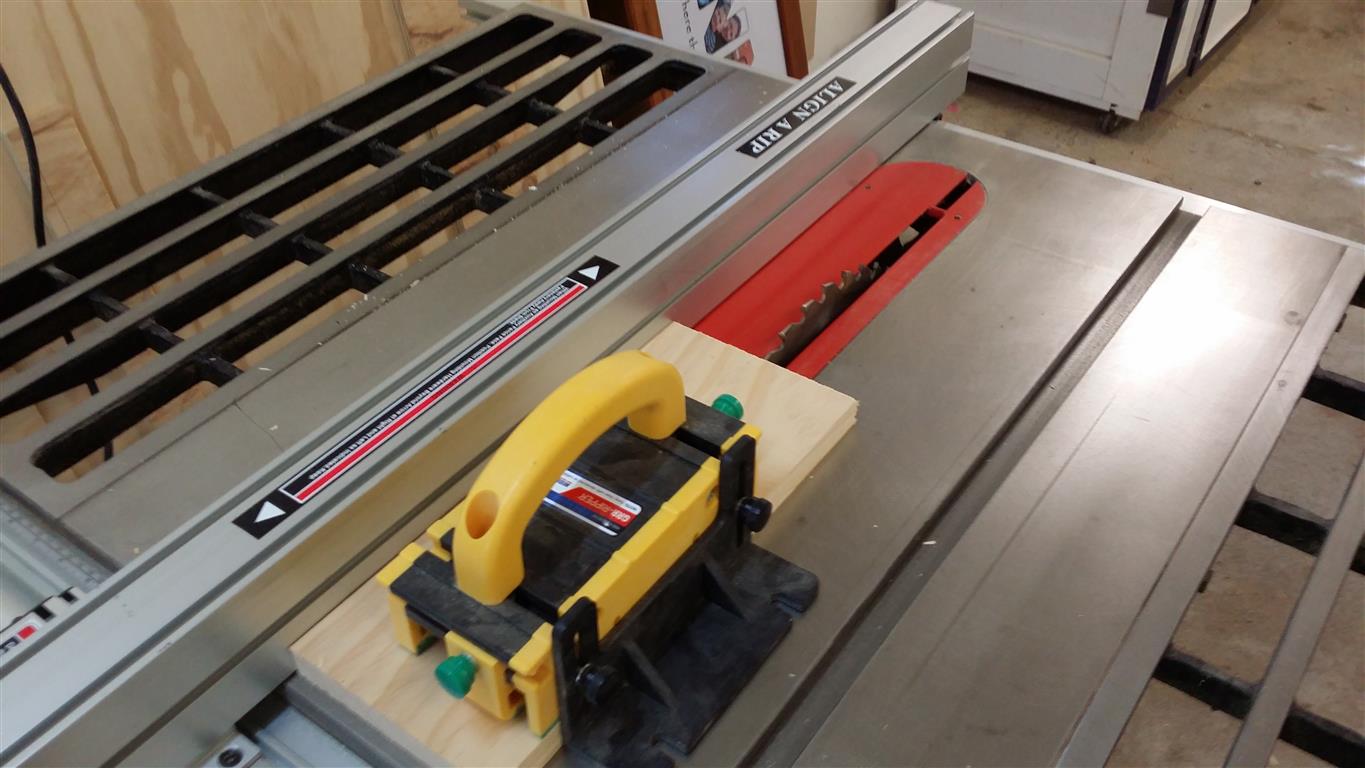
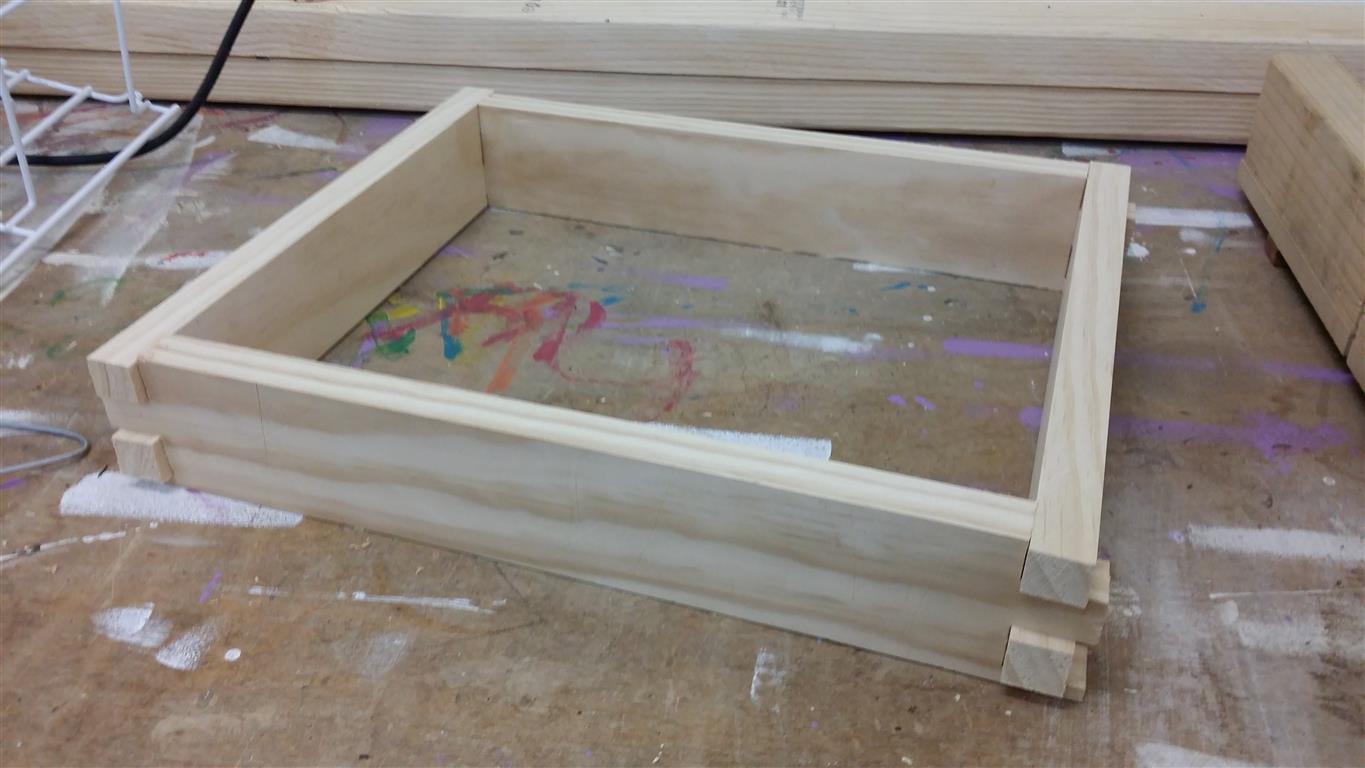
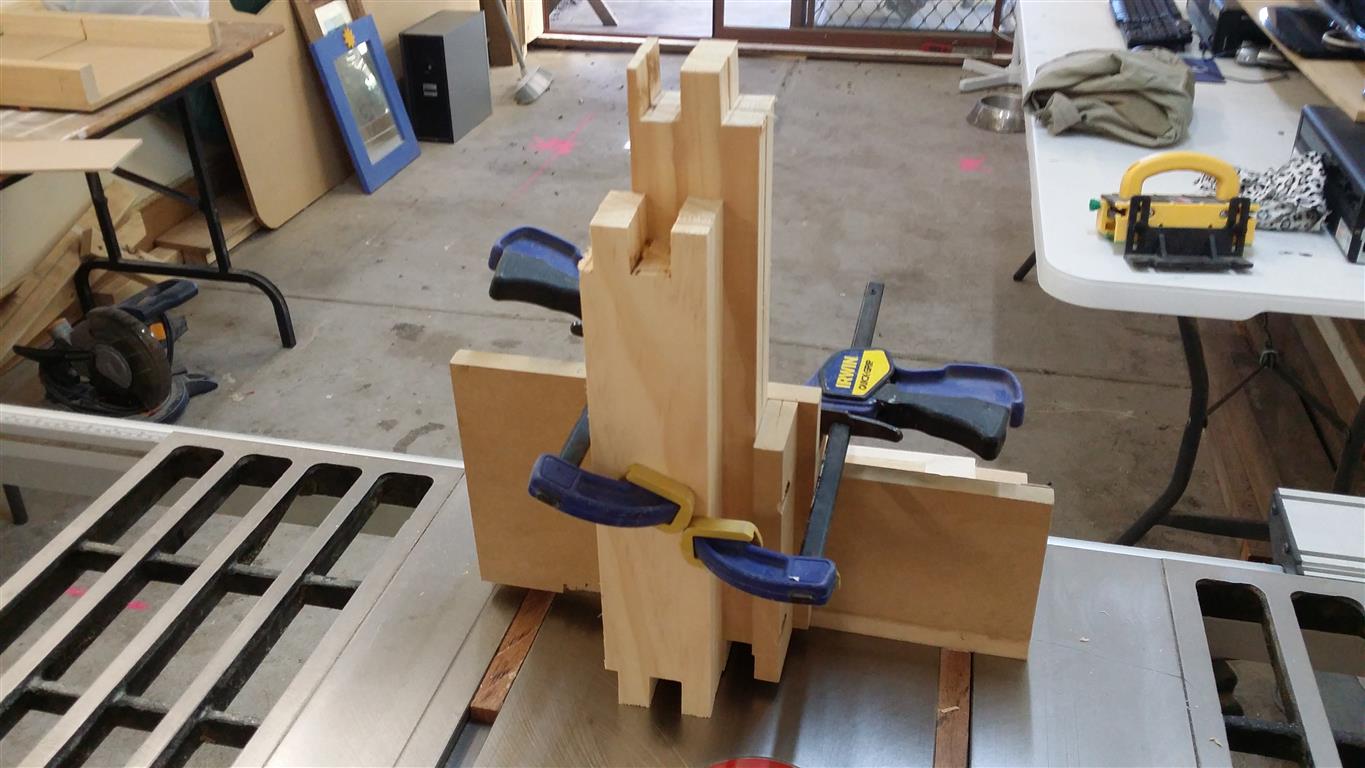
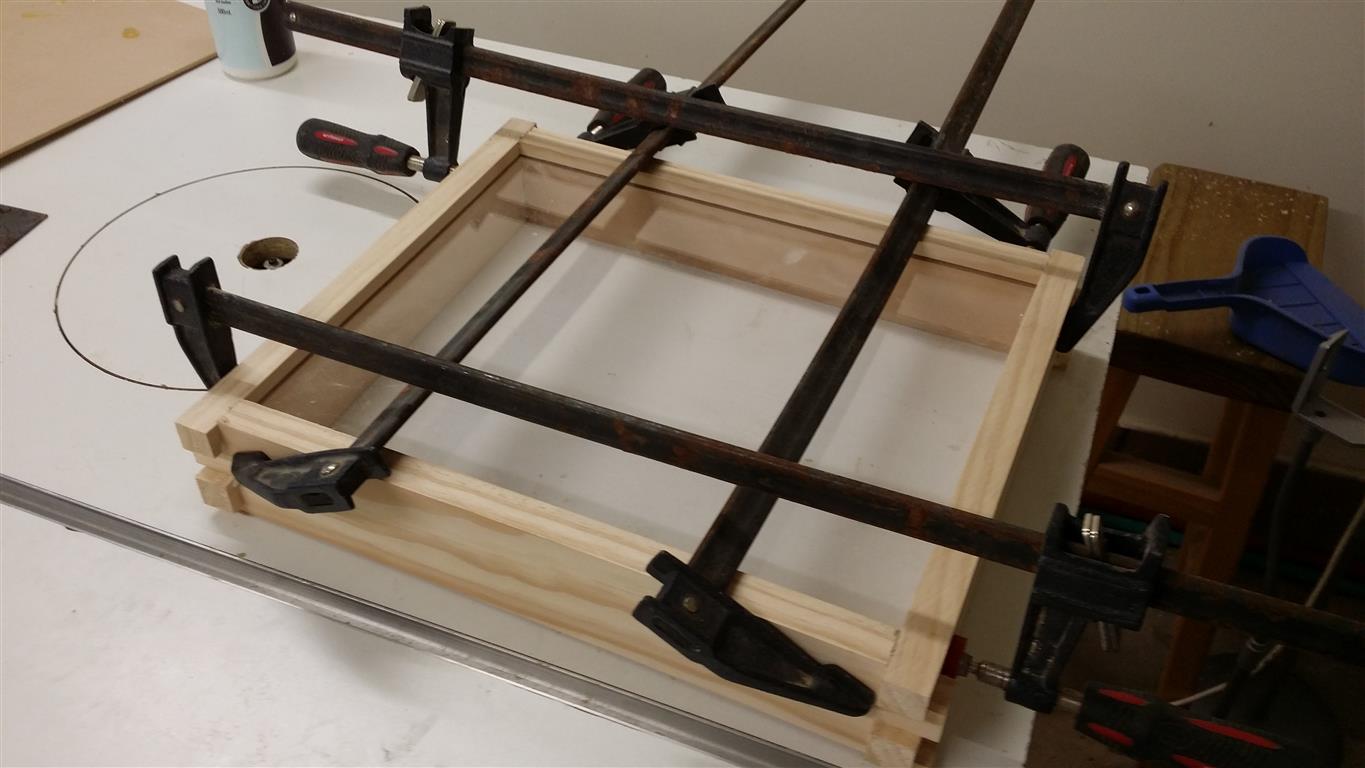
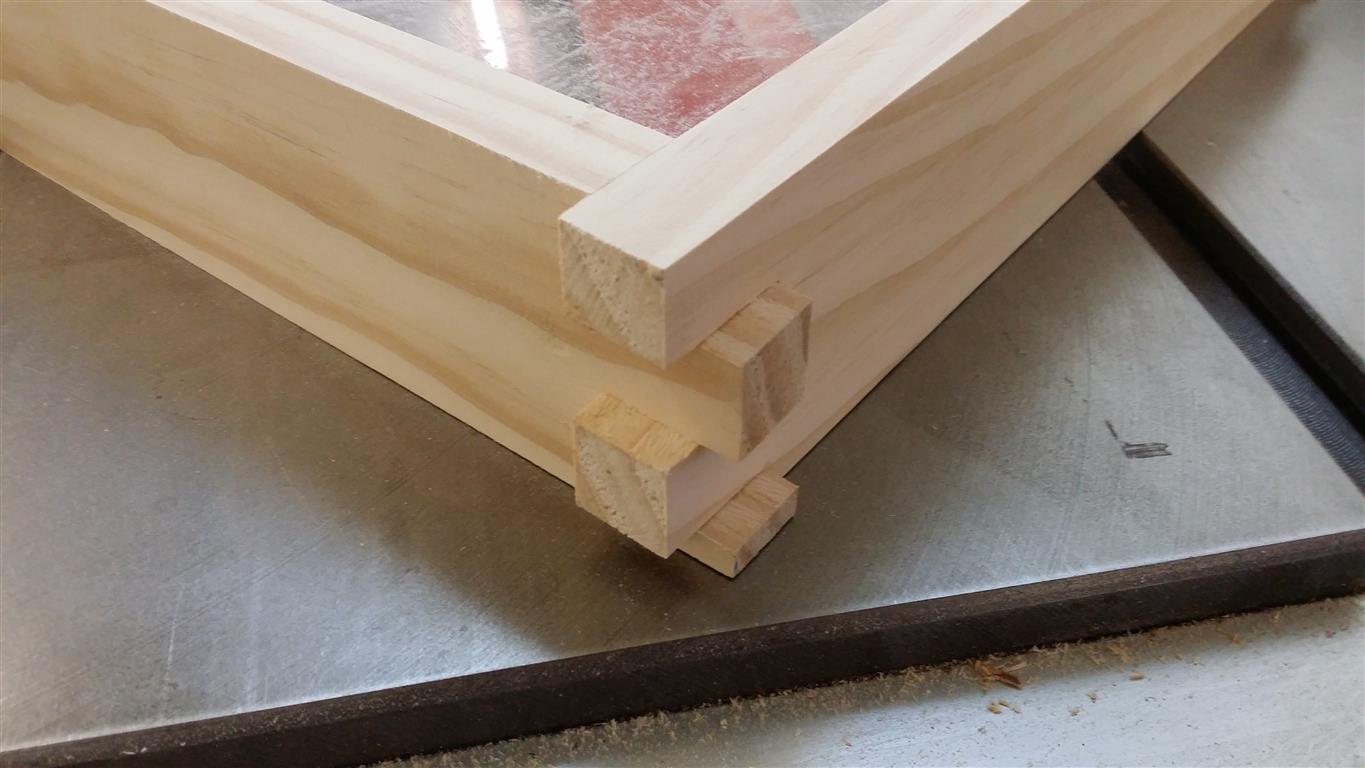
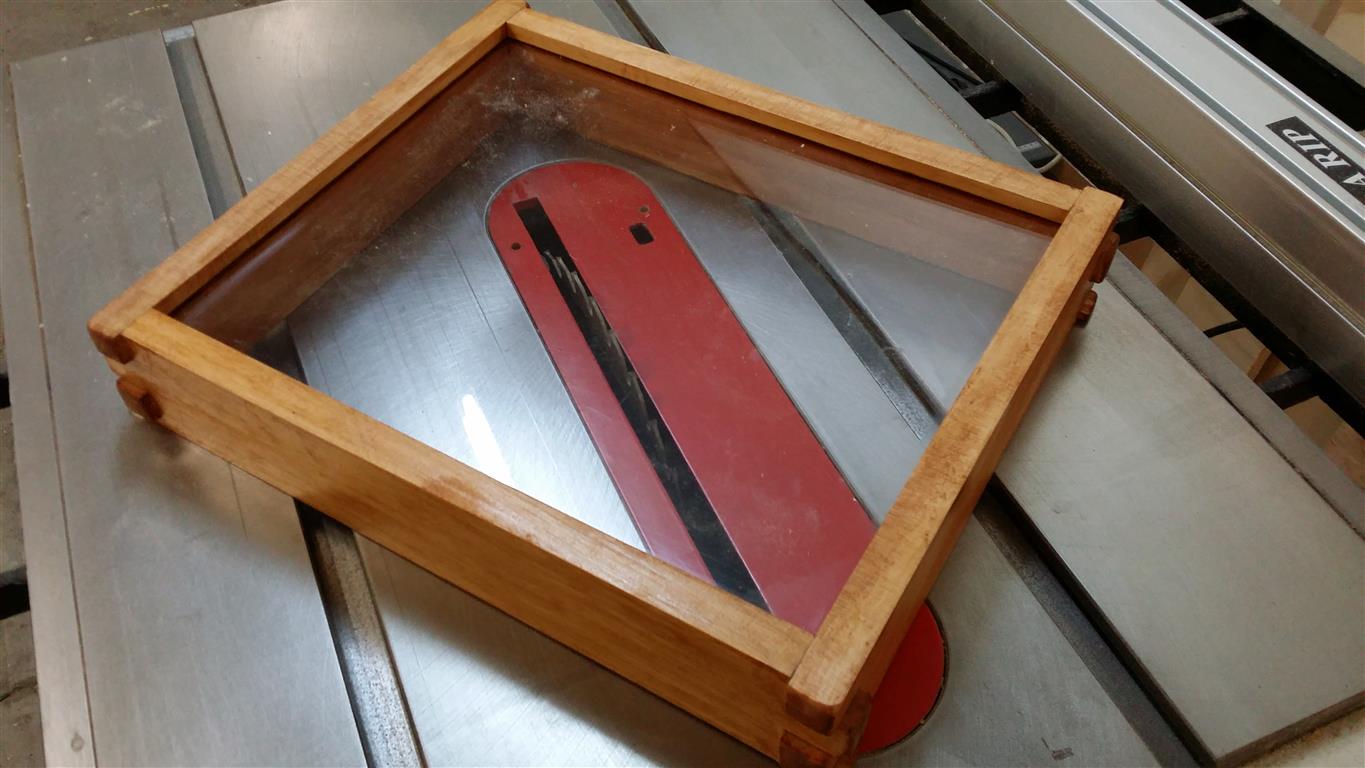
Then, straight into the ol’ single blade box joint jig. I’m still using the first one that I made ages ago, but after seeing all the mods and improvements that people have made to it, I really need to step my game up and rebuild it. Usage is just as always, the only difference is that I made sure I cut the fingers to be a good 10mm or so deeper than the wood thickness, so that I could play around with the pillowing effect.

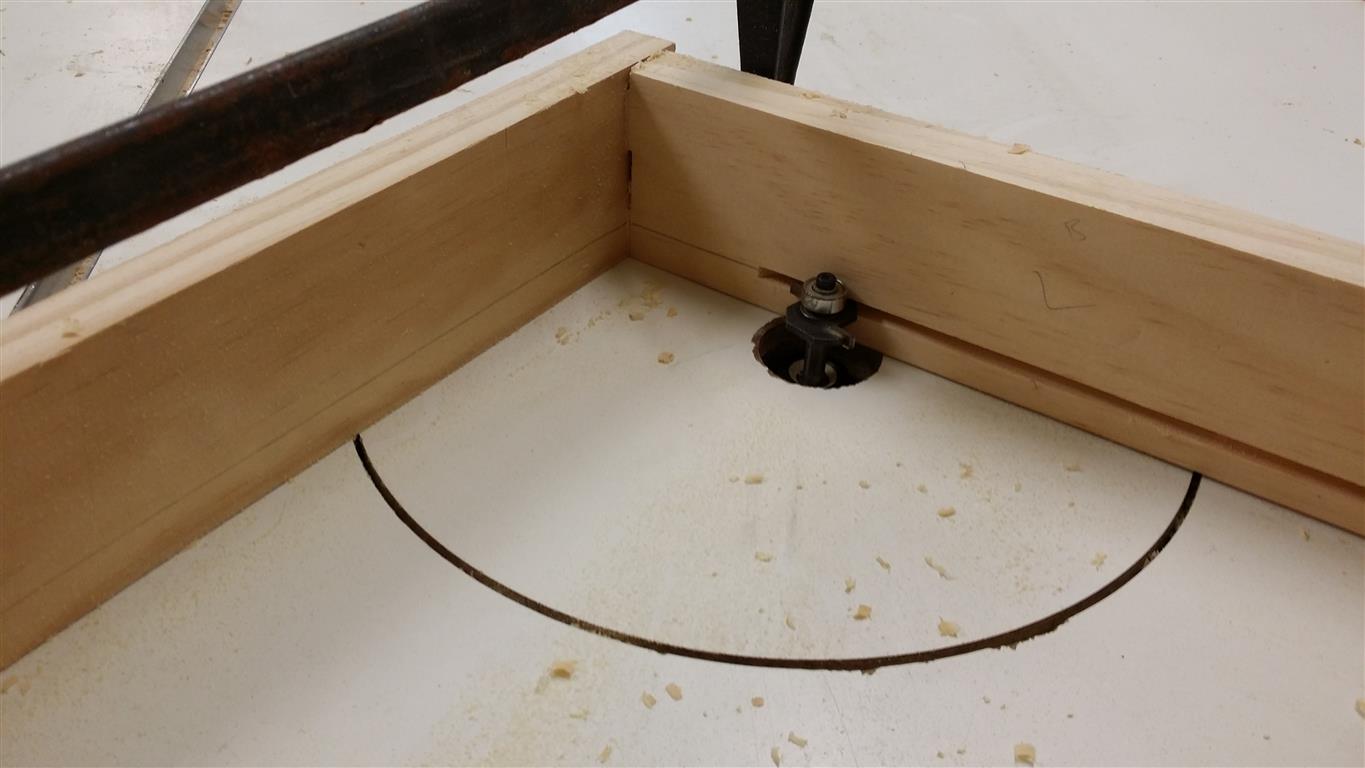
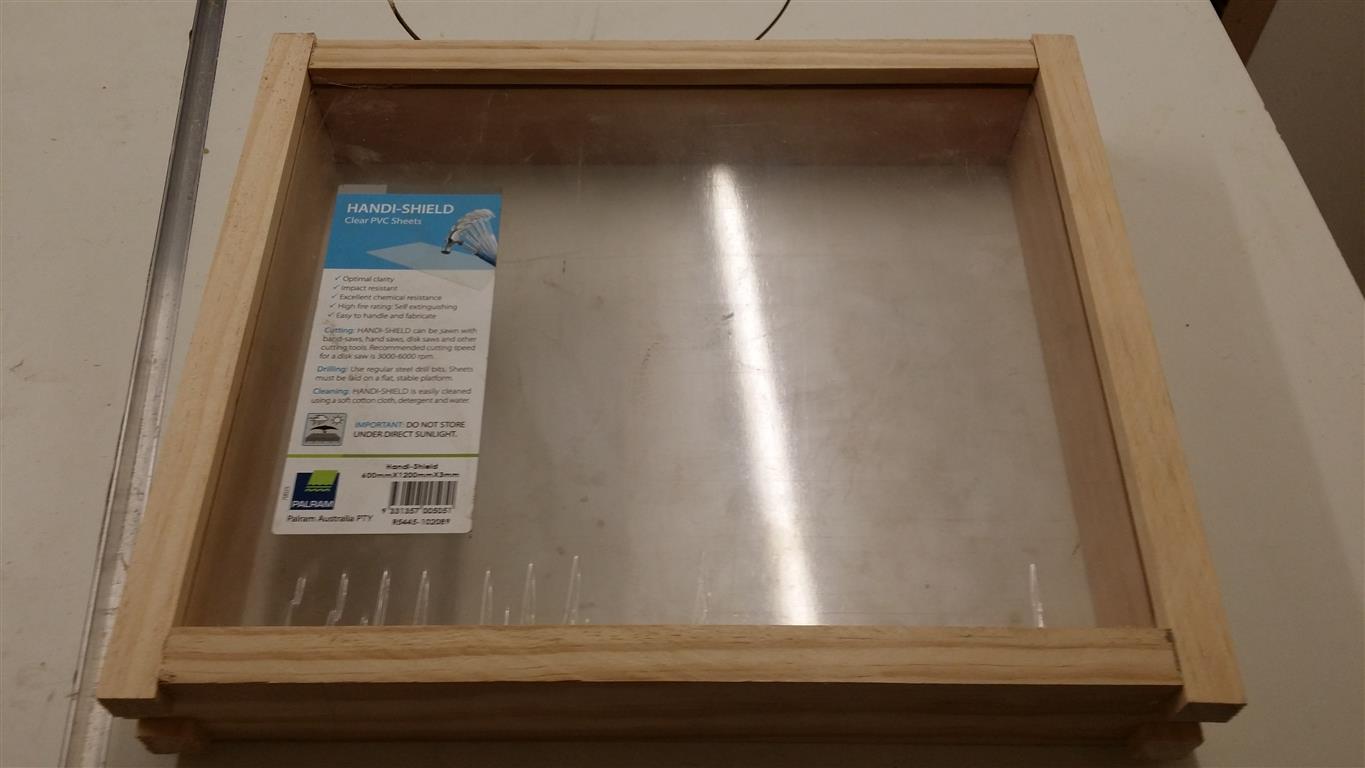
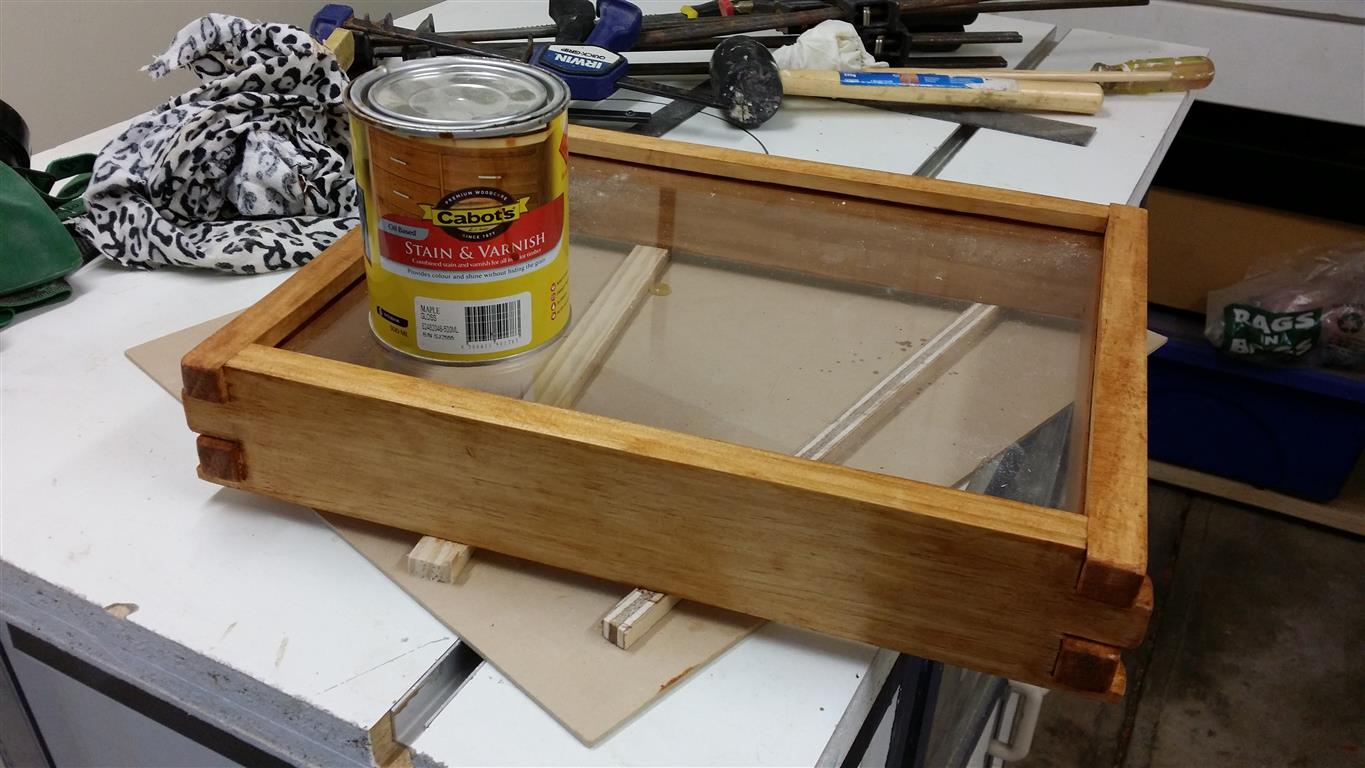
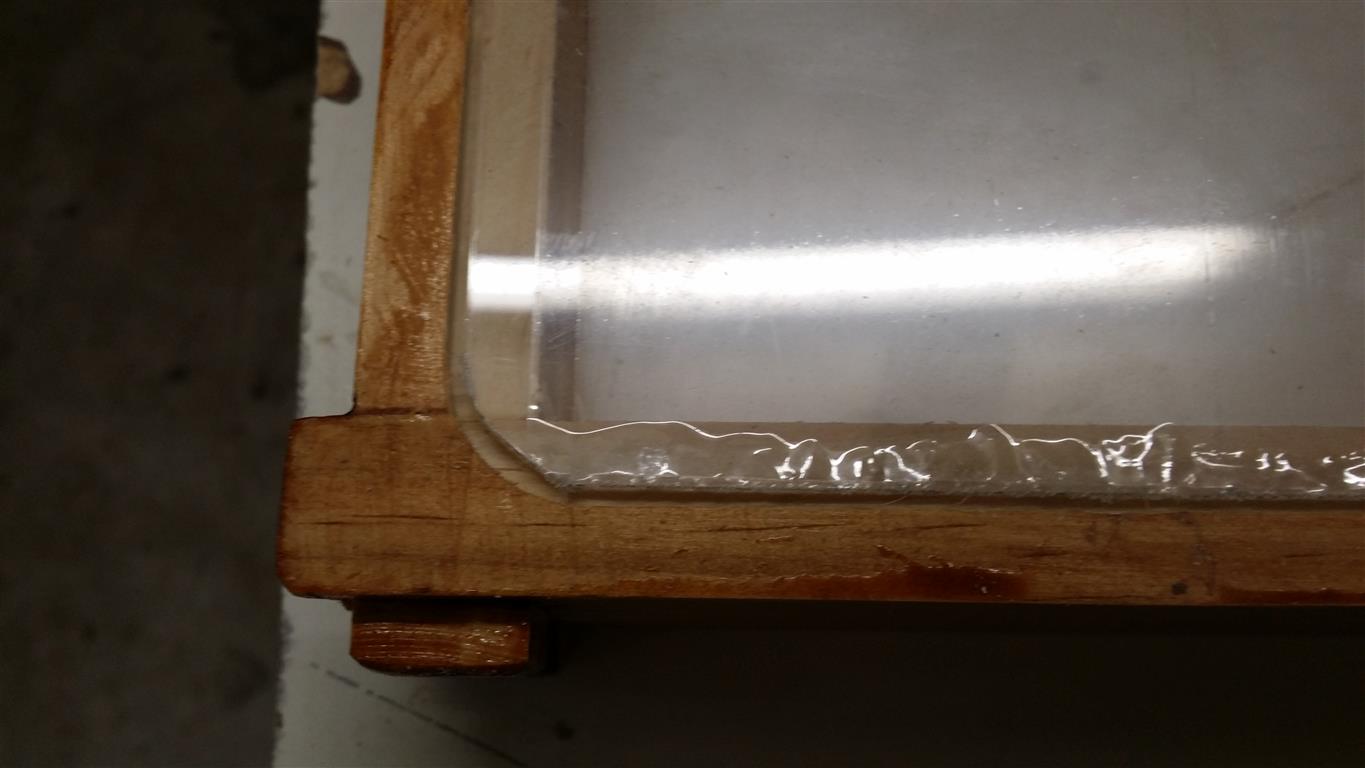
It took a while to decide how to best mount the glass and photo. I was going to sandwich the photo between two sheets of glass, but I couldn’t think of a good way to mount the glass without being able to see the fixings. Eventually I decided to route a channel just inside the inside of the frame, I did this on the router table using a slot cutting bit I bought a few years back for installing T-molding on arcade cabinets.
I could have used a normal straight cutting bit here, but I know that the slot cutter is pretty much the width of the plexiglass I’m using, so it saved me cutting it twice. All I did was clamp it up and route away, this part was over in a minute.
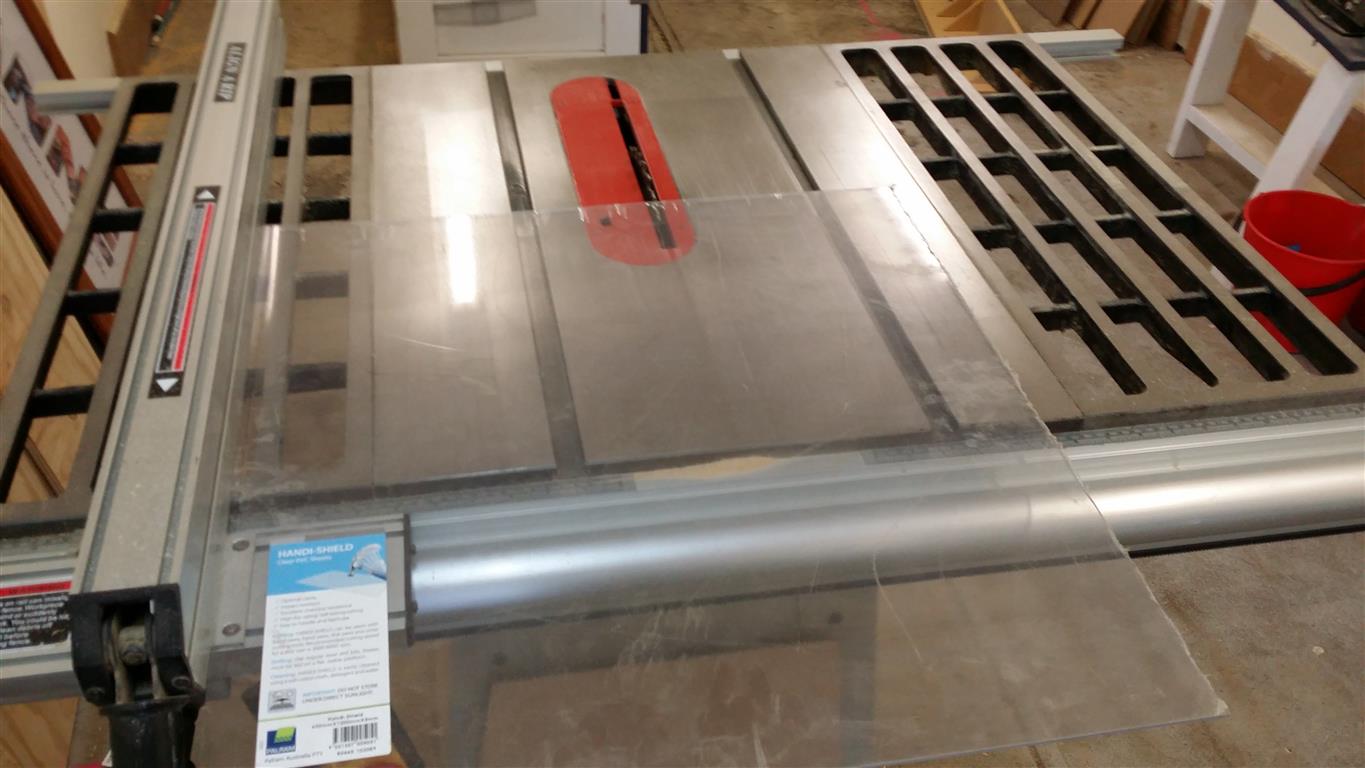
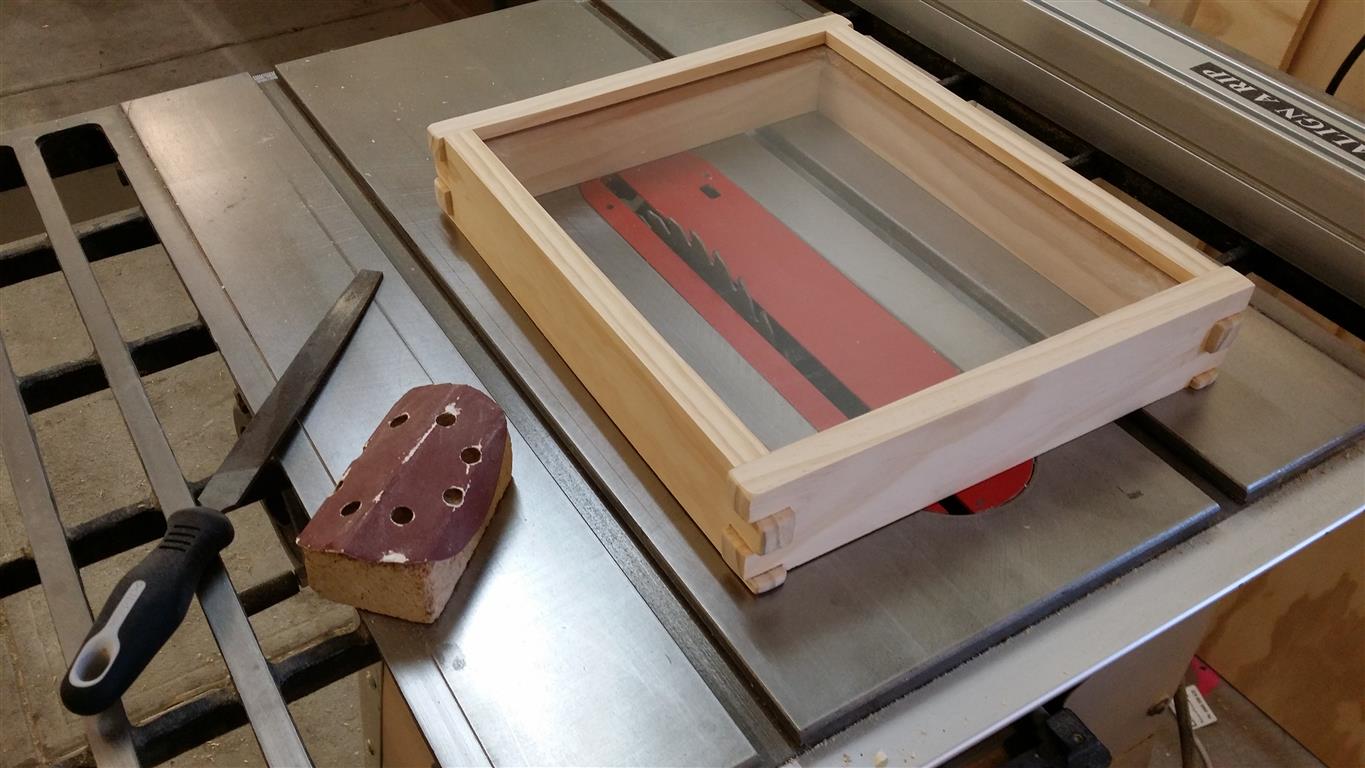
The glass I’m using is an acrylic, brand name, plexiglass. I’ve worked with it a lot, it routes beautifully and cuts decently on the tablesaw. You can’t see the edges on this project so the tablesaw was good enough to trim it to size.
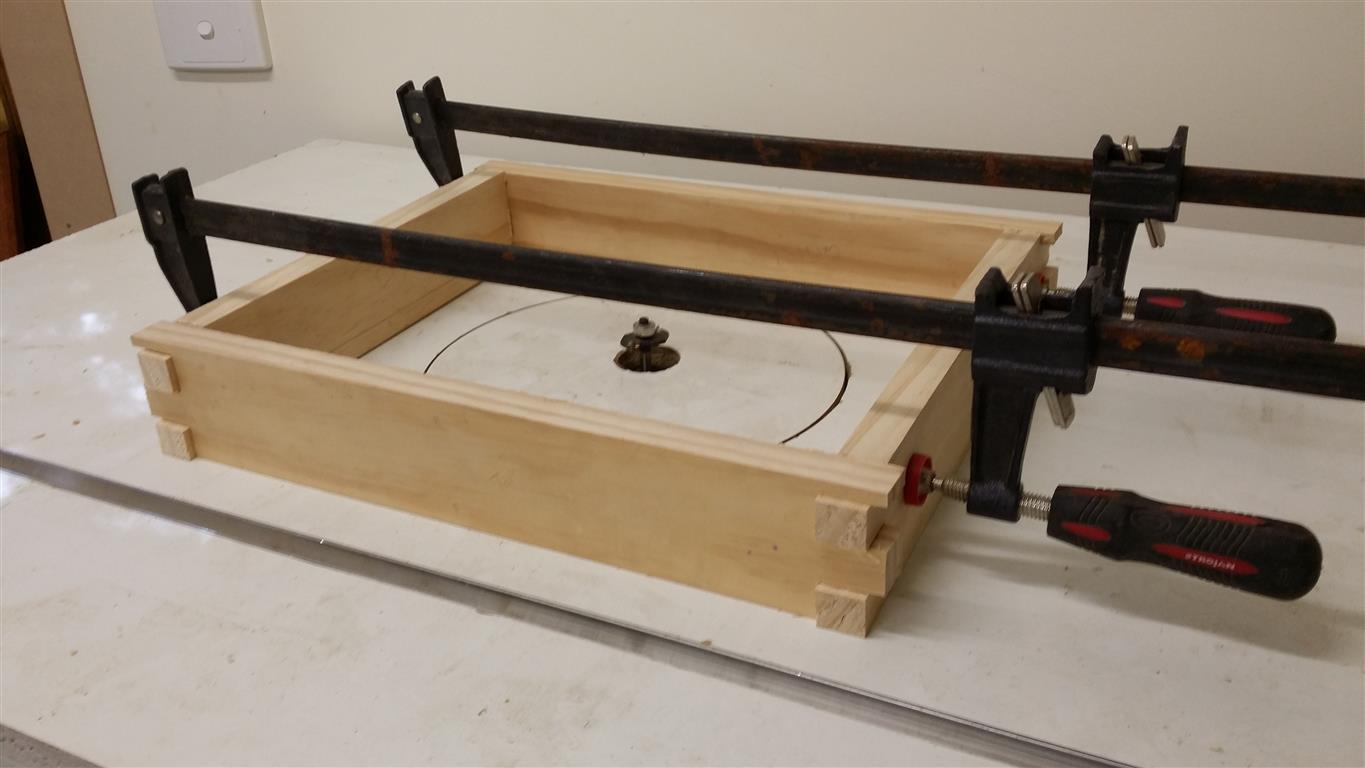
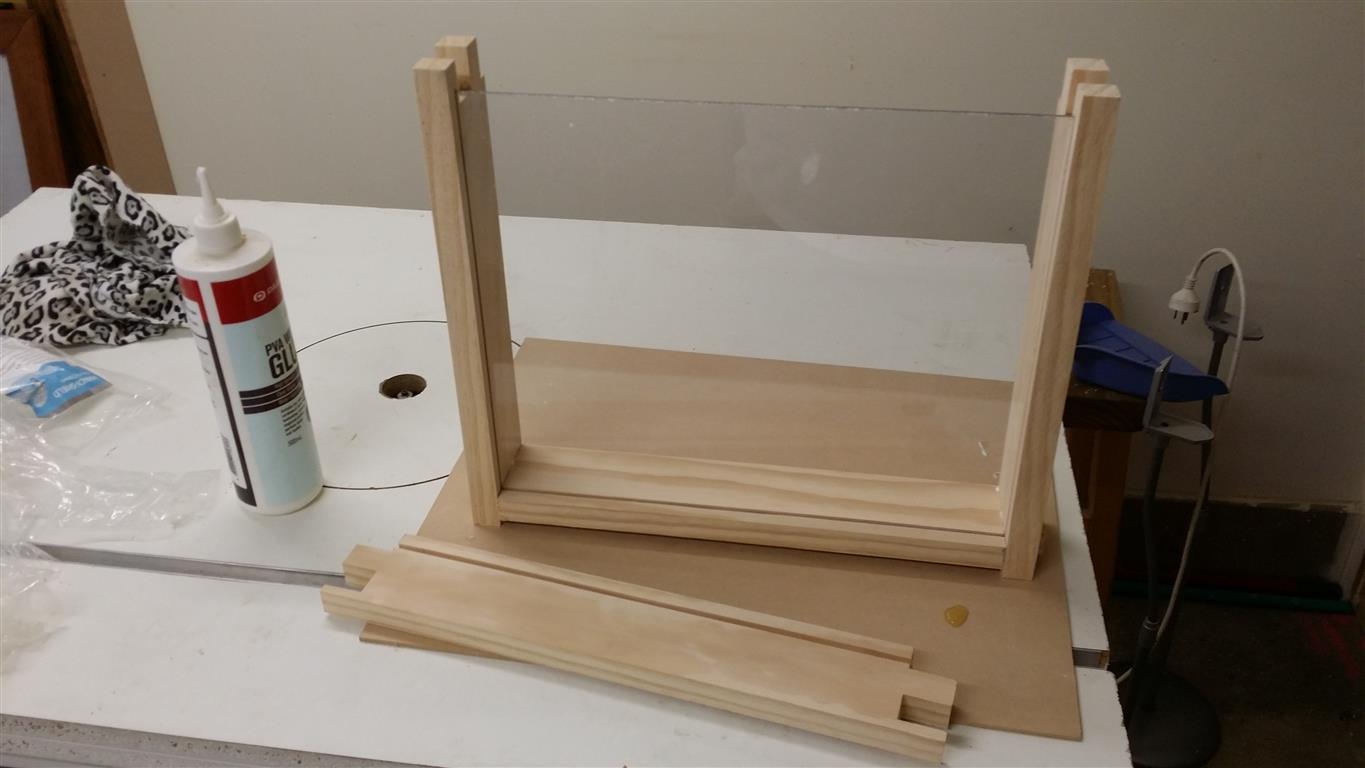
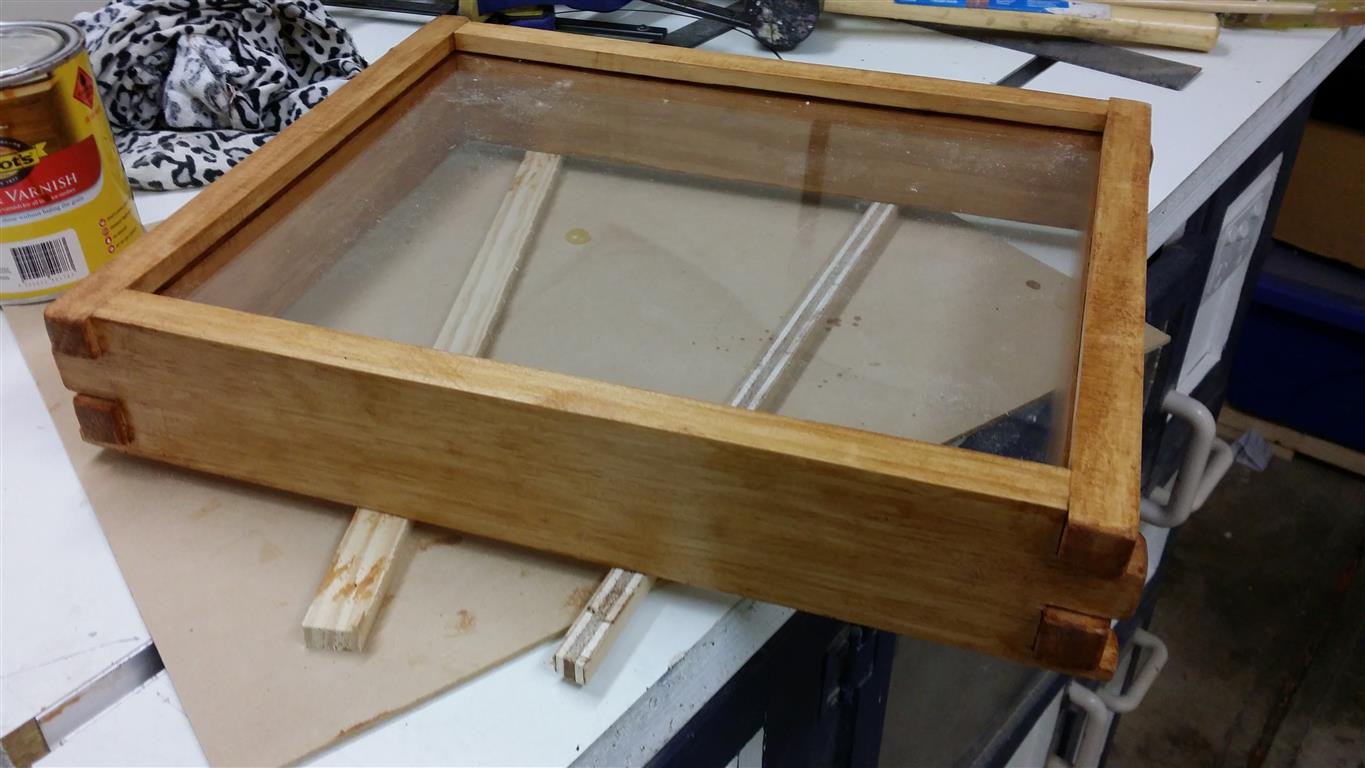
Once the frame was sanded, I started my glue up. This was a fairly easy one to be honest, the joints really help keep it tight and square, the clamps are there just for a bit of pressure. The glass is just dropped in to its slot, it isn’t glued, but the groove it sits in is nice and tight so it doesn’t rattle or bend. Perfect fit really.
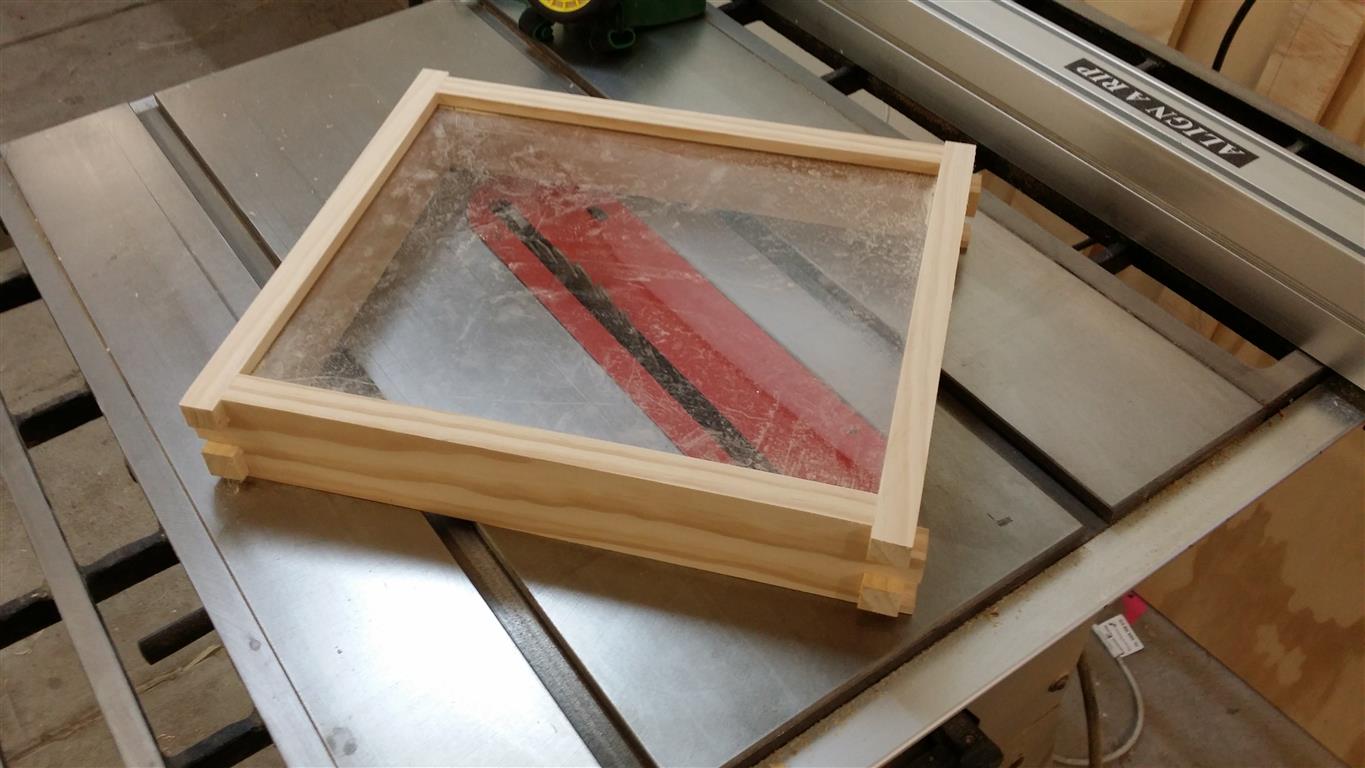
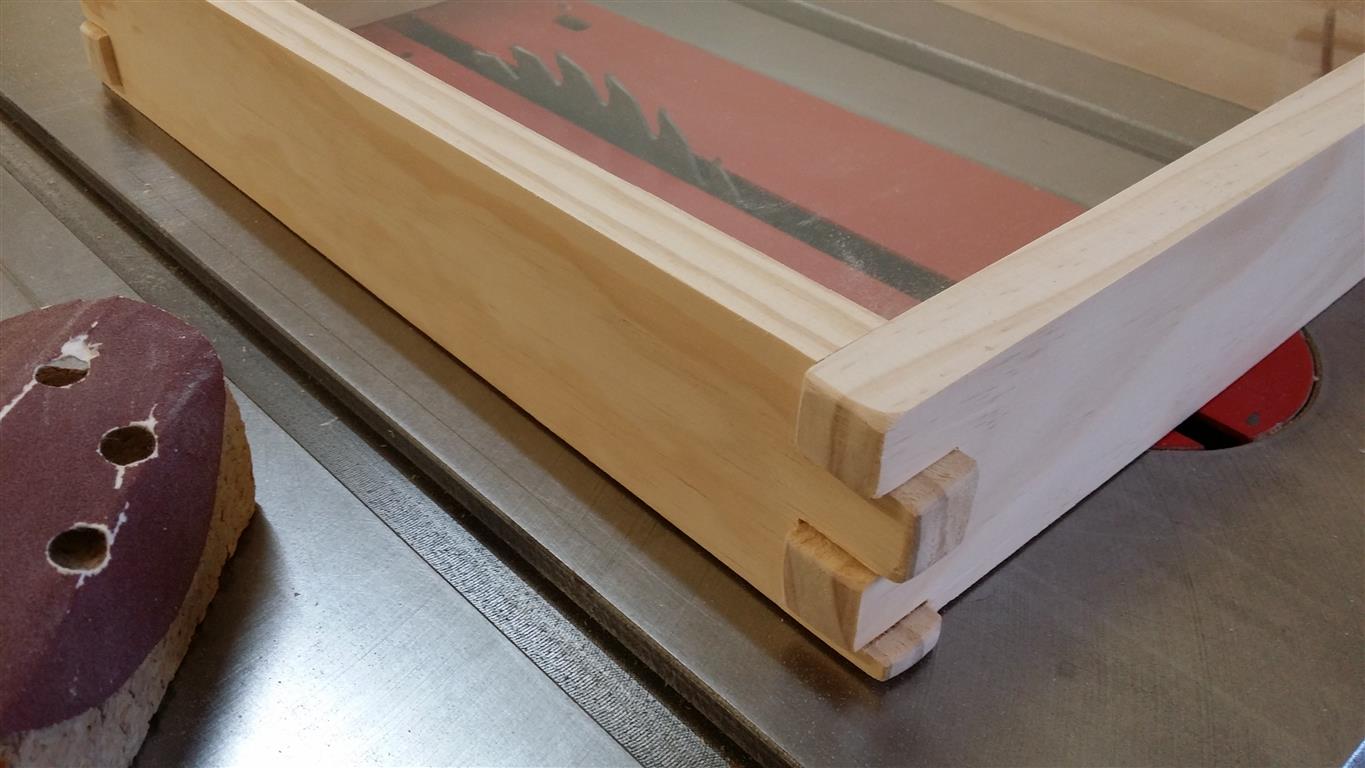
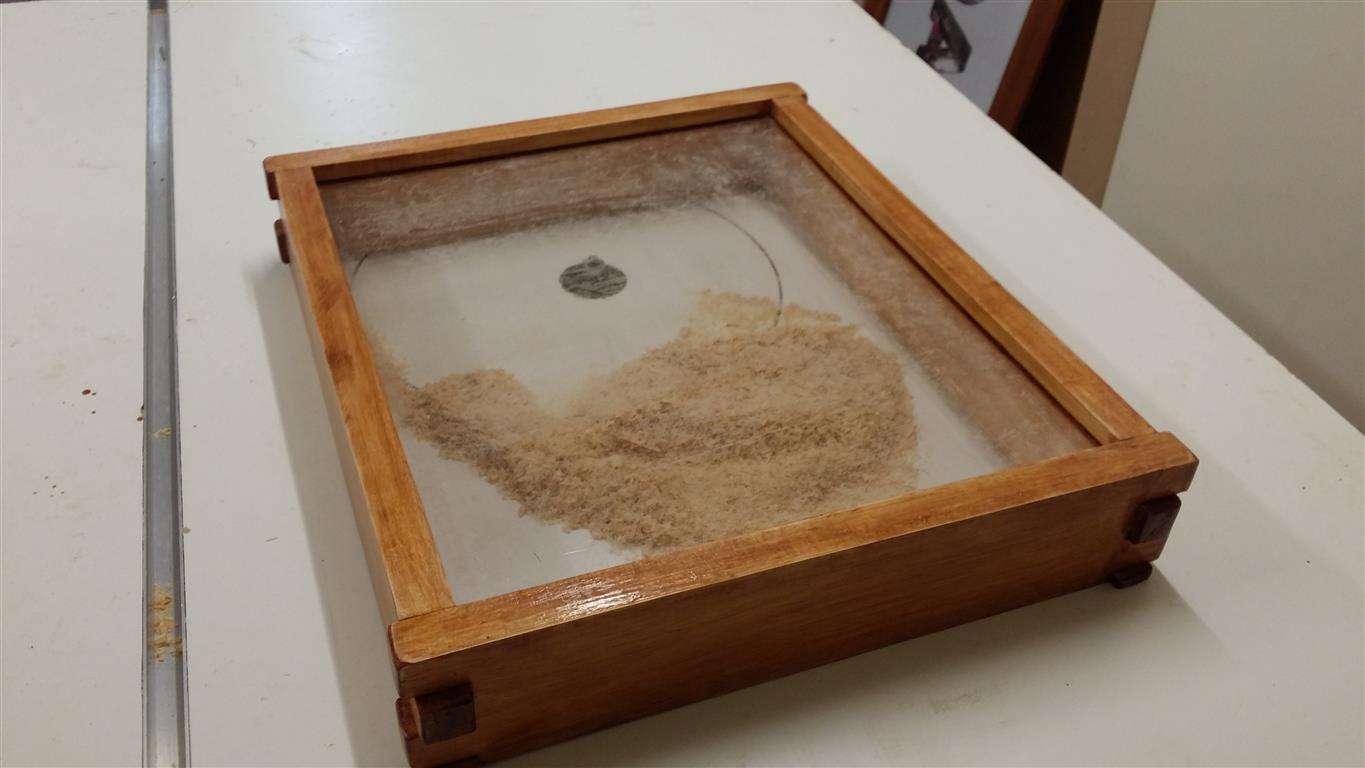
Next came the fun part. I own two files. So I chose one, and had at it. 🙂
This part was actually a lot of fun, I kept expecting to slip and gouge the wood but surprisingly I didn’t. I did drop the workpiece though and gouge it that way but that I’m not counting that. It took a bit of time to get through all the edges but I was quite happy with the results. Once you get into a rhythm you can knock each corner off pretty easily.
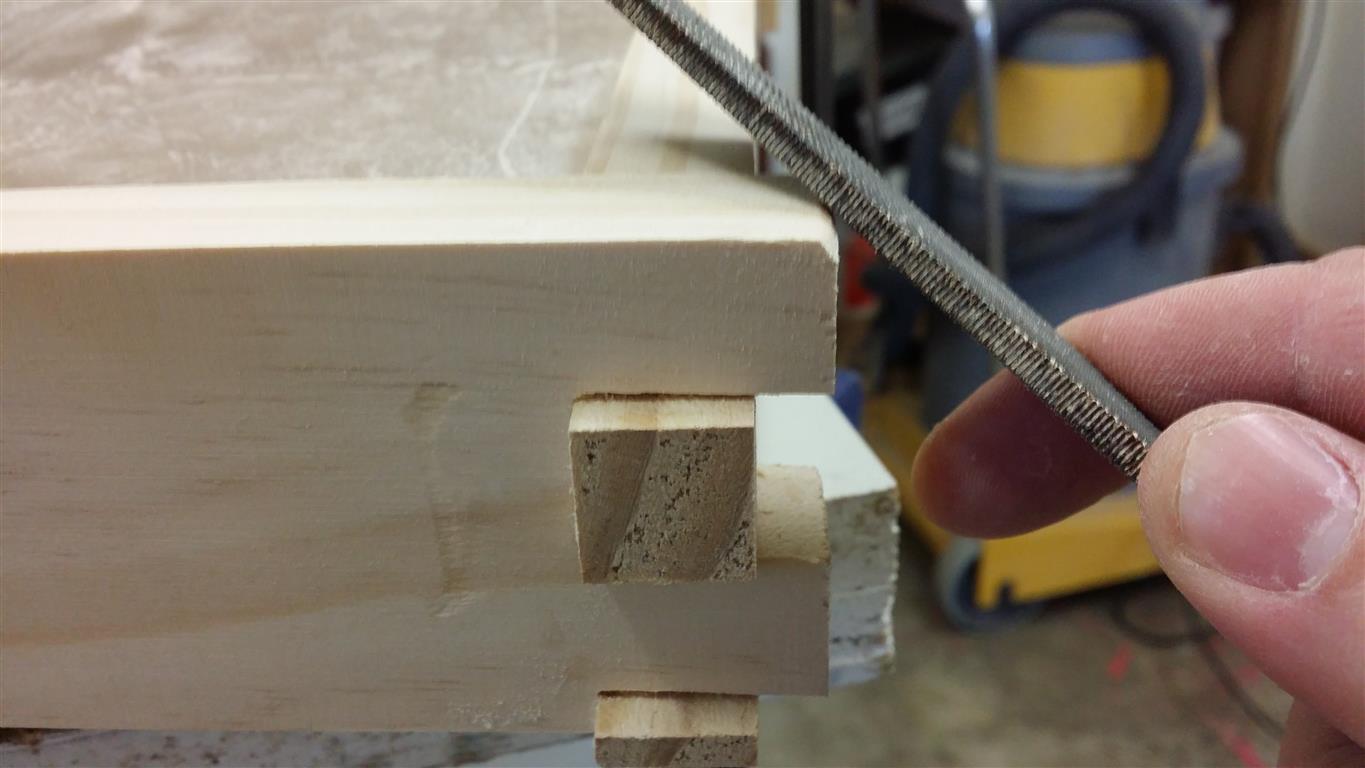
I was really happy with how they turned out, the edges look nice and soft, and are pleasing to look at. I certainly could have spent a couple more hours sanding them down but seeing as this project is staying in the shop, I didn’t feel the need.
At this stage it was simply apply the finish, sand, and repeat. I gave it 3 light coats, and sanded up to 220gt after each one. I also sanded after the last coat to simply lighten the wood back up again, this stain was a bit darker than I wanted so slightly distressing the wood made for a nicer colour.
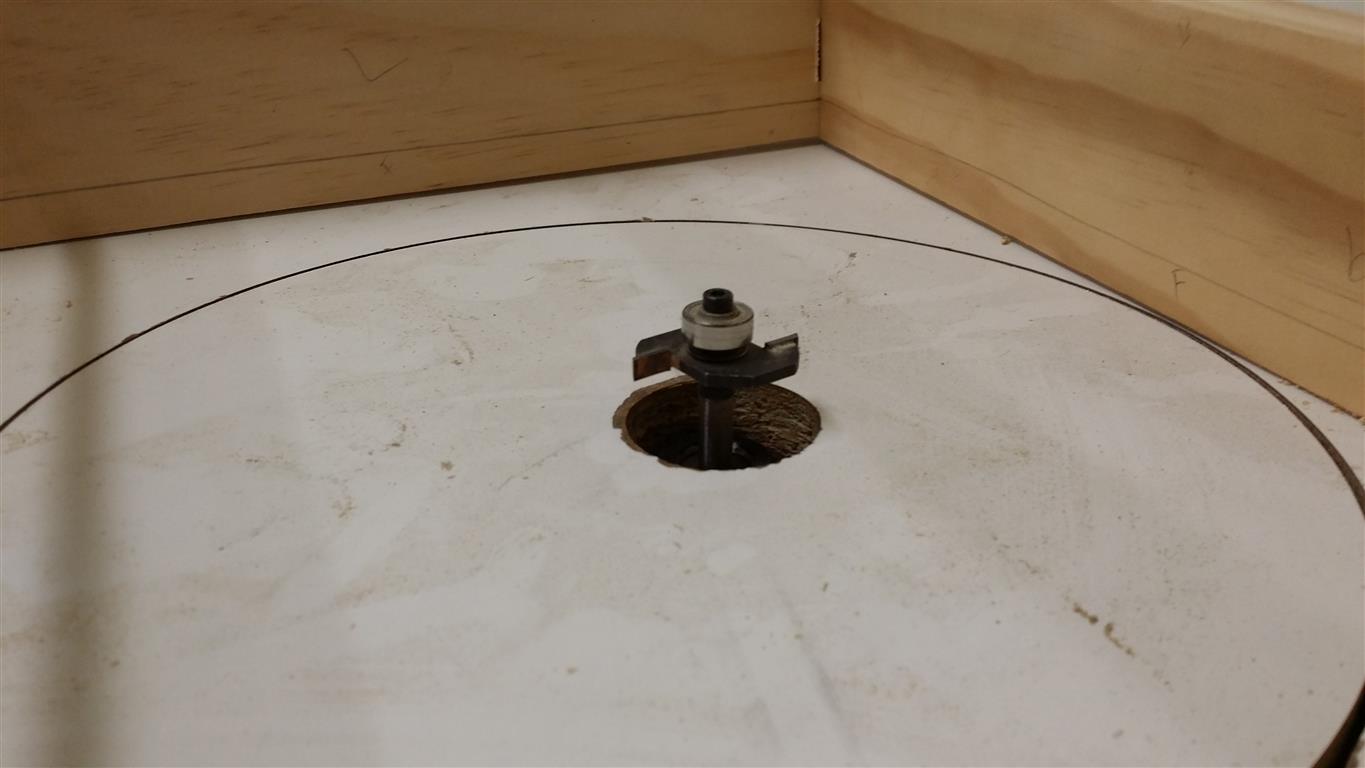
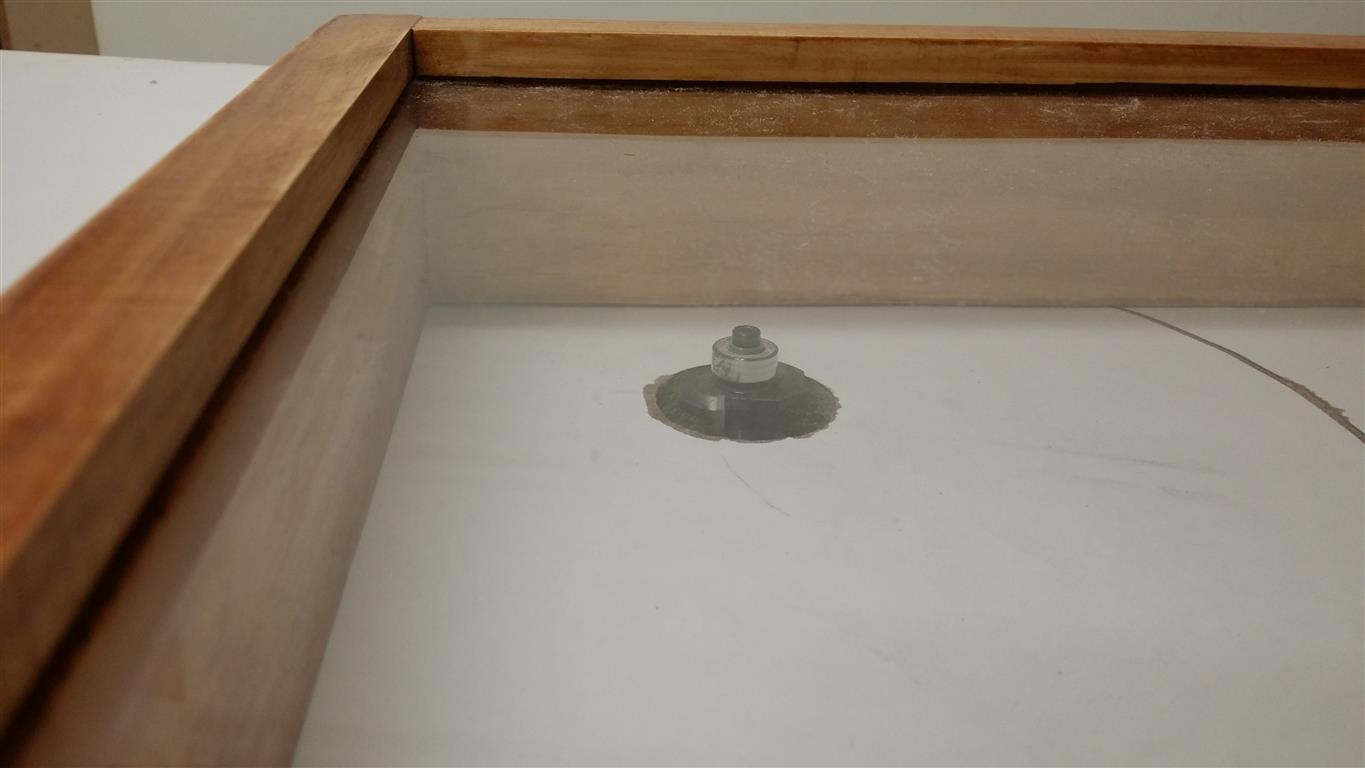
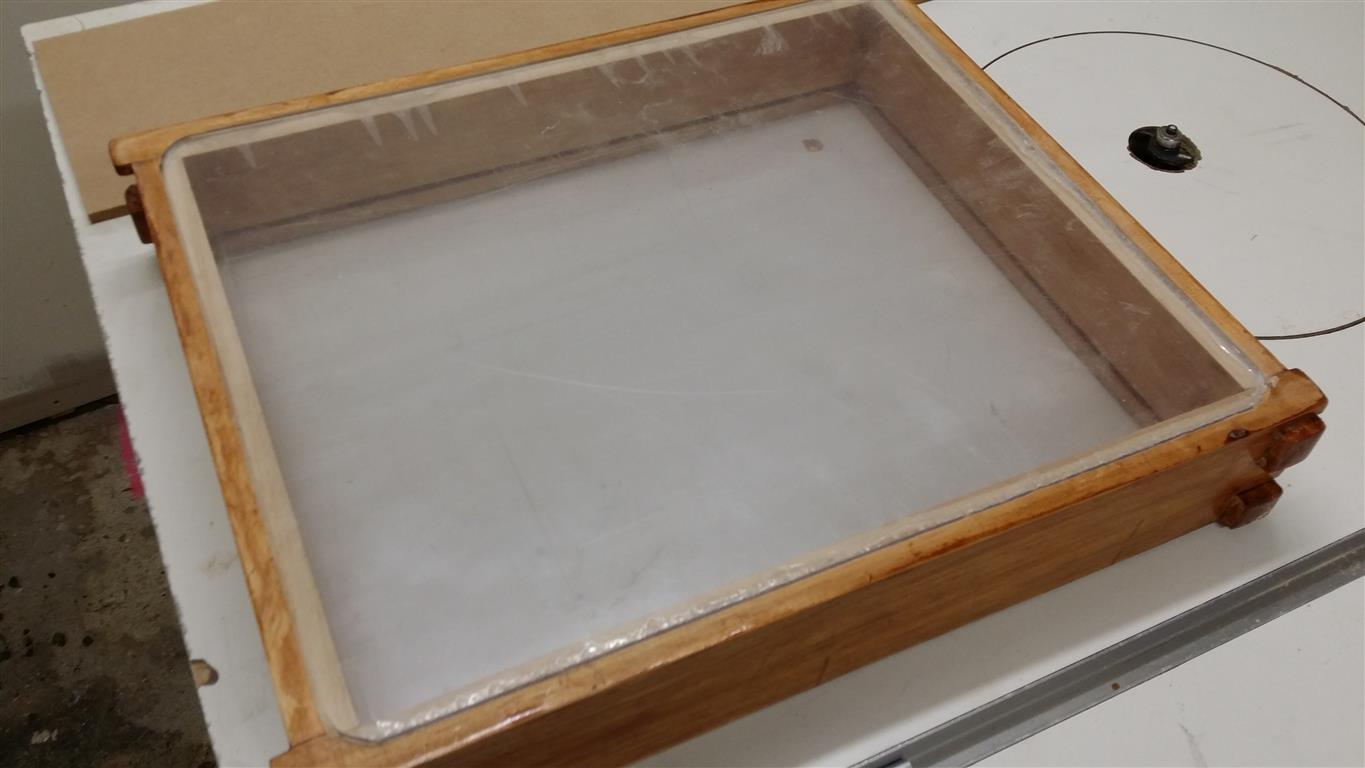
Then I used the same router bit to cut a rabbet on the back. This is for a second piece of glass to sit in, which has the photo attached to it. This was nice to do, dust free routing!

Lastly, I cut another panel of plexiglass to size. Because the slot cutter left a rounded edge to the groove, I decided to simply sand the corners around using my disc sander. This took all of 5 seconds and worked just fine. I also added a couple of small, countersunk, screws to attach the plastic to the frame. And from here, I was done.
And that was it. The photo of Cocoa is held in place with blu-tac against the back piece of glass. I’m not happy with the hooks I’ve used to hang it, I’ll change them shortly. I want it to sit flush against the wall though so these were all I had at hand.
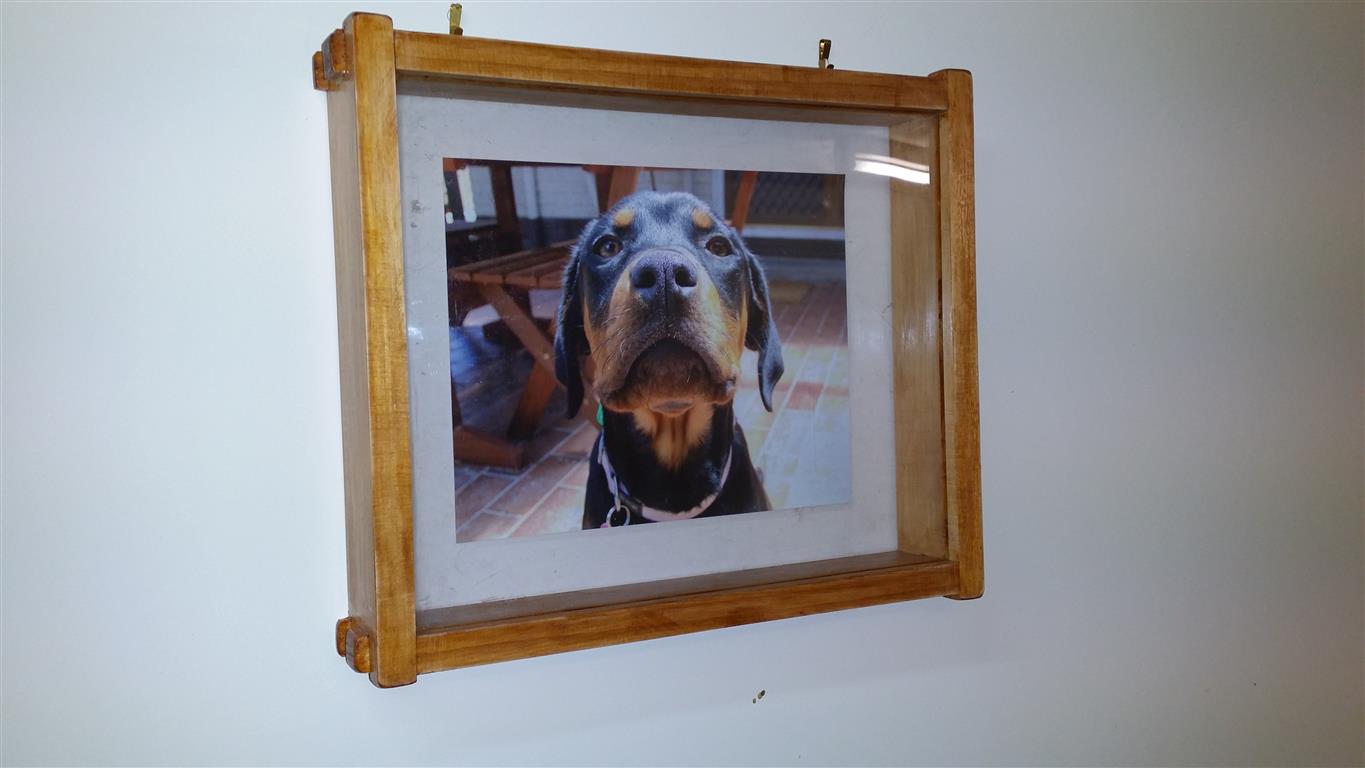
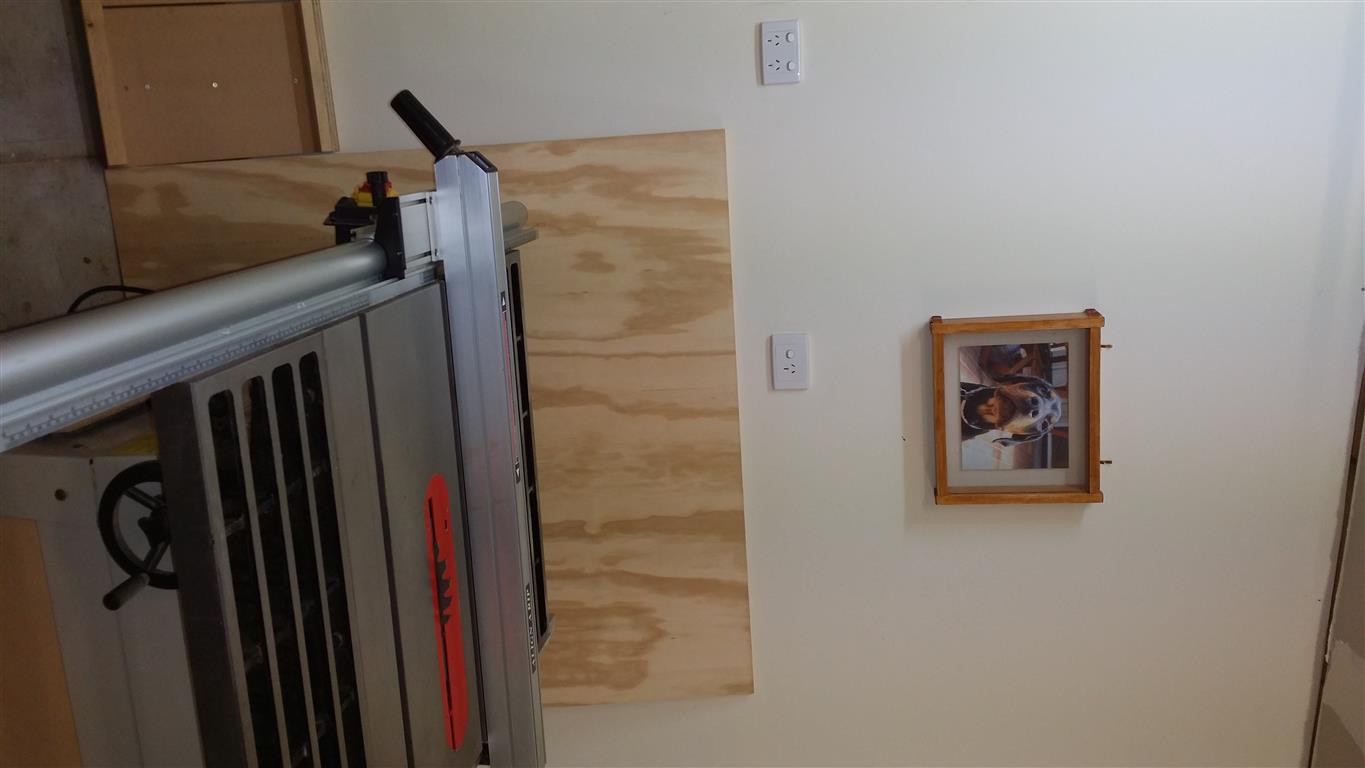
So there you go. Nothing too spectacular but it’s a bit of a different photo frame than normal and I’m really happy with it. Also now I’m more confident in making the display boxes out of more expensive material.
Plus, it’ll be nice having my dog back in the shop. 🙂