It seems that there are a couple of basic woodworking projects that I’ve never even attempted before. They are the two main projects that I see many new woodworkers first build; picture frames and chopping boards. I still need to track down some nicer wood for a chopping board, but I finally made my first picture frame.
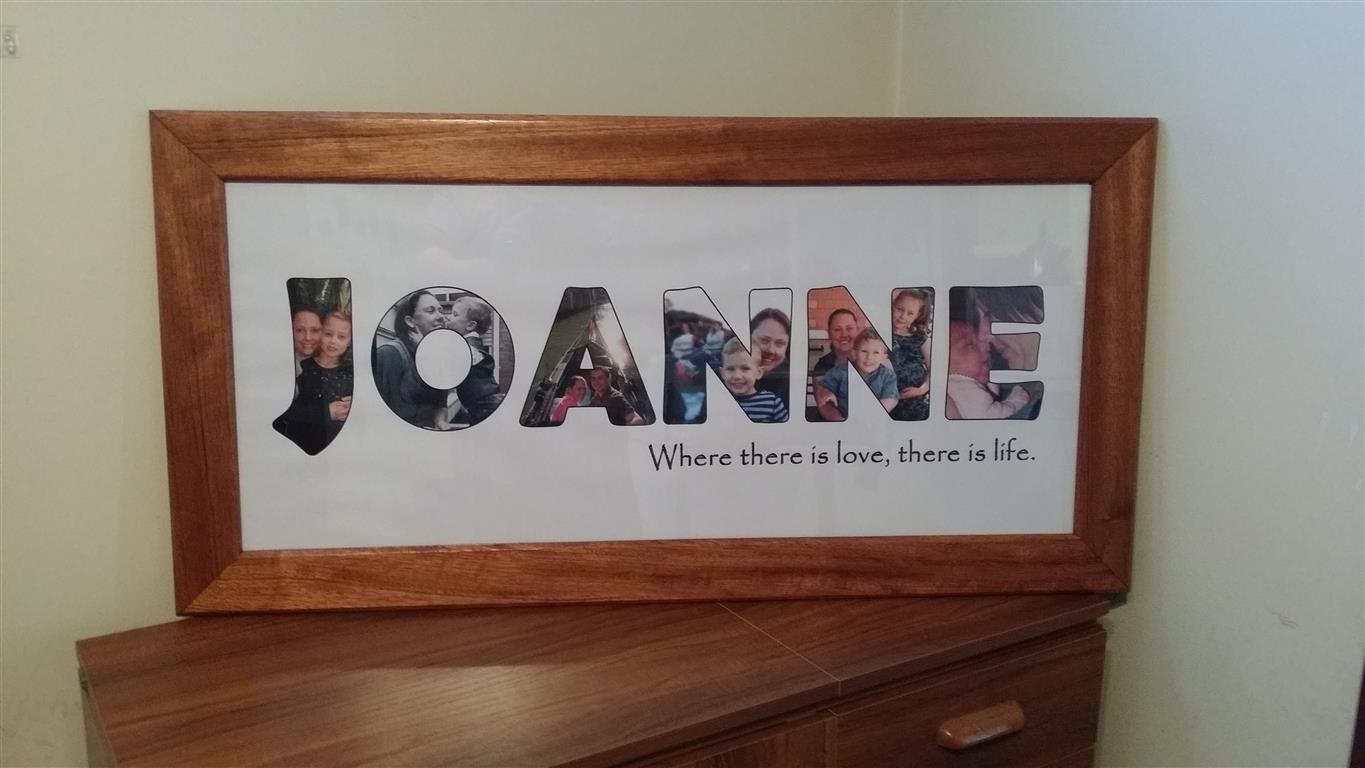
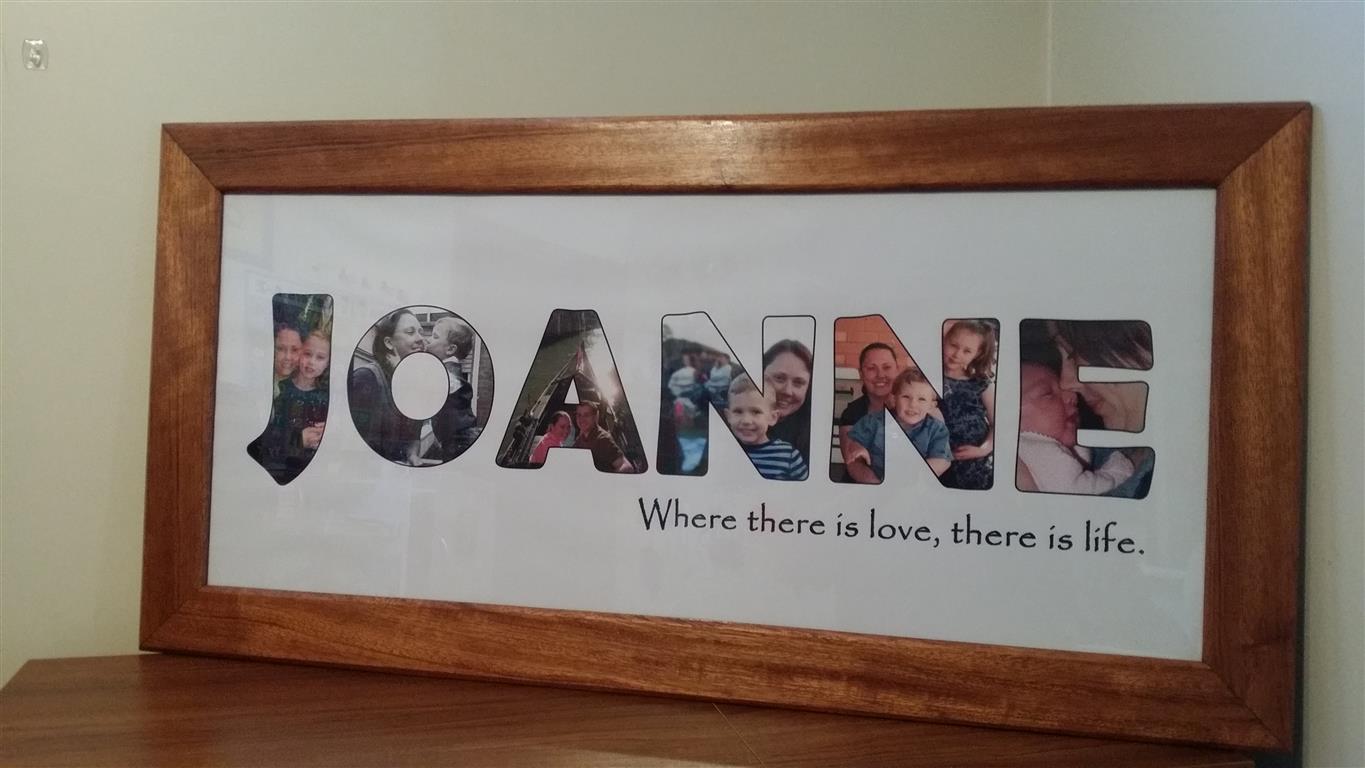
I made this for my wife for Christmas, but can you believe it still isn’t hanging in the house? I hung it in a couple of spots but ultimately it just didn’t look good; not so much the frame, more the photo design inside. It will look nicer I think with a standard rectangular photo in it, the text shape makes the whole thing too busy and distracting.
[cryout-multi][cryout-column width=”1/”]
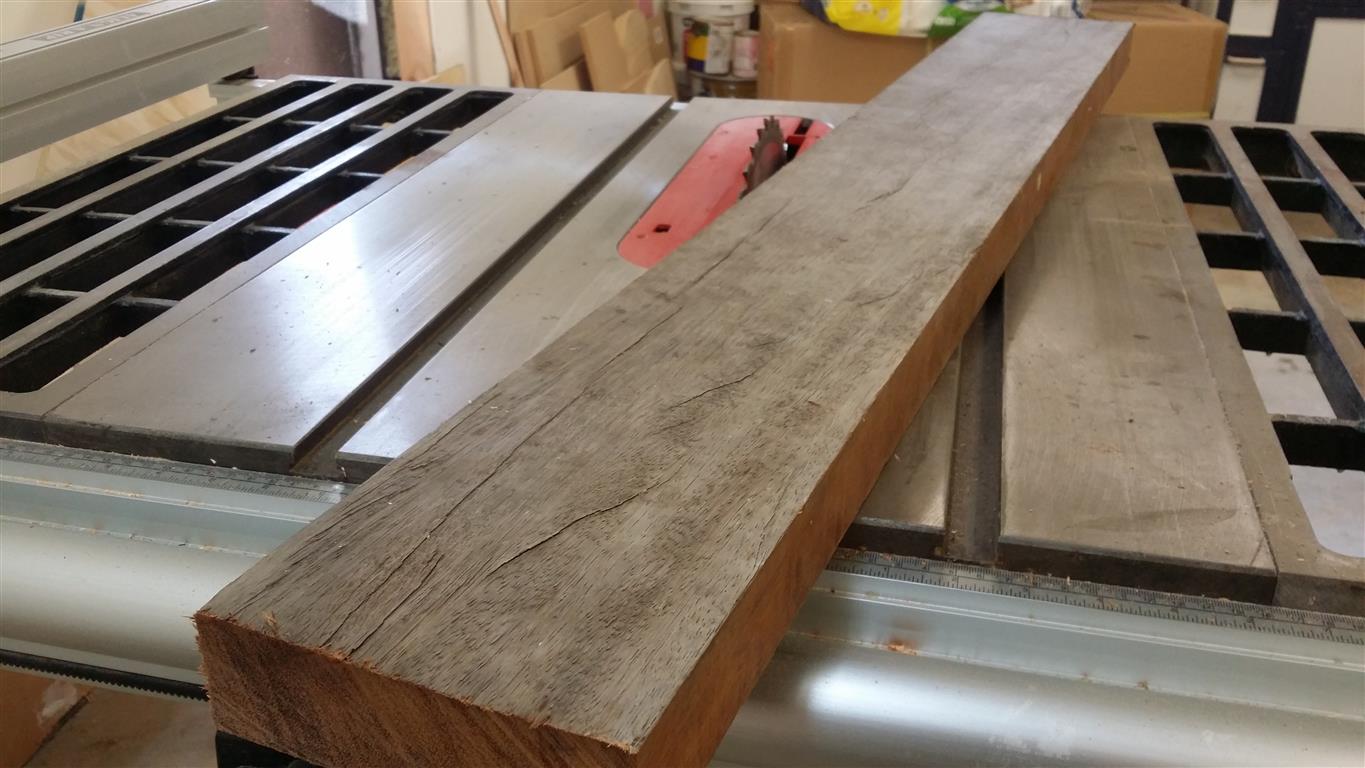
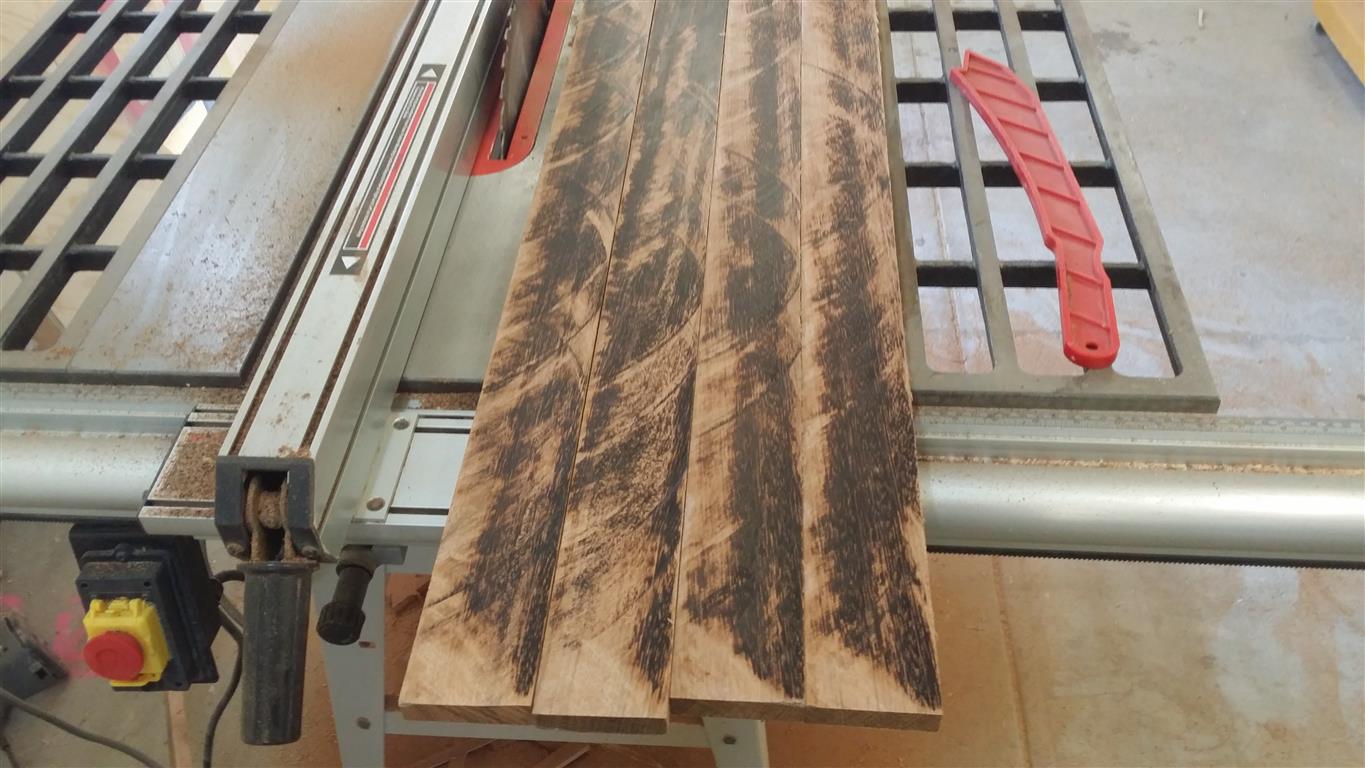
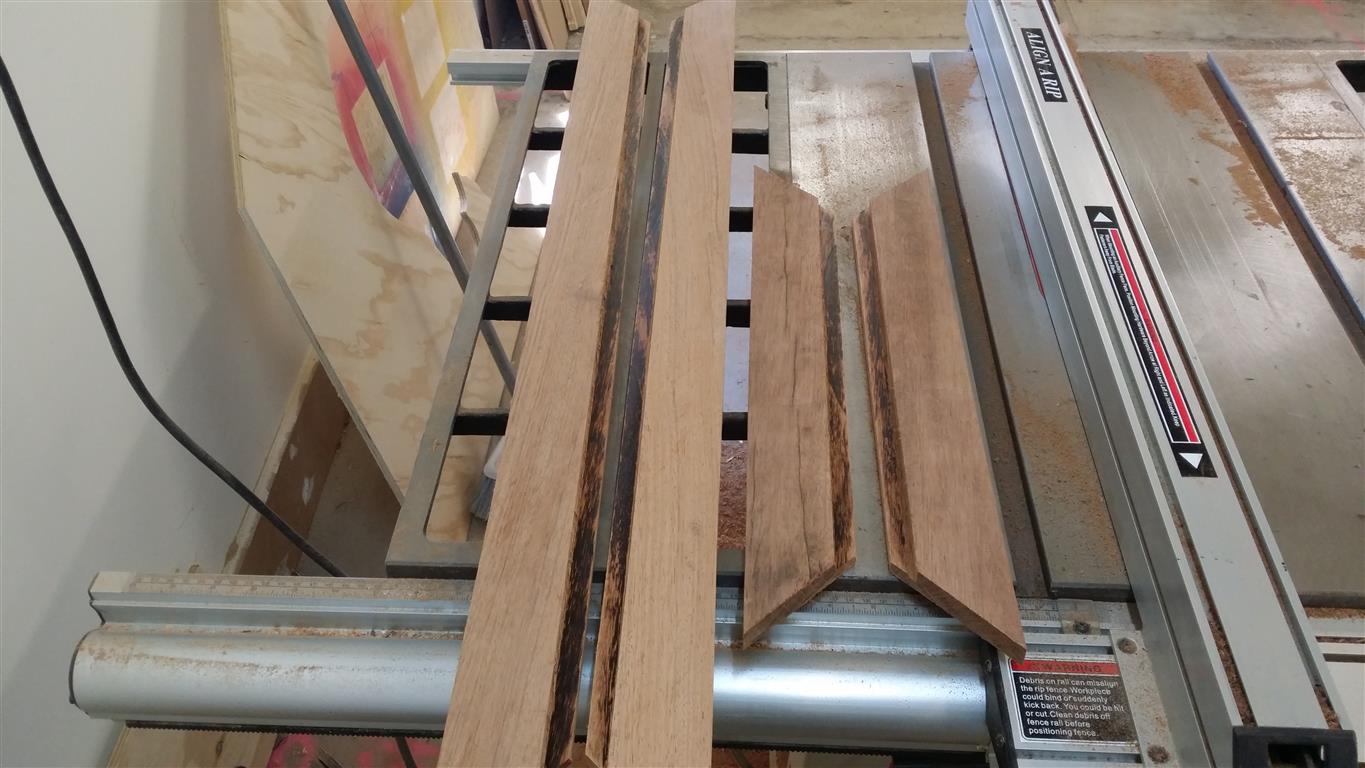
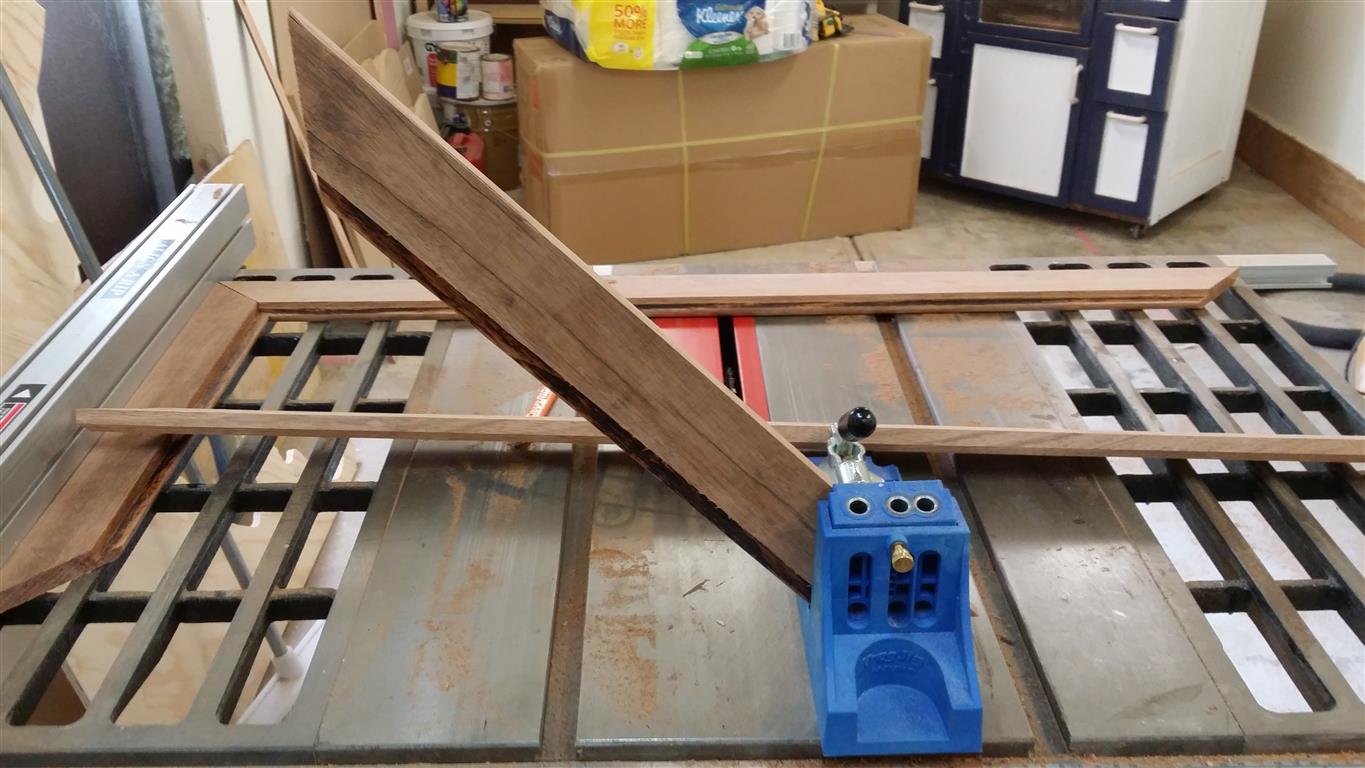
It started life as an old plank of VERY hard redwood which I ‘borrowed’ from a job site. From the trash pile so that’s ok.
[/cryout-column] [cryout-column width=”1/1″]
It was very hard to cut through, I had to take it quite slow so the saw wouldn’t jam, eventually I got there though. It is really, very dense wood.

[/cryout-column] [cryout-column width=”1/1″]
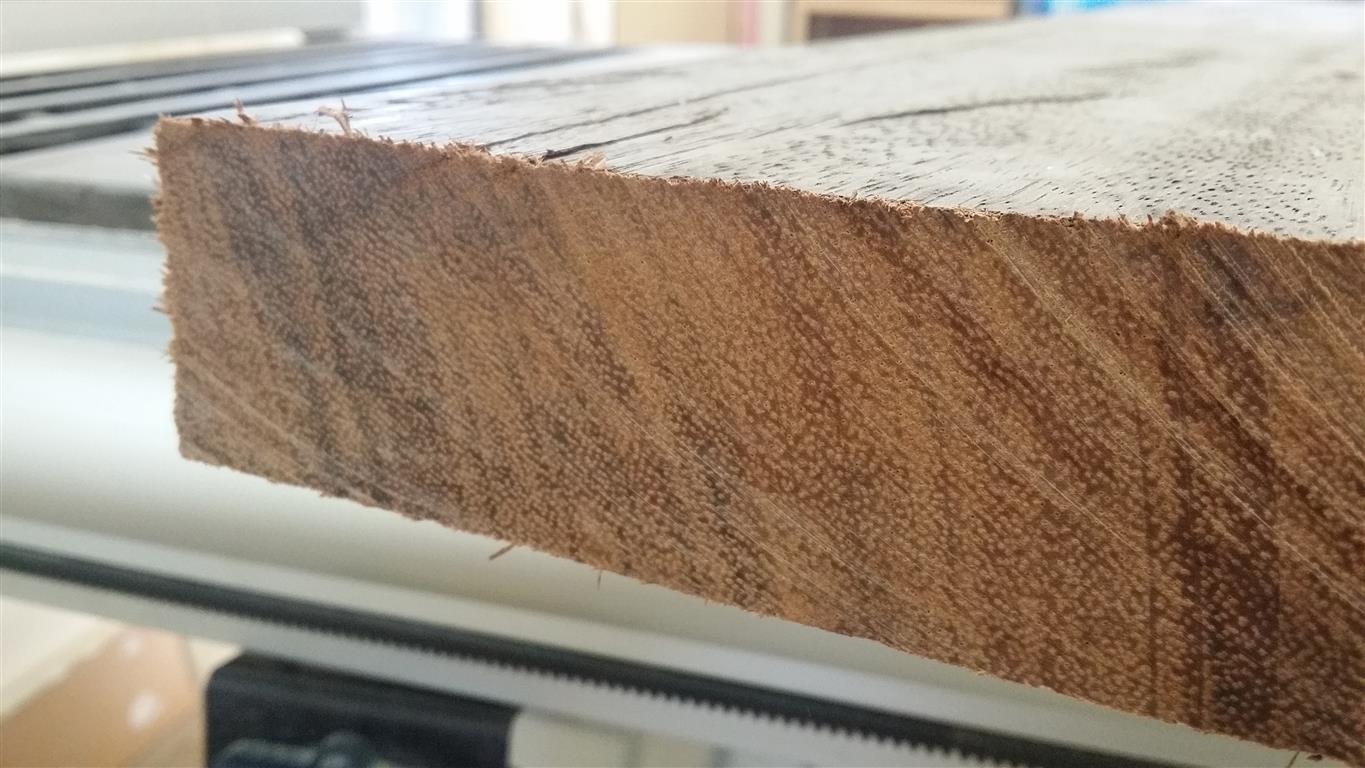
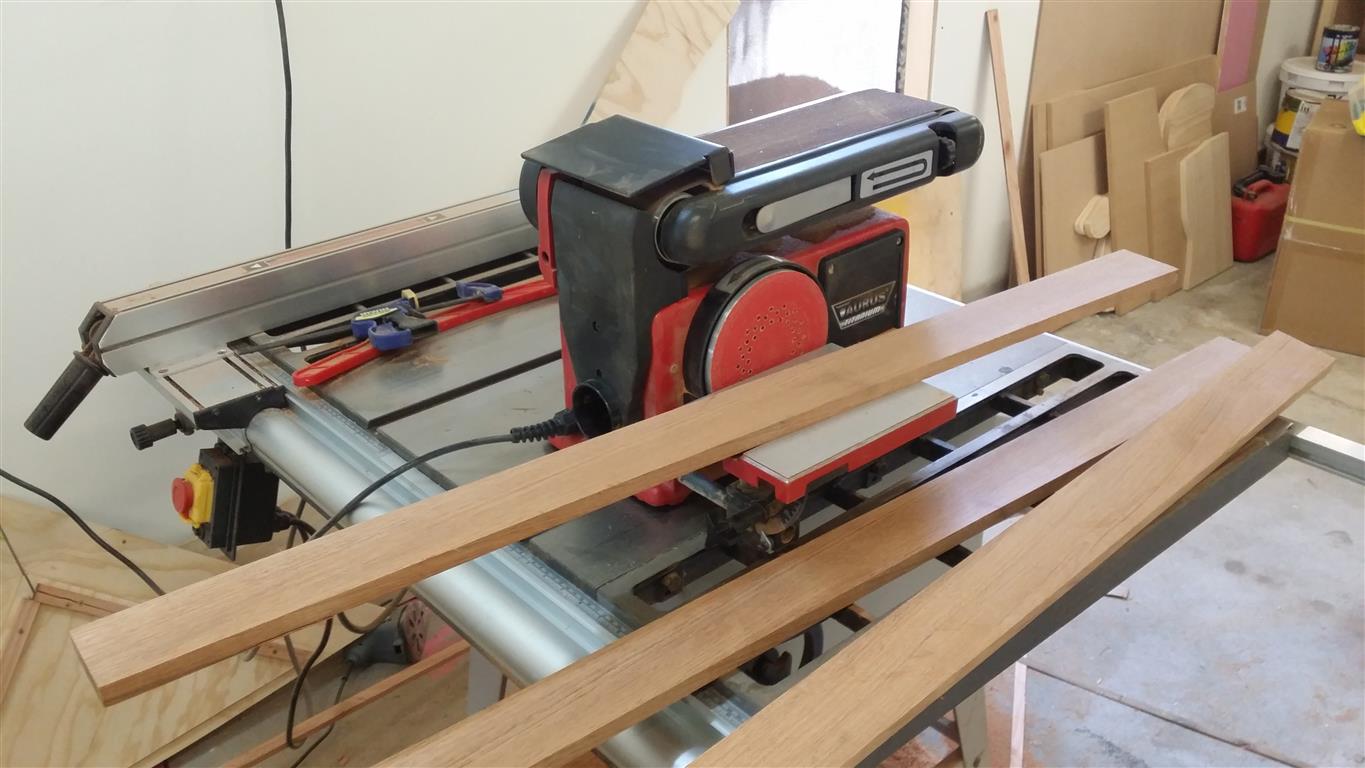
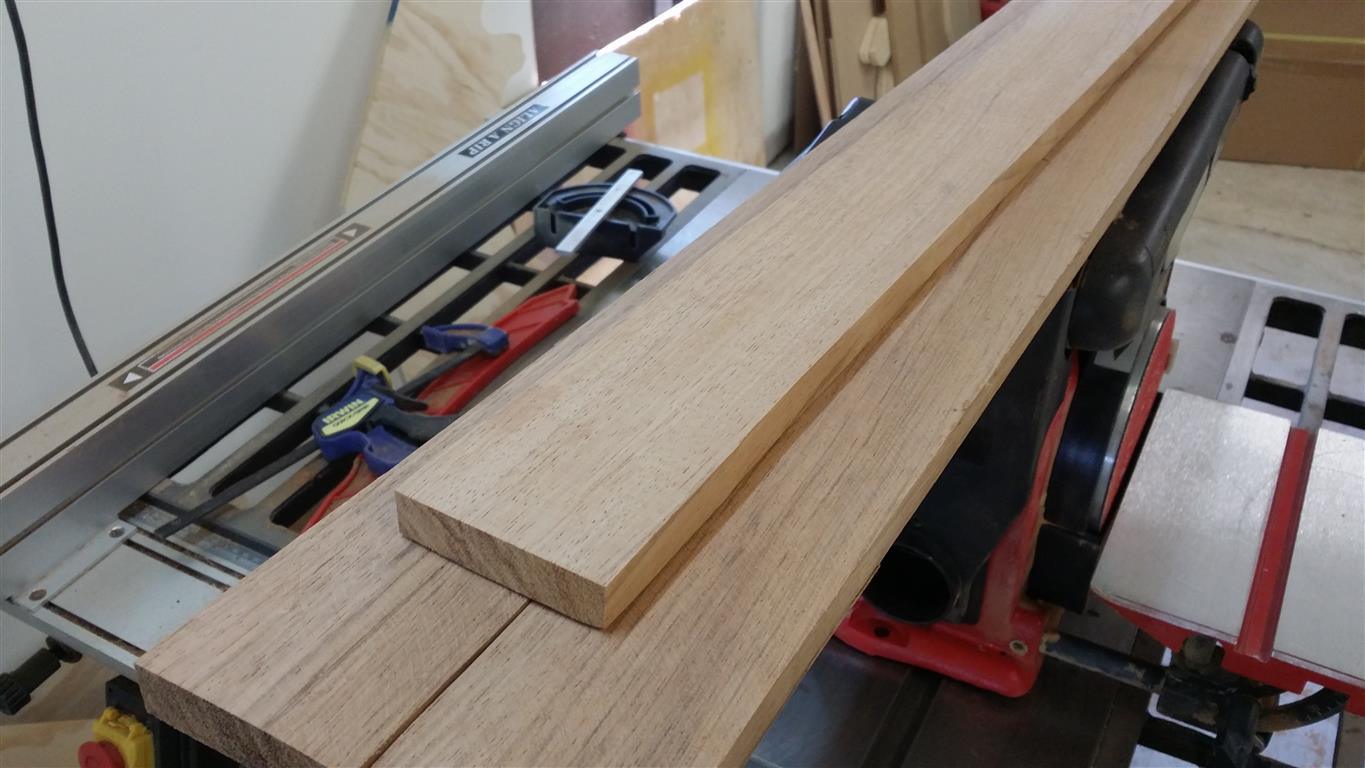
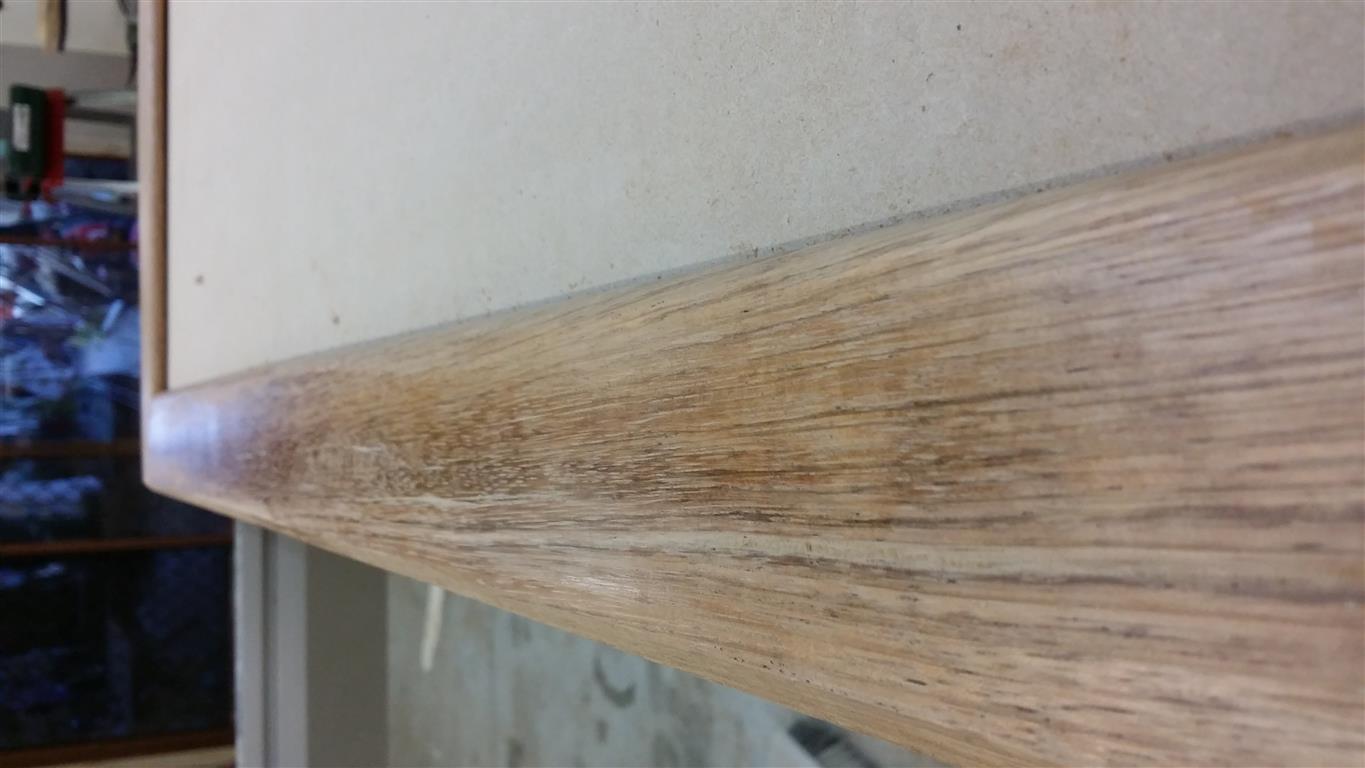
It did clean up fairly well with my belt sander though. I don’t have a thicknesser, jointer or decent handplane so I sanded them back to smooth.
[/cryout-column] [cryout-column width=”1/1″]
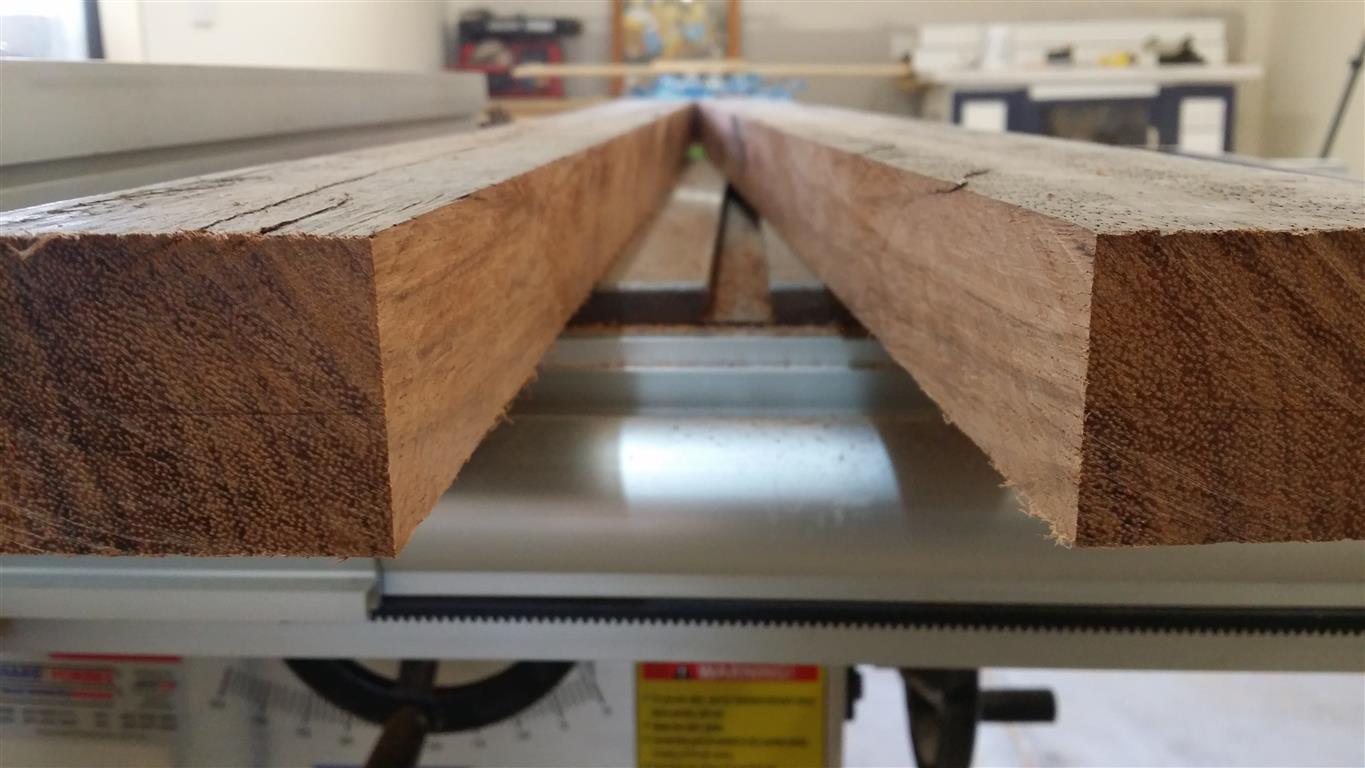
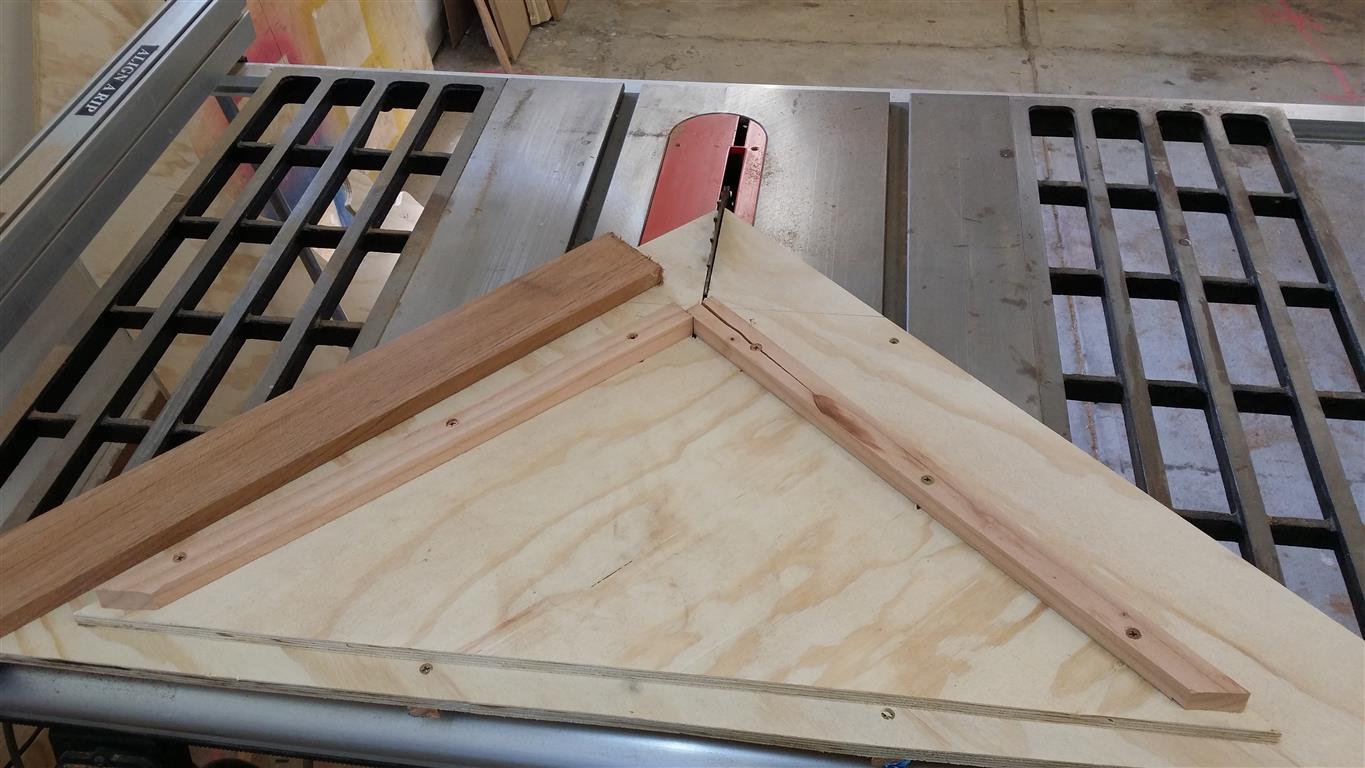
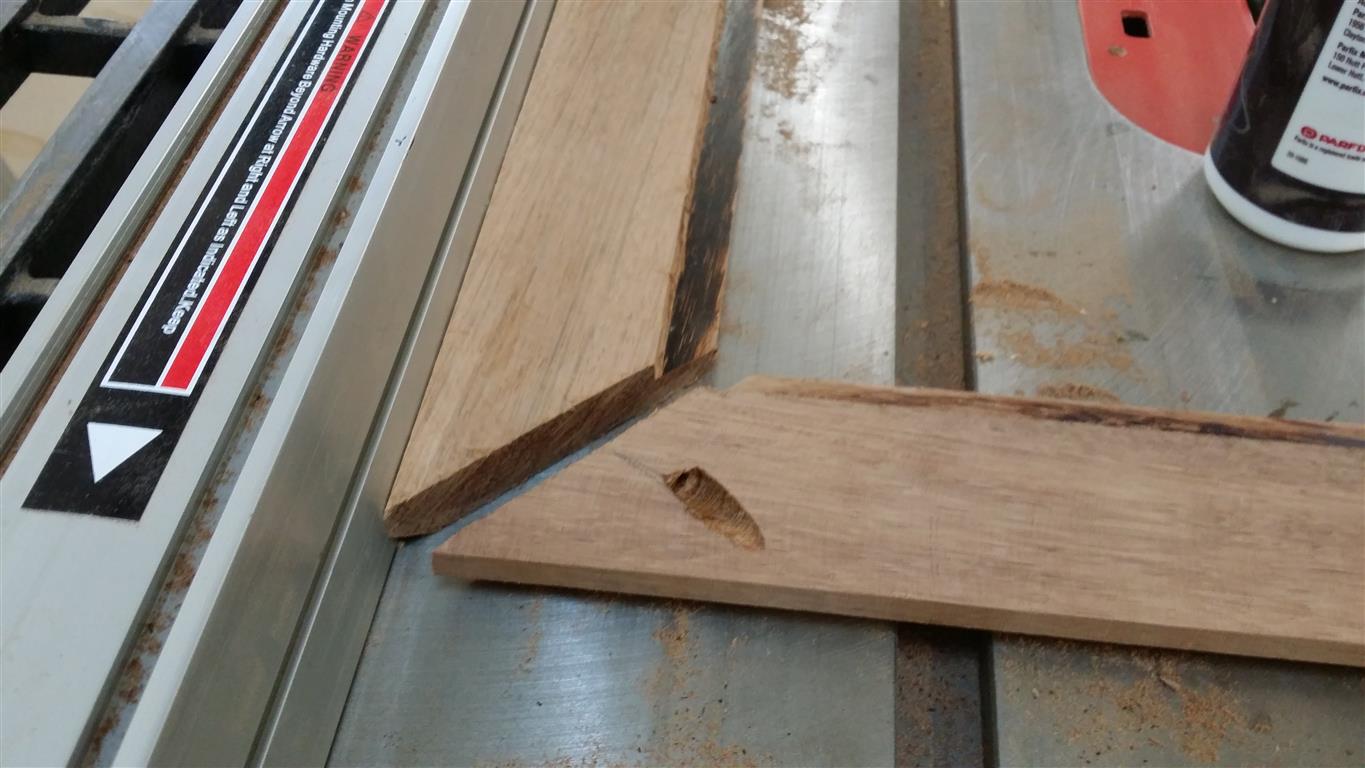
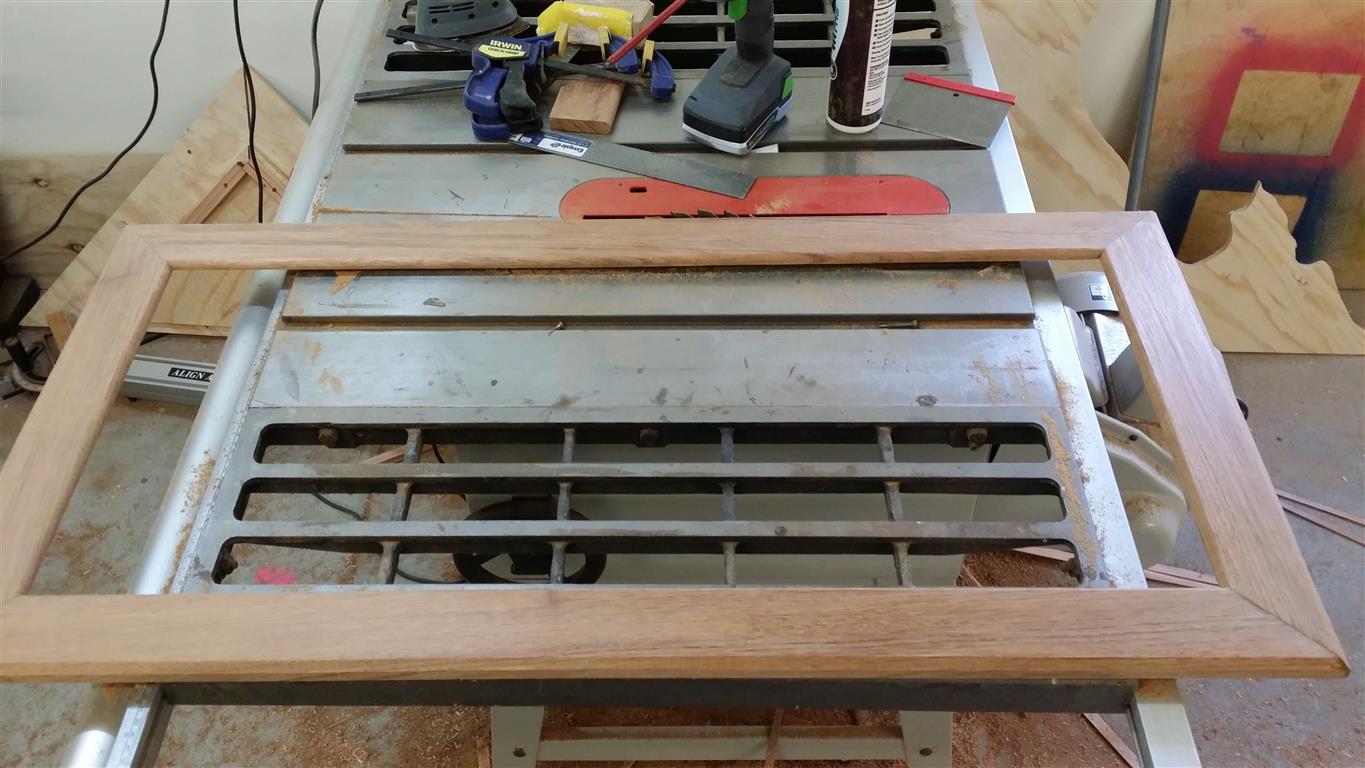
I cut the 90 angles using Jay’s mitre sled. They came out pretty accurate, though I did get a little tearout, I should have scored a cut line first I think.
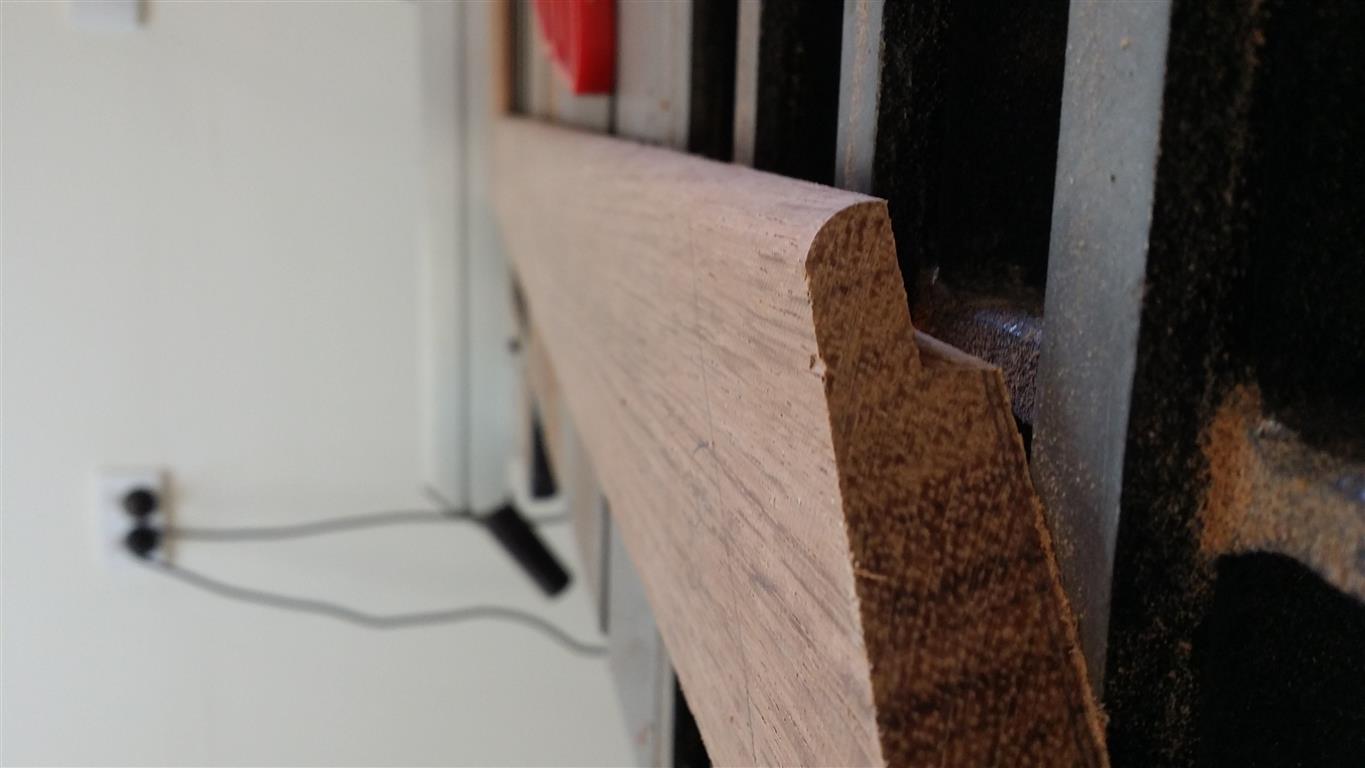
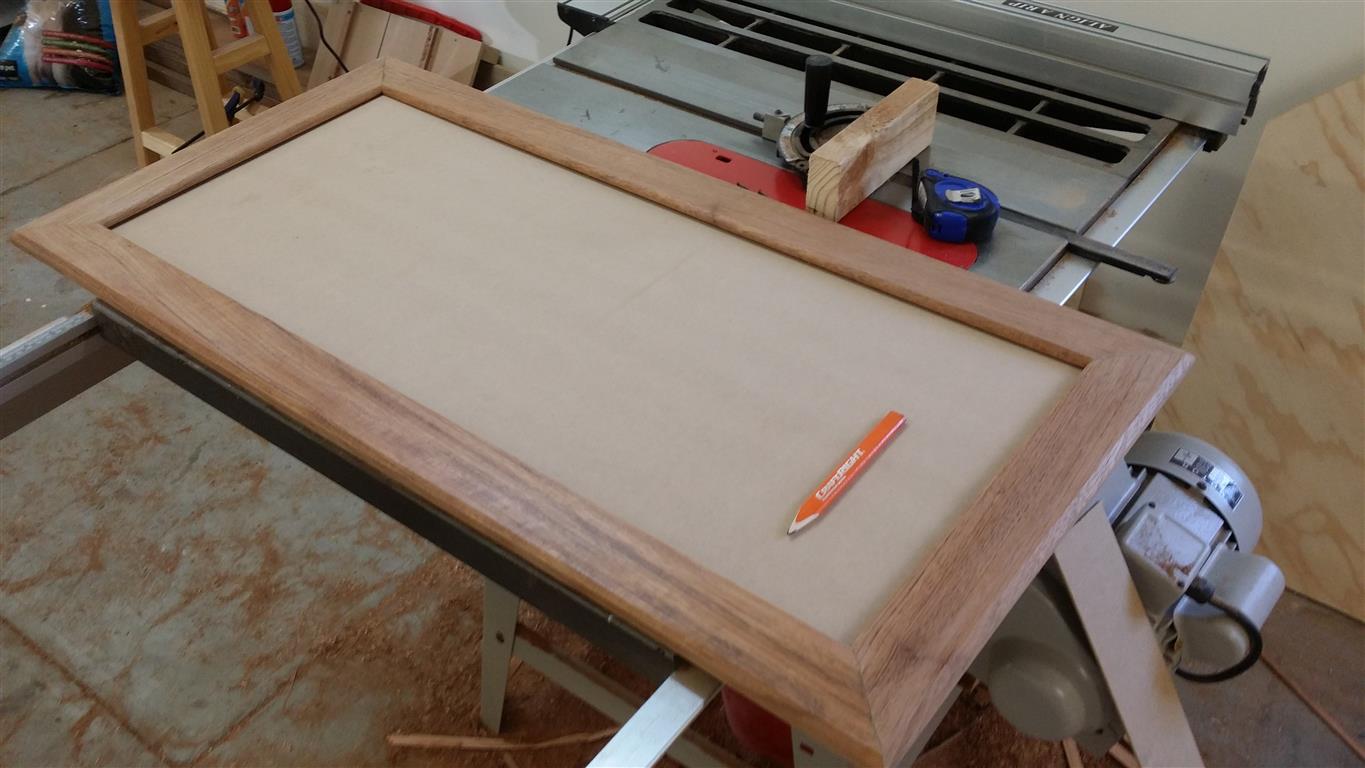
Then on the tablesaw I cut a simple rebate for the backing to sit inside.
[/cryout-column] [cryout-column width=”1/1″]
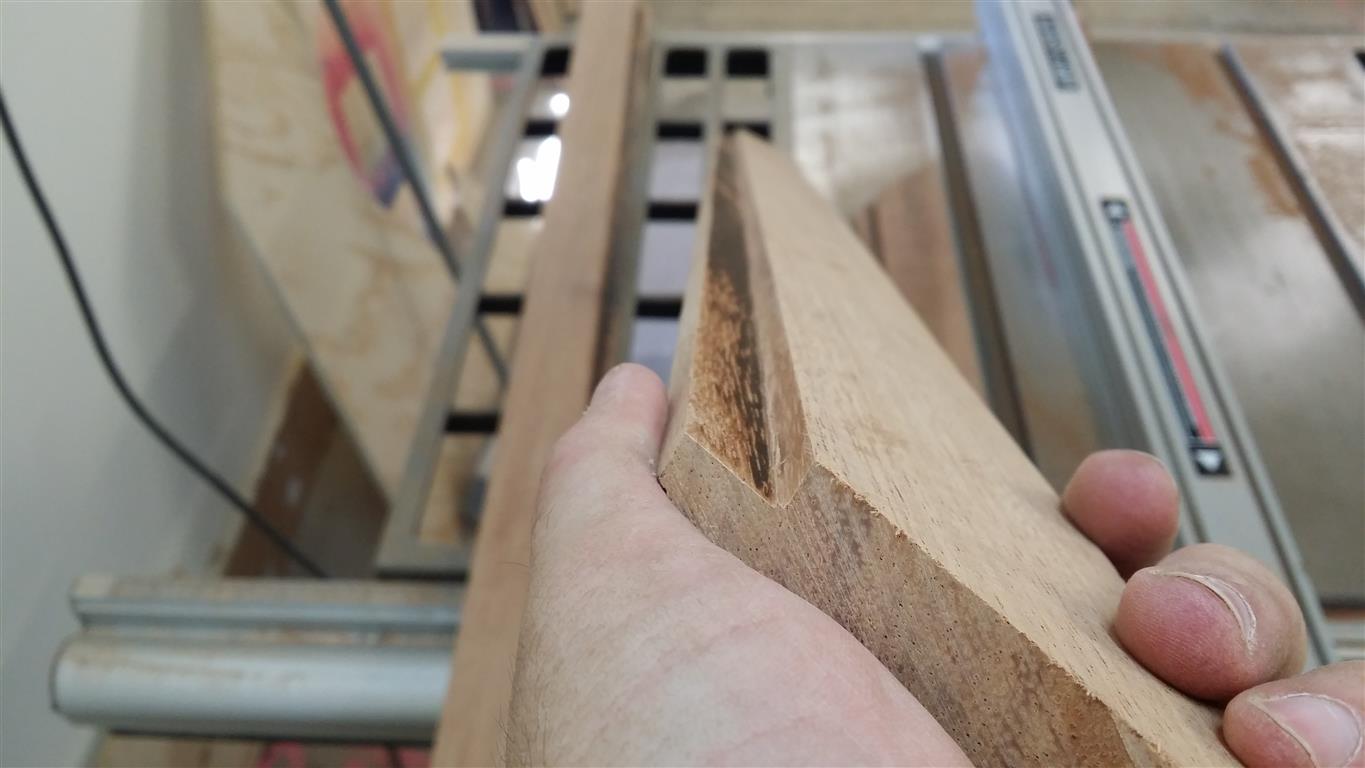
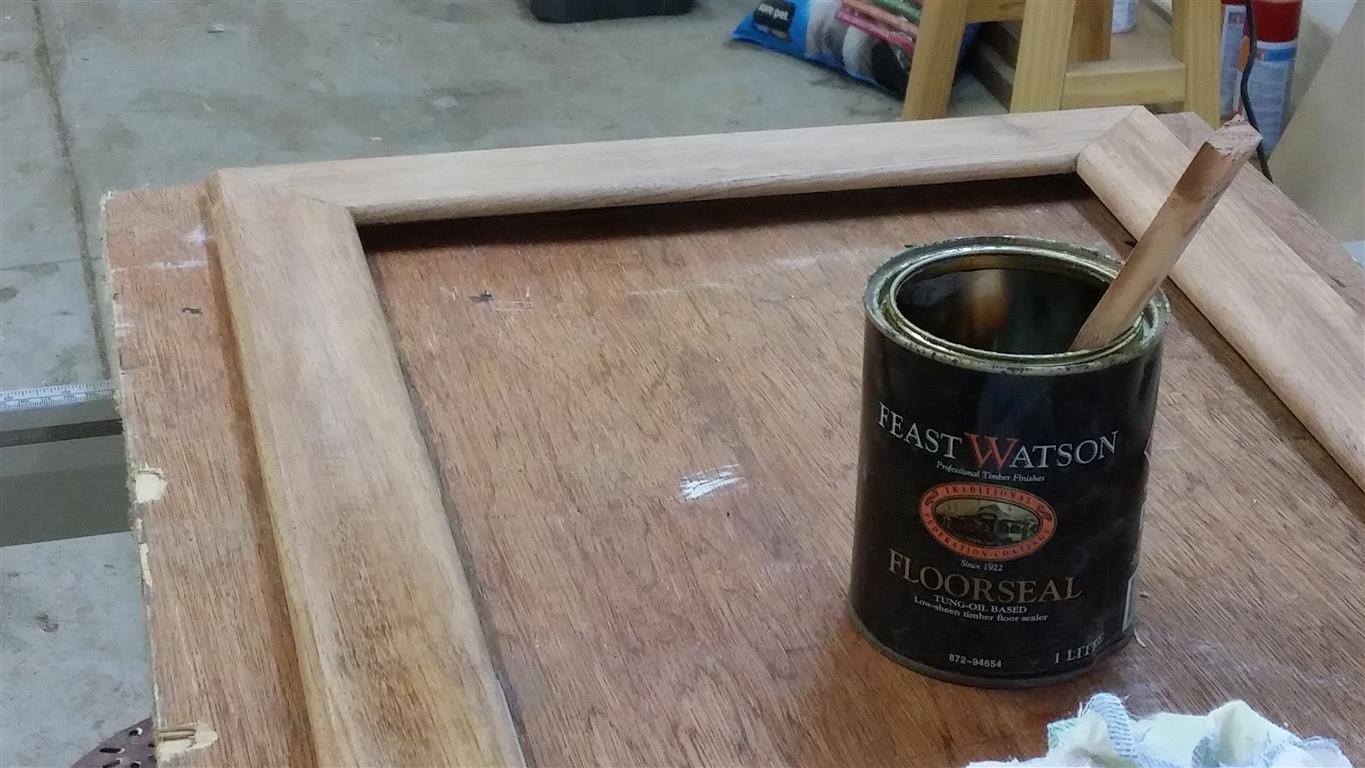
I used the router table to put a slight roundover on the inside of the frame, and (sorry no close up pic) I used a 90 chamfer bit of the outside. It ended up with a nice, crisp look. Can ‘crisp’ describe a picture frames look? I think so…
[/cryout-column] [cryout-column width=”1/1″]
Ok I did cheat here. I ran out of time to make a spline jig and decided to use pocket holes instead. Nope, not elegant in the slightest. But to be fair, with glue the joints are accurate and strong so I’m actually quite happy with it.
[/cryout-column] [cryout-column width=”1/1″]
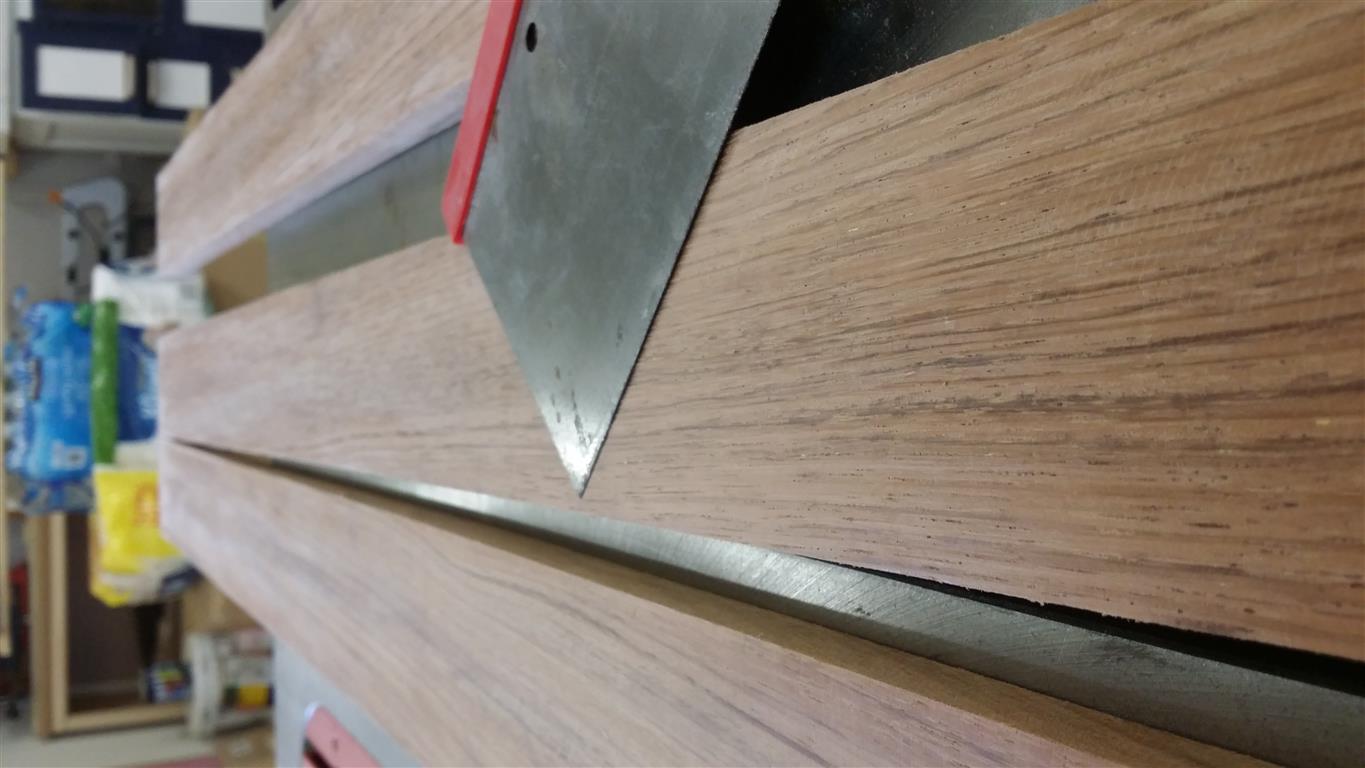
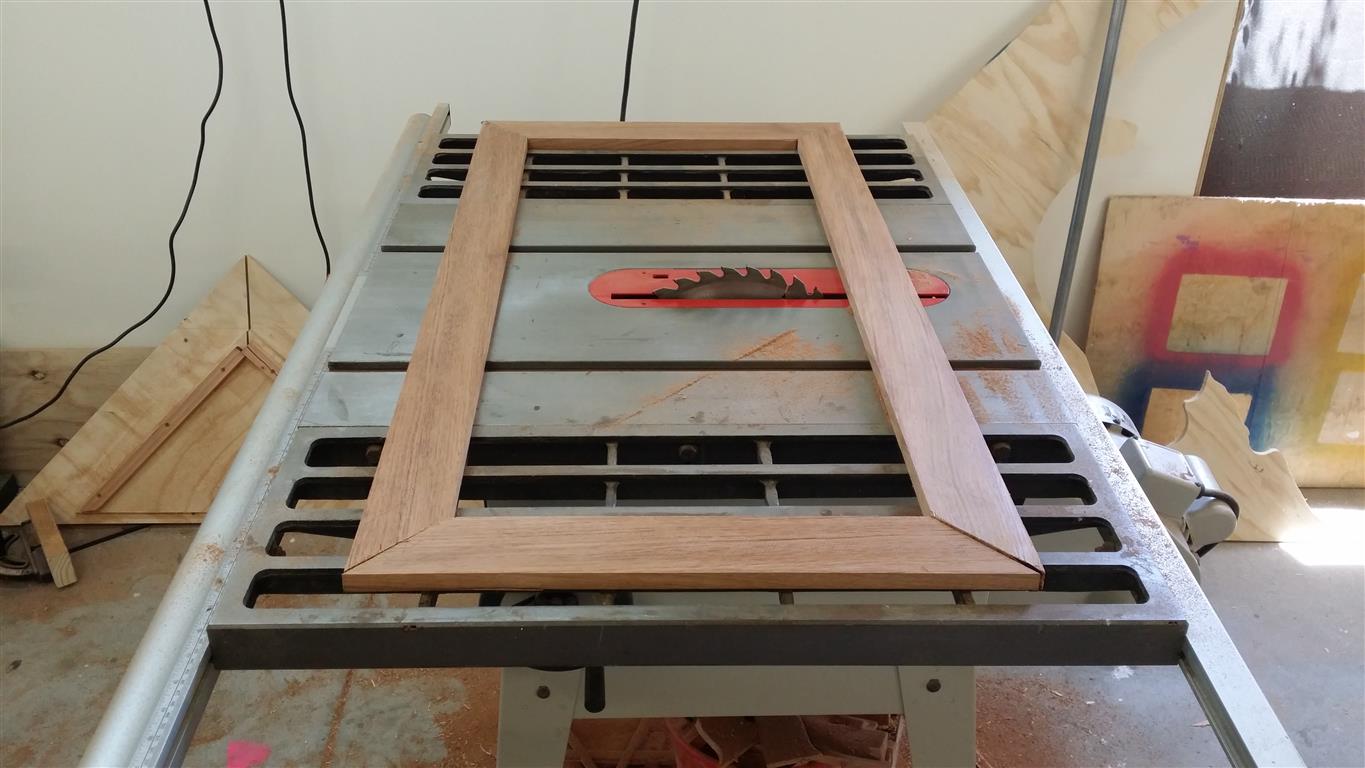
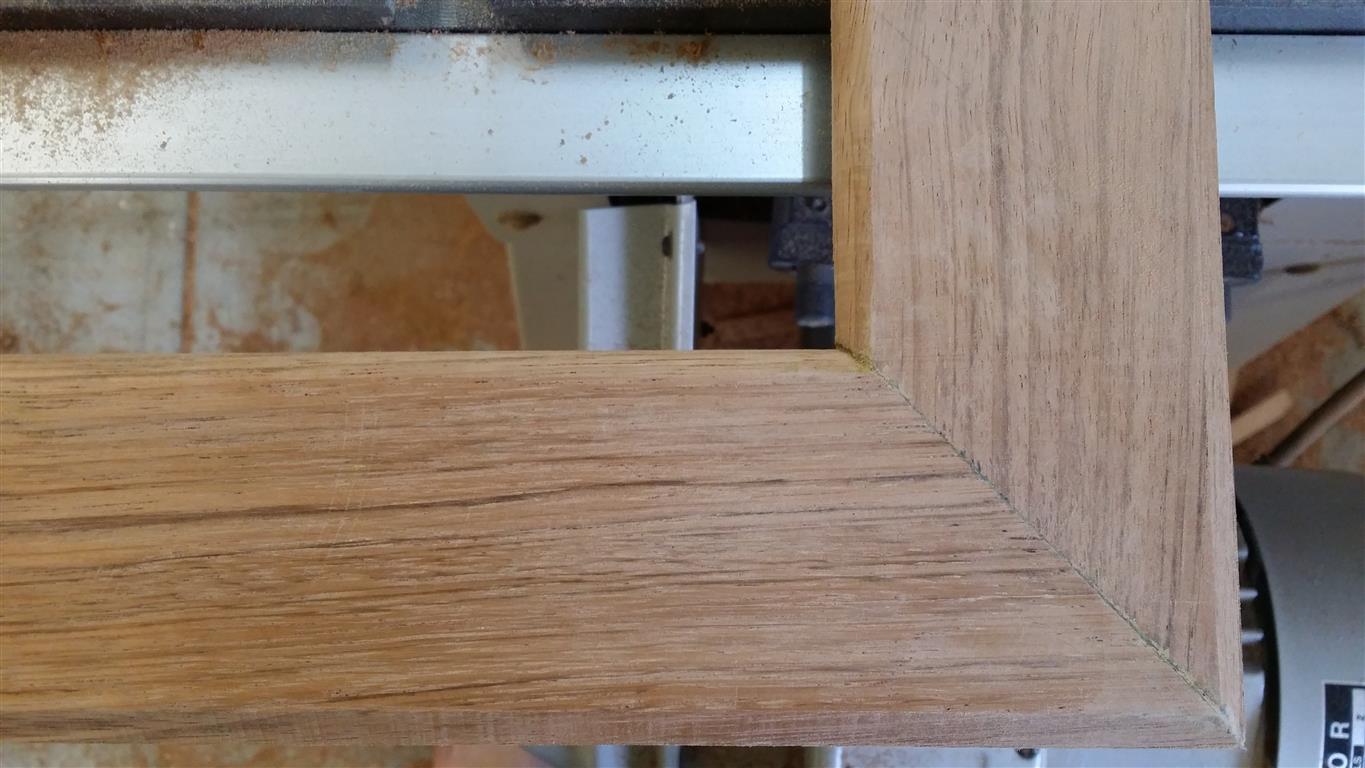
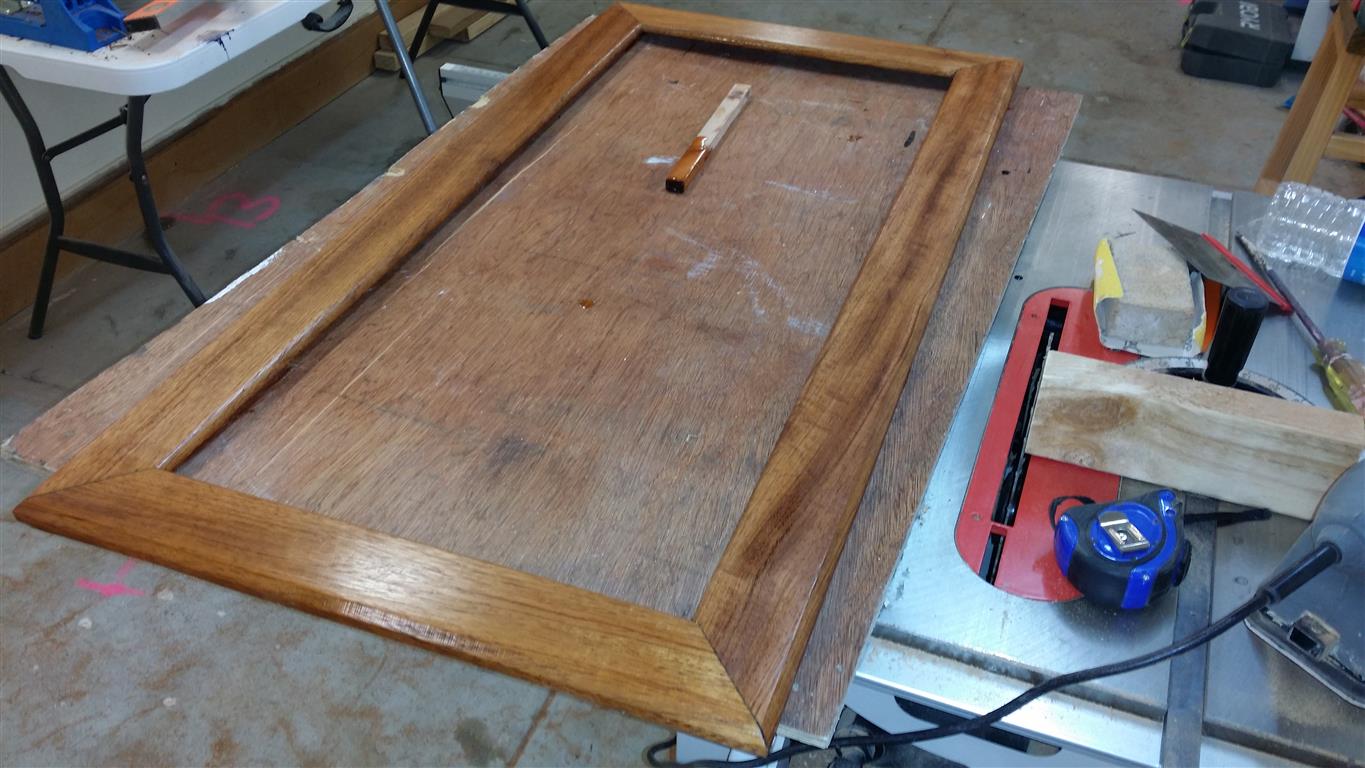
I glued and screwed the 4 lengths together, and then sanded and card scraped the entire surface again.
Scraping really removes a lot of the cloudiness that the sanding leaves behind, it made the wood look so clear and bright. I need to do it more often I think.
[/cryout-column] [cryout-column width=”1/1″]
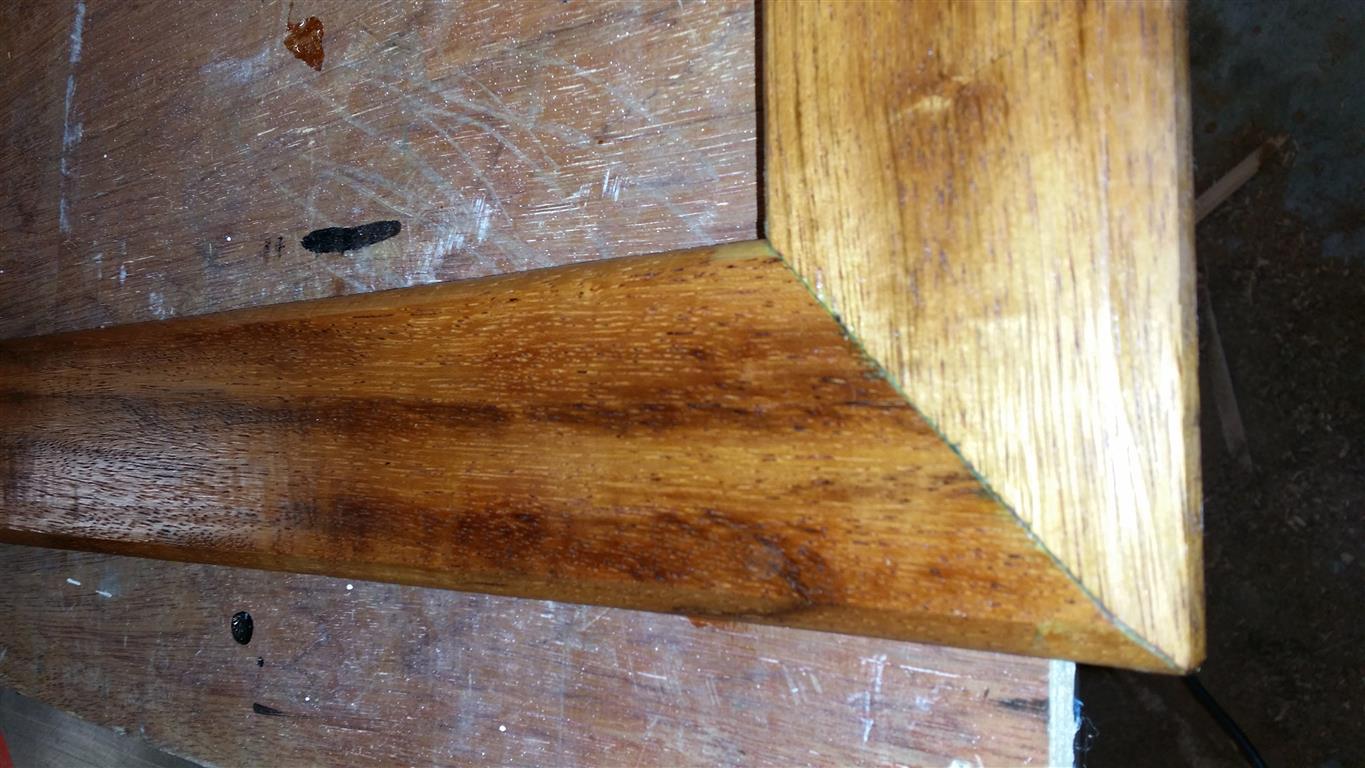
This was the only can of clear varnish I had in the shop, so that made my decision pretty easy. I put 3 coats on in total, and lightly sanded in between each one.
[/cryout-column] [cryout-column width=”1/1″]
All in all, I think it came out great. The wood is just beautiful, the joints are as close to perfect as I’ll ever get and my wife loved it so I’m calling it a win.
I do need to replace the photo though, it’s just too distracting with all the different images in there, I think this photo style looks better when it’s on much smaller images, at one metre across there is just too much going on.
Maybe for next Christmas I’ll get around to printing a new photo…
[/cryout-column]
[/cryout-multi]