Fit It is now for sale! Click here to check it out!
I put the call out last week for a new name for my Panel Layout program and received a number of replies back, I’ve picked my favourites and have listed them below. Please drop a vote in for your fave!
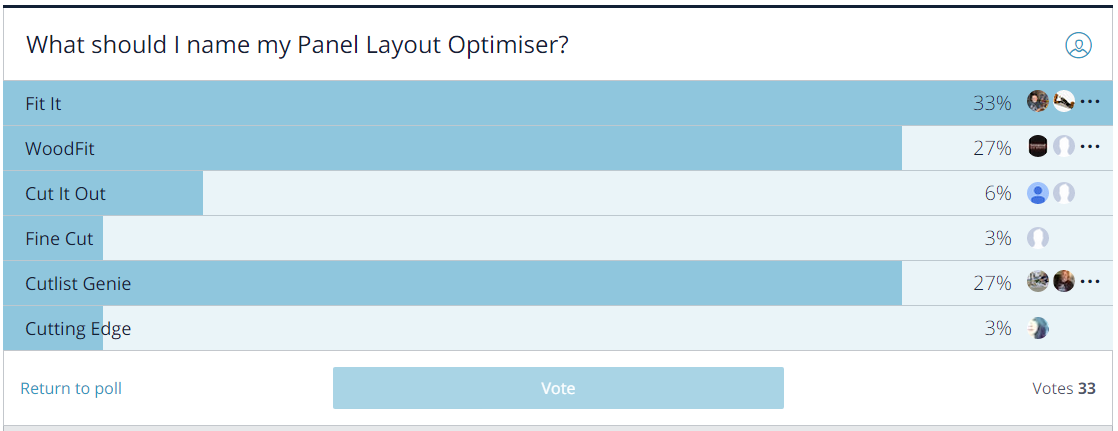
This competition has been run and won! Check here for the results.
There’s two free copies of the program up for grabs too! One for the person who submits the winning name, and another will be drawn from any readers who vote and share this poll using the social buttons beneath it.
So please, go ahead and make your selection!
As for the program, it is being tested out right now. Depending on the number and complexity of issues found, I’m still aiming to release it in around 3 weeks from now. Cross your fingers for me!
Remember my Mega Shoebox plans from a few weeks ago? Well I built a couple of them over the past couple weeks for a client. She was after one with the hinge lid and then another with the two push in drawers. I thought it would be a great opportunity to film the build and show how to make both designs at once.
They both came out really nicely, I’m quite happy with them. The only thing I would change is the hinge lid itself, I would much prefer to just make the two drawer style. The lid is just soooo heavy, it’s simply a large rectangle of plywood with more plywood attached to it. Because of the weight, you need to use a very high quality hydraulic to slow it down when closing. Unfortunately that type of hydraulic costs around $100 on it’s own, which makes it a very expensive build.
To make it affordable, I leave the hydraulic out and use a chain to stop the lid from swinging back too far. It still works fine and most people will never have a problem with it like this, but I wouldn’t want to see any kids get hurt by having the lid fall on them. So to be clear, if you make one of these for a child, do not make them the hinge lid style. I have tried cheaper hardware to keep the lid up, it’s just been a waste of money. It’s a real, ‘go hard or go home’ situation.
Other than that though, they are good fun to make. Each one uses up around a one and a half full sheets of plywood. These are built from a quality 18mm ply. Then I use a 12mm ply for the drawers and shelves as that is thick and strong enough. My cutlist program really made them easy to layout and cut too. It is very effective for a project like this which is all ply.
The decals are images I had printed on vinyl stickers by a local print shop. You can also buy them online but I find it is cheaper to have them printed by someone local, especially seeing as I’ve a few orders for these boxes, I can start to buy them in ‘bulk’.
I changed my mind on the drawer slides halfway through for the 2 drawer box. Originally I was going to use normal soft close slides, to open the drawer you would grab each side of the drawer and pull it. Once I put it all together and realised just how large it was, I decided to switch to the push open style instead.
Unfortunately this was after I had already assembled most of it. With the push open drawers, it makes sense to make the drawer faces shorter in length so that they fit inside the box front, instead of coming to rest on the sides. This way you can push them in freely to open and shut them. Because I had already assembled everything, I no longer had that option. I mounted the drawers so that they clear the box sides by about 5mm (bit less than 1/4in) which is just enough space for the push open mechanism to work. Luckily I knew I’d be painting the box black, as such, the 5mm gap is only noticeable if you look for it.
So that’s how I build my Mega Shoeboxes. These are not my original idea, but they are my own design. You can download my designs for free to make your own Shoeboxes by clicking here.
If you do build one, send a photo through, I’d love to see it!
the misures are wrong
the front of drawer are 100 x 45 no 97
and back of box are 100 x 45 no 97
Sorry if I’ve made a mistake there Ale, if you’ve already cut the drawer face you could probably trim the base to make the whole box the 30mm shorter in length that you require. I’ll review these plans very shortly, I use different measurements now on my own boxes so I’ll update these to reflect them.
Hi Mario,
Do you have one air jordan elephant available?
I’m willing to buy and to pick up.
Thanks
Sorry Dianne I don’t keep any in stock. I build to order, however I’m currently not taking any orders.
any way you can convert measurements into inches
Absolutely, just buy a tape measure that has both measurement units marked on it! That’s not even sarcasm, it’s exactly what I do with plans that are in inches. For this project though, it’s fairly simple, just cut your base to the size you want the box to be, and then cut each panel to fit. No need for plans after that.
Hi, nice video and instructions, however you’re missing the back of the drawers on your materials list.
Yeah I know, I’ve been meaning to improve these plans ever since I uploaded them….oops.
Hello,
thanks for the free pattern, after some adjustments i nearly finished my two drawer box. I got a question:
Those labels u use, where did you find them? I only found the jumpman as svg (easy to scale), but i didnt find any pictures of the jumpman + air for the side and i’m also missing the label with the shoe size, price tag, shoe name and colour way [hope you know what i mean]..can you give me a hint?
Would be great.
thx
Hi Ben, I got the jumpman from the internet and then in photoshop added the lettering. The label was a bit harder, I couldn’t find a good quality version on the ‘net. I got the best one I could and played around with photoshop again, turned out ok, but not great. If you find a good source, tip me off! Cheers, Mario
I just want to say thank you!!! I made my boyfriend one for fathers day and he absolutely fell in love with it. The only problem was that you didn’t include the middle wood measurement for the second drawer so I kinda had to figure it out on my own once I had already put it together but other than that your measurements came in handy and saved me so much. I wanted to send you a picture of the final project but I am not sure where to send it to.
Oh awesome, send it through to me here when you can : woodfather@thewoodfather.com
I know, I do have to fix the plans up…just struggling for time unfortunately!
Cheers,
Mario
Hello, by any chance would you know how I can do the air Jordan elephant print on the bottom half of the box and just keep the lid black?
I have seen some people paint it with a spray gun on a low ‘dribble’ setting, but I’ve never tried it. The only real option I can see is having the pattern printed onto vinyl and effectively wrap the box in it. Unfortunately I imagine that would be quite costly. If you figure it out, please let me know!
in your plans i do not see the shelf dimensions or am I misreading it some where? I can figure it out but others may not
Hmm, interesting, looks like I did leave the shelf out but no one has mentioned this before. I have started to redo the plans in SketchUp, I’ll upgrade the PDF versions shortly too. Cheers, Mario
What type of plywood did you use?
18mm Dayna, I don’t know the species but it is simply a high quality ply.
Hello!! How much will u charge to make the nike box?? I’m interested too!! Thank u
Hi Marta, Thanks for stopping by. I charge $380 for a completed box made of quality 18mm plywood. I’m located in Melbourne, Australia though, and these boxes aren’t something that can be shipped. If you’re nearby and interested, let me know! Cheers,
Mario
I see in your video you used a pocket hole jig guide but no matter how much I look, I cannot seem to find one cheap and like yours. Where did you get yours and how much was it? Did you get it online? Can you post the link to it?
Also in your manual you posted you said 15mm 1 and a half sheet to make it. But in your description you said you used 18mm and 12mm for the rest? So then is that better to do, or would the 15mm be better? This is not for a child this is more for me.
Thank you! Please reply soon!!
Hi Grace, Mine is just a Kreg K4 jig, I bought from Carbatec in Australia. I paid around $100.
I made the plans a few months back, since then I’ve refined how I build them and I’ve found a better & cheaper supplier of plywood, hence the extra thickness. 18mm is much better, it makes boxes a lot stronger and sturdier than the 15mm versions, but 15mm is fine to use as well. I wouldn’t go any thinner though.
I plan on redoing the plans soon to reflect this, but who has the time…
Best of luck!
I would like to buy a red nike giant shoe box, not sure if I have the know how and tools. Yours seems sturdy and well built. My son loves his sneakers-would be a great gift for him. Do you make these for sale? I would be very interested to buy one. thank you for your time WoodFather!! Respectfully, Grace
Hi Grace, thanks for stopping by. They certainly are sturdy, 18mm plywood is very strong. However that means they are also quite bulky and weigh quite a lot. If you are near me in Melbourne, Australia, I’m more than happy to build one for you. Let me know 🙂 Cheers,Mario
Comments are closed.